 Save
Save Create irresistibly creamy bubblegum ice cream without any special equipment. This no-churn method combines heavy whipping cream with sweetened condensed milk for a velvety smooth base, then infuses it with nostalgic bubblegum flavoring and vibrant pink or blue coloring. Fold in chopped bubblegum candies for chewy bursts of sweetness throughout. The entire process takes just 15 minutes of active prep time—simply whip, fold, freeze, and enjoy. Perfect for birthday parties, summer gatherings, or whenever you crave a taste of childhood whimsy.
The pink color alone took me back to being seven years old, standing at the ice cream counter with my grandmother. She always let me order the most ridiculous flavor on the menu, and bubblegum was never up for debate. Making this at home feels like reclaiming that childhood magic, except now I control exactly how much bubblegum flavor goes into the mix. The best part is watching the swirl of pink and blue come together in the bowl, like edible cotton candy.
Last summer, I made this for a neighborhood block party and watched three grown adults get into a friendly debate about which color spoon was theirs. The kids didnt care about the spoons, they just wanted seconds. Something about that artificial bubblegum taste unlocks pure joy in people, stripping away all pretension and leaving everyone with sticky smiles and pink tongues.
Ingredients
- Heavy whipping cream: Must be ice cold for proper whipping, I learned this the hard way when room temp cream refused to cooperate
- Sweetened condensed milk: The secret behind that creamy, slow melt texture no one can quite put their finger on
- Bubblegum flavoring: Start with half teaspoon and taste as you go, this stuff is potent
- Gel food coloring: A tiny drop goes further than you think, less is more here
- Bubblegum candies: Chop them just before folding in so they dont get sticky or clump together
Instructions
- Whip the cream:
- Watch carefully for those stiff peaks, overwhipping happens faster than you expect and turns everything into butter territory
- Mix the base:
- The condensed milk mixture should be smooth and uniform before you even think about combining it with the cream
- Fold gently:
- Use your spatula to scoop from bottom to top, losing any air bubbles means dense ice cream instead of fluffy clouds
- Add the fun stuff:
- Fold in those chopped candies last so they stay suspended throughout instead of sinking to the bottom
- Freeze patient:
- Six hours feels like forever but rushing this step means soft serve instead of proper scoopable ice cream
 Save
Save My daughter requested this for her eighth birthday instead of cake, and I watched her eyes widen when she saw me pull the loaf pan from the freezer. She told me it was better than the ice cream shop because she could see the tiny candy chunks scattered through every spoonful. Now she asks to help with the mixing every single time.
Getting the Color Right
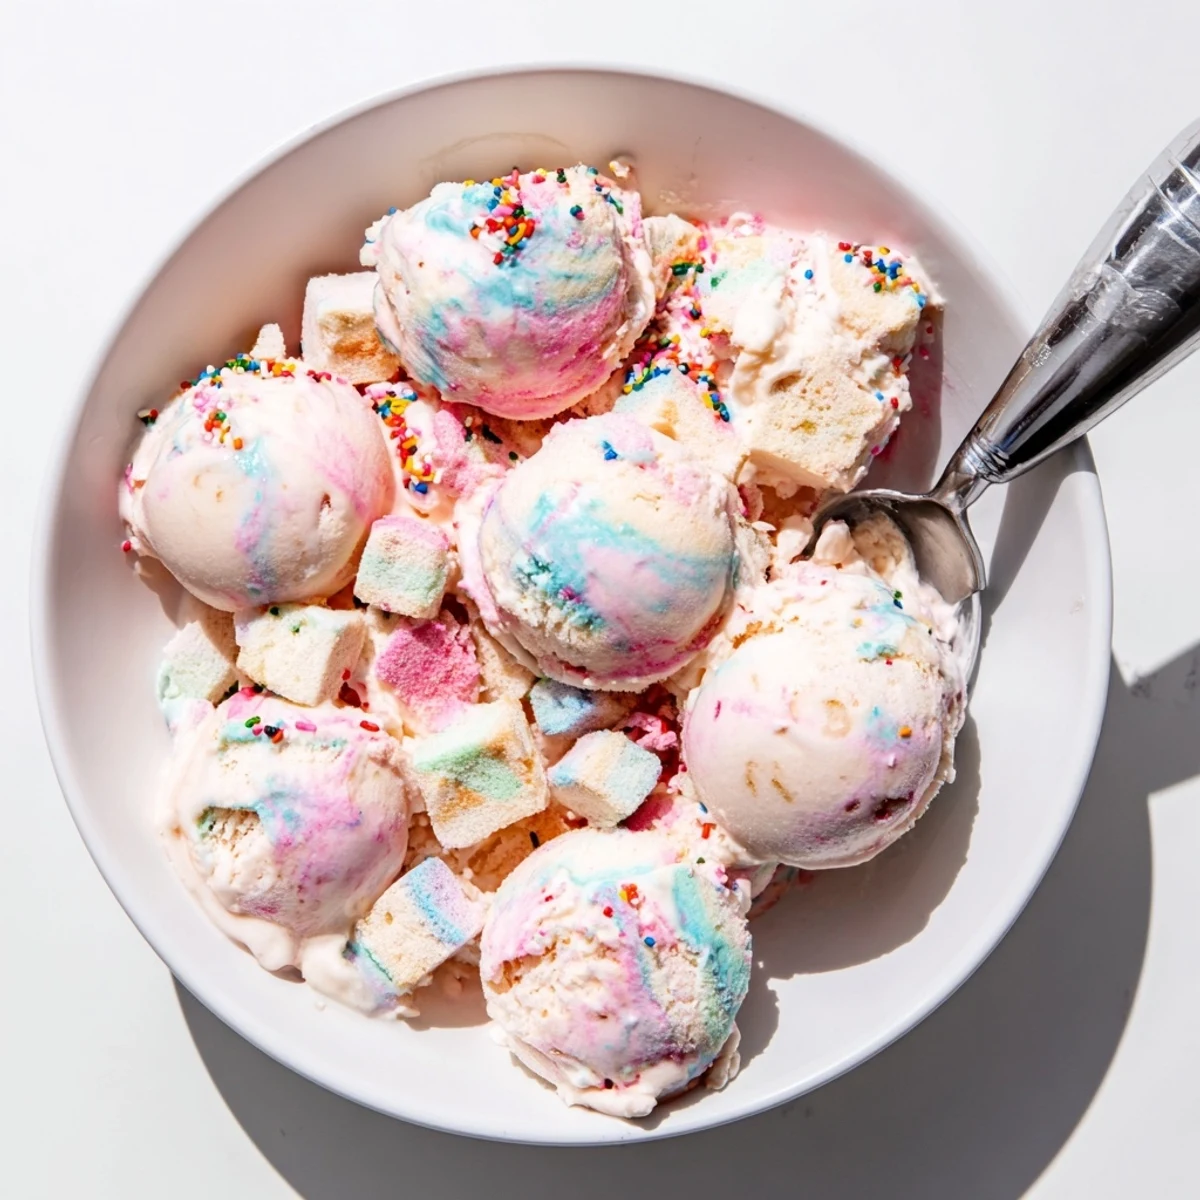
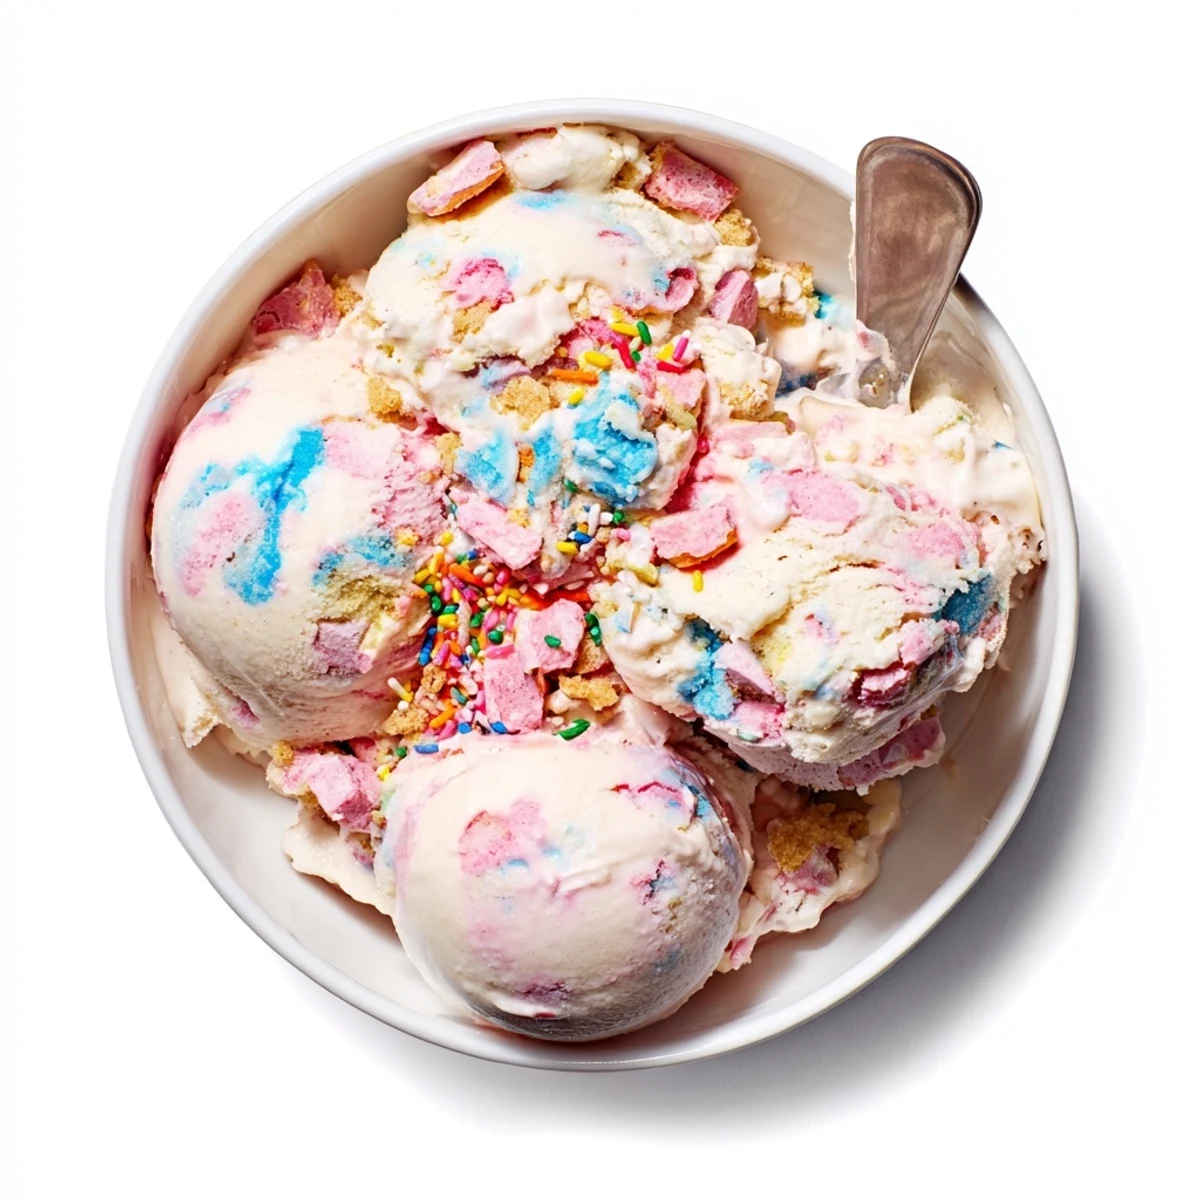
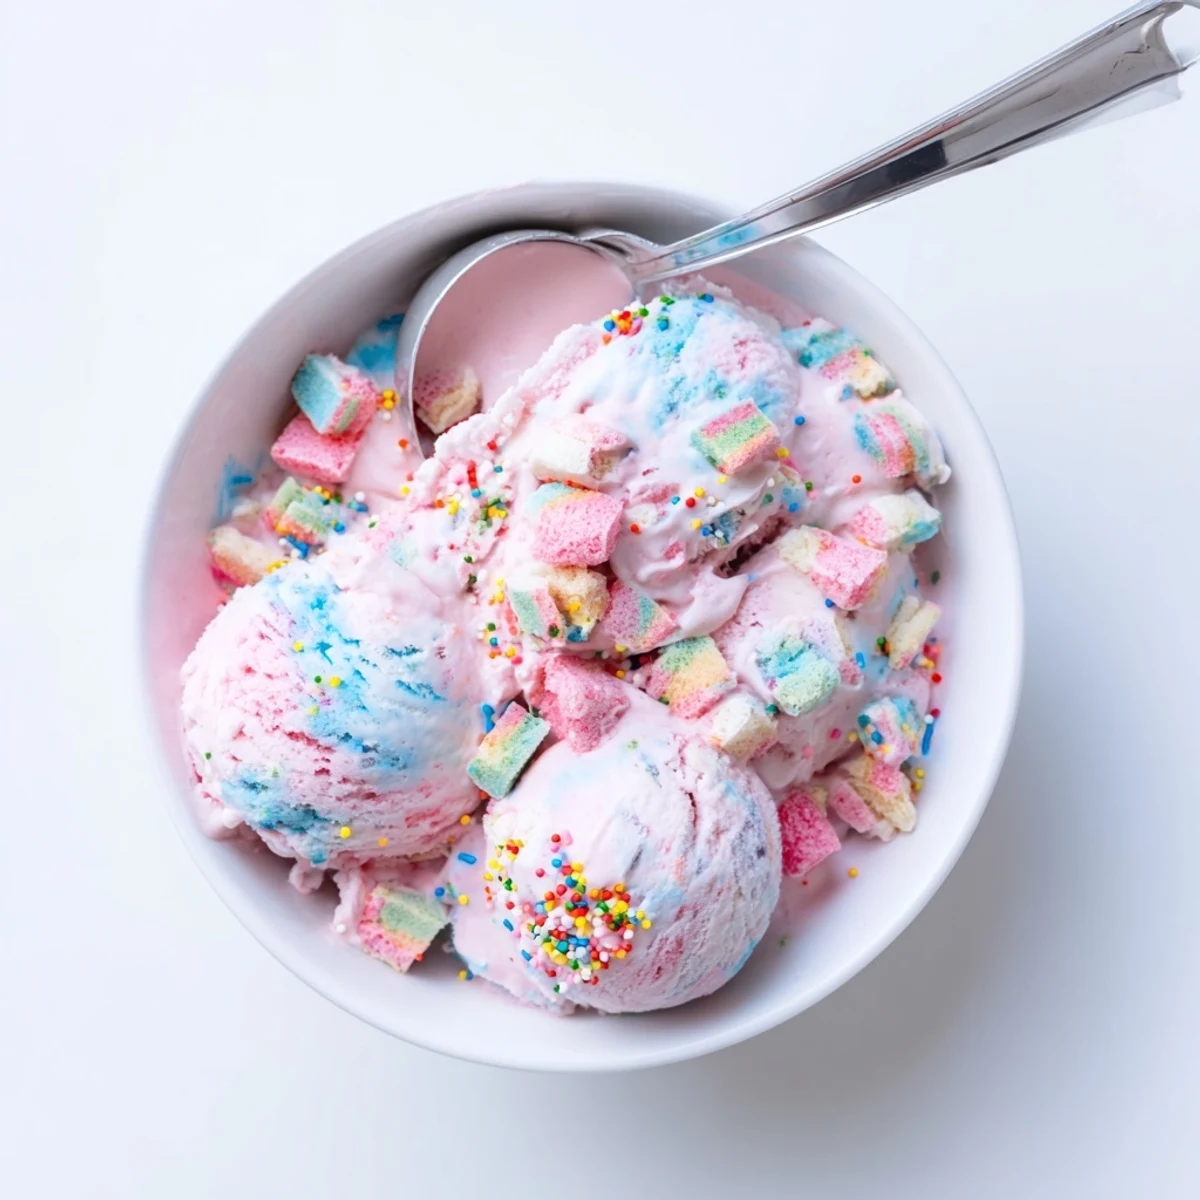
I once accidentally used too much pink gel and ended up with ice cream the color of highlighter ink. Tasted fine but looked radioactive. Now I dip a toothpick into the coloring and swirl it through just a quarter of the base before folding everything together, creating that classic marble effect instead of uniform artificial pink.
Texture Secrets
The difference between creamy and icy comes down to one thing: how thoroughly you fold the whipped cream into the condensed milk. Leave streaks unmixed and you will get weird frozen chunks in every bite. Take those extra thirty seconds to make it completely smooth before freezing.
Serving Suggestions
This stuff deserves to be celebrated, not just scooped into a boring bowl. Waffle cones become events, sugar cones get an upgrade, and even a simple glass dish feels special with a rainbow of sprinkles on top.
- Crush extra bubblegum candies over the top right before serving
- Pair with a plain sugar cone to let the bubblegum shine
- Store your scoop in warm water between servings for restaurant quality presentation
 Save
Save There is something genuinely wonderful about serving a dessert that makes adults giggle and kids do happy dances at the same time.
Recipe FAQs
- → What makes this no-churn method work?
-
The combination of whipped heavy cream and sweetened condensed milk creates a stable, creamy base that freezes beautifully without needing an ice cream maker. Air incorporated during whipping gives the final product its smooth texture.
- → Where can I find bubblegum flavoring?
-
Bubblegum flavoring is available at baking supply stores, craft stores with baking aisles, or online retailers. Look for concentrated candy flavoring or oil-based extracts for the best results.
- → How long does this ice cream need to freeze?
-
Freeze for at least 6 hours, though overnight is ideal for the firmest texture. The ice cream will keep well in the freezer for up to 2 weeks if stored in an airtight container.
- → Can I use different colors?
-
Absolutely! Try swirling pink and blue together for a fun marbled look, or use any color you prefer. Gel food coloring works best as it doesn't thin out the mixture like liquid coloring can.
- → What other mix-ins work well?
-
Mini marshmallows, white chocolate chips, crushed graham crackers, or colorful sprinkles all make excellent additions. Just keep total mix-ins to about 1 cup to maintain proper freezing texture.
