 Save
Save This irresistible strawberry earthquake cake combines the convenience of a boxed mix with homemade cream cheese filling for an unforgettable dessert experience. The batter comes together quickly with eggs, oil, and water, while the rich cream cheese layer adds tangy sweetness throughout.
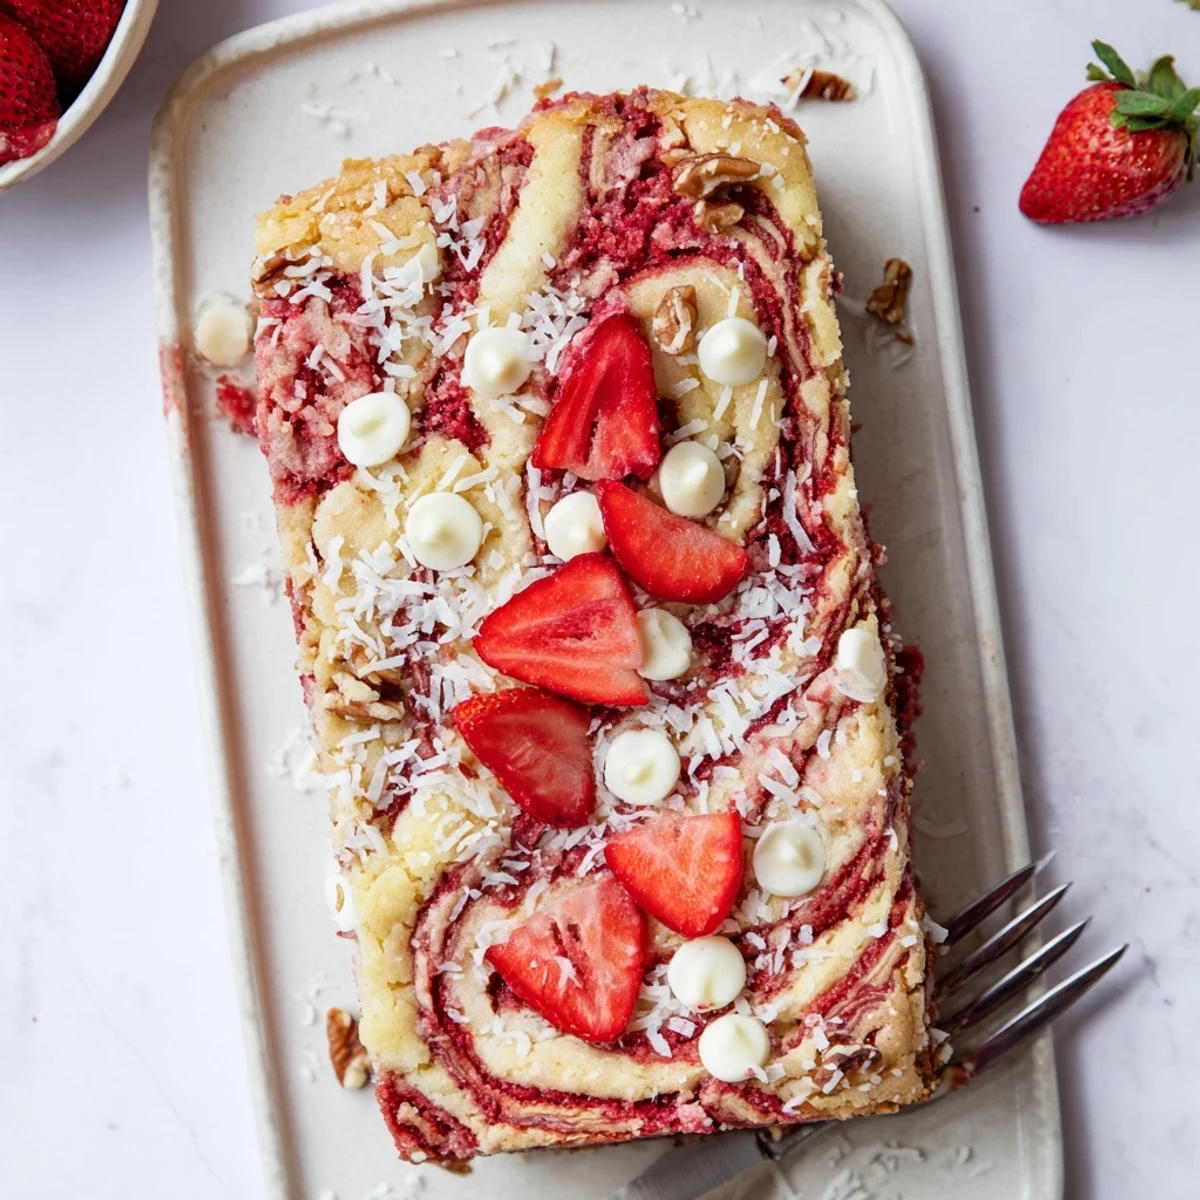
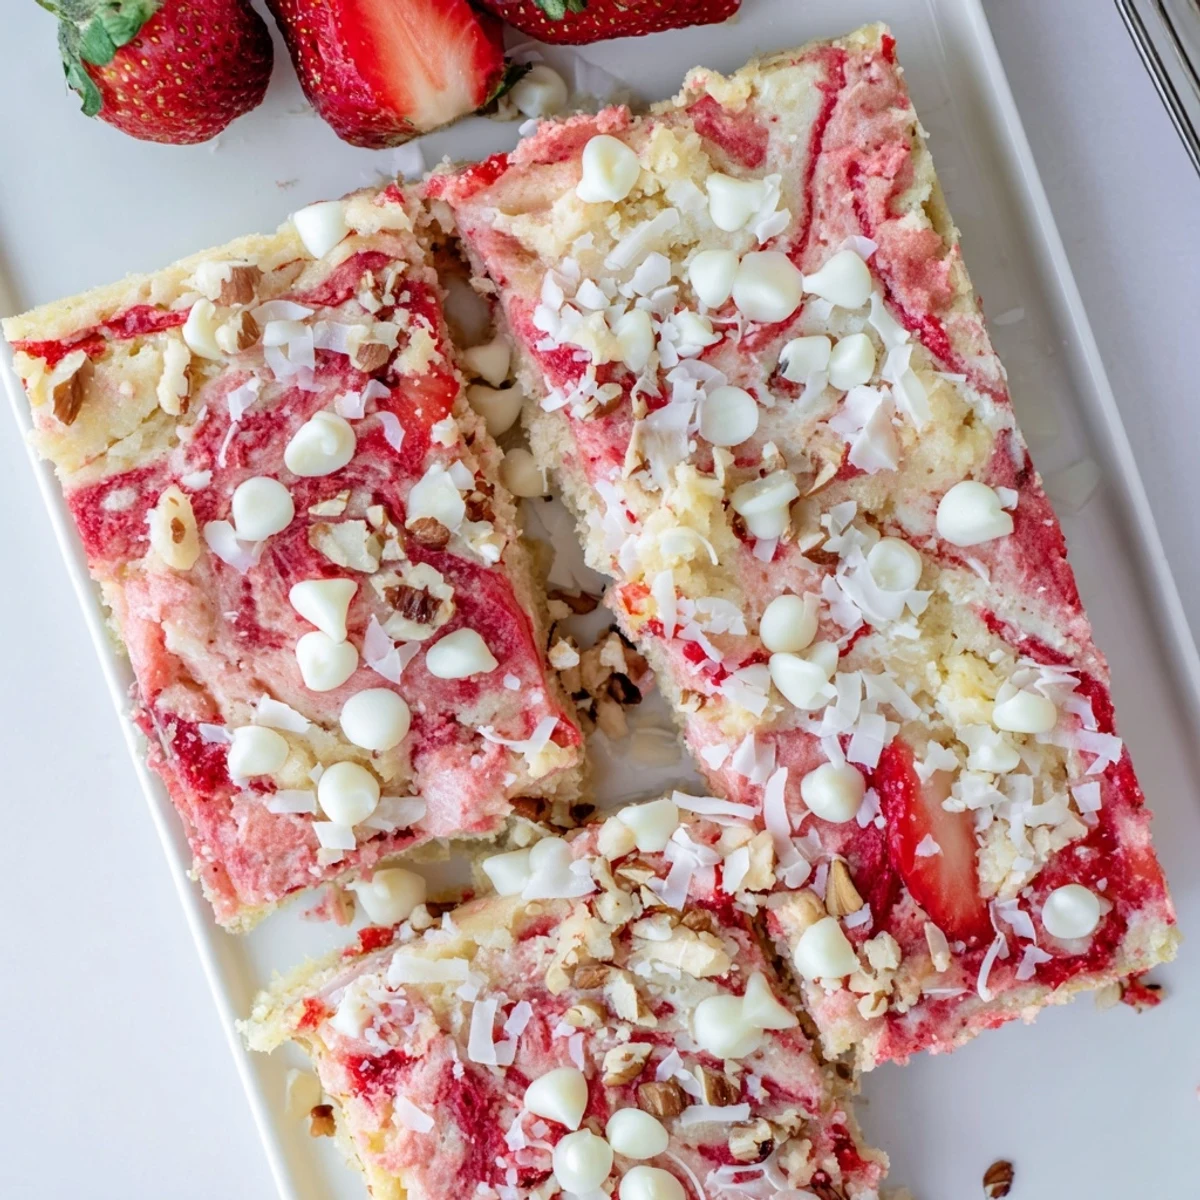
What makes this dessert special is the marbled appearance created by swirling the cream cheese mixture through the strawberry batter. The topping features white chocolate chips and fresh strawberries that bake into gooey pockets of flavor. Optional coconut and nuts add delightful crunch and texture.
Perfect for potlucks, family gatherings, or whenever you need a crowd-pleasing treat that looks impressive but comes together with minimal effort. Serve it warm with vanilla ice cream for the ultimate indulgence.
The name alone made me pause at my grandmother's kitchen table that summer afternoon. She called it earthquake cake because of how everything shifts and settles into beautiful chaos in the oven. I watched her drop spoonfuls of cream cheese filling onto bright pink batter, then drag a knife through like she was conducting some delicious experiment. What emerged was this glorious mess of swirls and pockets, each bite revealing something new.
I brought this to a potluck last spring when I was running late and had zero energy for anything complicated. The woman hosting took one bite and actually grabbed my arm like I'd just handed her gold. Someone else asked if I'd been working on the recipe for years, which made me laugh because it came together in fifteen minutes while my phone was buzzing with texts asking when I'd arrive.
Ingredients
- Strawberry cake mix: The shortcut foundation that lets you focus your energy on the fun stuff swirling and toppings
- Cream cheese: Make sure its properly softened or you'll end up with lumpy filling instead of silky ribbons throughout the cake
- White chocolate chips: They melt into pockets of creamy sweetness that balance the bright berry flavors
- Fresh strawberries: Frozen ones will release too much water and make sections of the cake soggy
- Shredded coconut: Even coconut haters often dont mind it here because it gets toasty on top and adds texture without overpowering
Instructions
- Get your oven ready:
- Preheat to 350°F and grease a 9x13-inch baking dish really well, especially the corners where this cake loves to stick.
- Make the base batter:
- Beat together the strawberry cake mix, eggs, oil, and water until completely smooth, then spread it evenly in your prepared pan.
- Whip up the filling:
- Beat softened cream cheese and butter until fluffy, then gradually add powdered sugar and vanilla until you have something silky and spreadable.
- Create the earthquake:
- Drop dollops of cream cheese mixture all over the batter, then use a knife to swirl through everything in a figure eight pattern.
- Add the toppings:
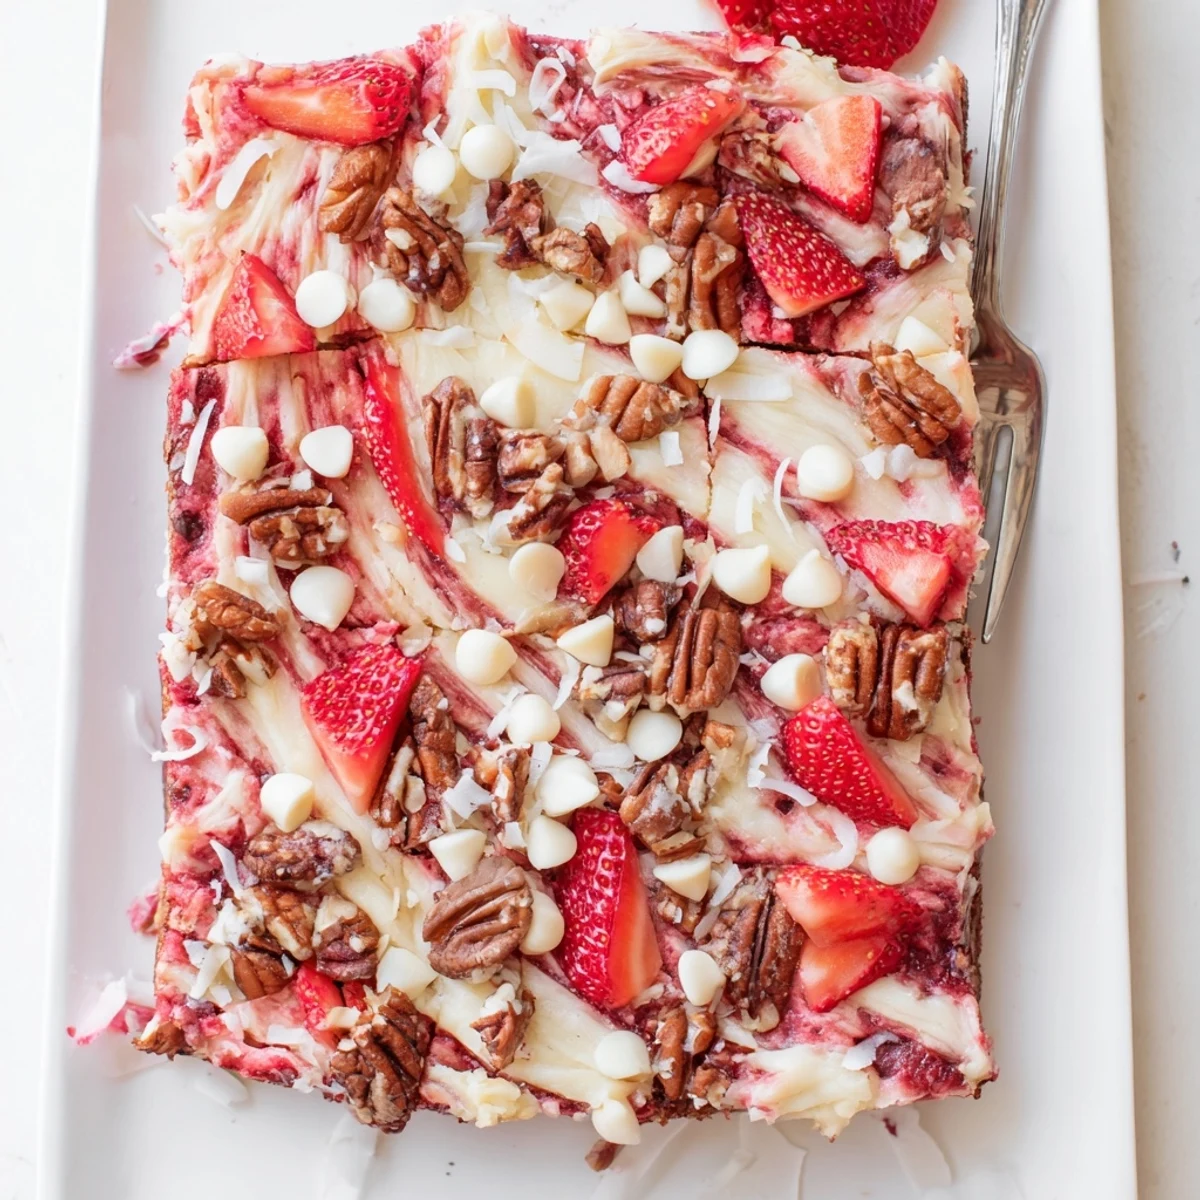
- Scatter white chocolate chips, chopped strawberries, coconut, and nuts across the surface like you're tucking them in for a nap.
- Bake until just set:
- Slide it into the oven for 40 to 45 minutes until the edges turn golden and a tester comes out with moist crumbs but not raw batter.
- Patience pays off:
- Let it cool for at least 30 minutes before cutting or you'll end up with a delicious but messy landslide on your serving platter.
 Save
Save My sister-in-law requested this for her birthday instead of a fancy bakery cake, which I took as the highest compliment. We ate it straight from the pan with forks while standing around the kitchen island, all of us too impatient to wait for proper plates. The way the white chocolate had melted into little puddles and the strawberries had softened into jammy pockets made it feel like something special despite how simple it was to throw together.
Making It Your Own
Once you master the basic technique, this cake becomes a canvas for whatever flavors you're craving. I've swapped in chocolate cake mix with raspberries, lemon cake with blueberries, even carrot cake with raisins and walnuts. The earthquake method works with pretty much any combination as long as you keep the ratios the same.
Serving Suggestions
Warm slices are absolute heaven with a scoop of vanilla bean ice cream melting into all those crevices. I've also served it room temperature at brunch where people acted surprised that something so indulgent showed up before noon. A dusting of powdered sugar right before serving makes it look intentional instead of gloriously messy.
Storage and Make-Ahead Tips
This cake keeps beautifully covered at room temperature for up to three days, though good luck with it lasting that long. I've also wrapped individual slices in plastic and frozen them for those emergency dessert situations.
- Wrap the entire pan tightly with foil if you're making it the day before a gathering
- The texture actually improves after sitting overnight as the moisture redistributes
- Never refrigerate it unless your kitchen is unusually warm because cold makes the texture dense
 Save
Save There's something deeply satisfying about serving a dessert that looks wildly impressive but required almost no technique to execute. Every time I make this earthquake cake, I'm reminded that the best recipes are often the ones that embrace a little beautiful chaos.
Recipe FAQs
- → Why is it called earthquake cake?
-
The name comes from its characteristic cracked and uneven appearance after baking. As the cream cheese mixture sinks and swirls through the batter, it creates fault lines and crevices resembling earthquake terrain. This messy, marbled look is part of its charm and makes each slice unique.
- → Can I make this cake ahead of time?
-
Absolutely. This cake actually tastes better when made a day ahead, allowing the flavors to meld and the cream cheese layer to set properly. Store covered at room temperature for up to 2 days or refrigerate for up to 5 days. Bring to room temperature before serving for the best texture.
- → What if I don't have fresh strawberries?
-
Frozen strawberries work well in a pinch. Thaw and drain them thoroughly before adding to prevent excess moisture. You can also use dried strawberries or increase the amount of strawberry extract in the cream cheese filling. Alternatively, try other berries like raspberries or blueberries.
- → How do I know when it's done baking?
-
The edges should be golden brown and pull slightly away from the pan sides. The center may still appear slightly jiggly but should set as it cools. A toothpick inserted in the center should come out with moist crumbs rather than wet batter. Avoid overbaking to maintain the gooey texture.
- → Can I use homemade cake batter instead of a mix?
-
Yes, any white or vanilla cake batter works beautifully as a base. Prepare your favorite from-scratch recipe following the same instructions. You may need to adjust the baking time slightly depending on your batter's consistency. The cream cheese swirl technique remains the same.
- → What's the best way to swirl the filling?
-
Drop spoonfuls of cream cheese mixture randomly over the batter rather than in rows. Use a butter knife or skewer to make figure-eight motions through both layers, going about 1 inch deep. Don't over-swirl or you'll lose the distinct marbling effect. Some unevenness is desirable.
