
 Save
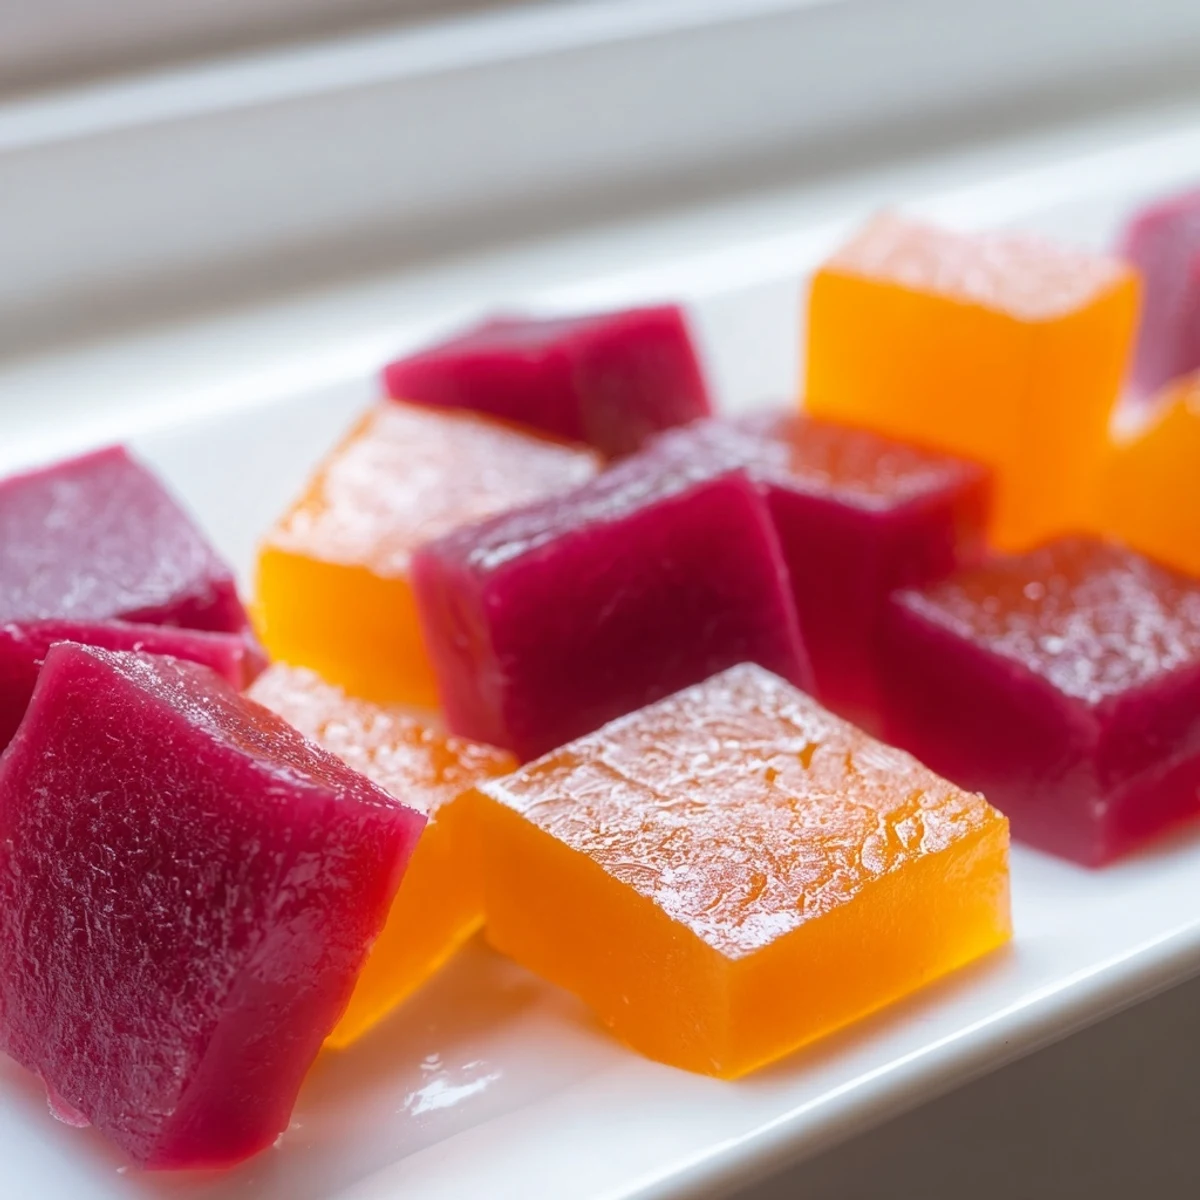
Save These homemade collagen fruit jellies combine 100% fruit juice with grass-fed collagen peptides and unflavored gelatin for a nourishing, bite-sized treat.
Ready in just 15 minutes of active prep plus chilling time, they're naturally gluten-free, dairy-free, and easily customized with your favorite juice blends.
Each jelly delivers a boost of collagen to support skin and joint health while satisfying your sweet tooth with only 25 calories per serving.
My kitchen smelled like a fruit stand on a rainy afternoon when I first messed around with these collagen fruit jellies, and honestly I was just trying to make something my toddler would eat without a negotiation. The silence that followed, two little hands grabbing square after square, told me everything I needed to know about what had just happened.
I brought a batch to my neighbors potluck last spring and three people asked for the recipe before the table was even fully set.
Ingredients
- Fruit juice (1 cup, 100% juice): Orange gives you a creamsicle vibe, mixed berries turn everything jewel toned, and apple keeps it mellow for picky eaters.
- Honey or maple syrup (2 to 3 tablespoons, optional): Taste your juice first because some are already plenty sweet on their own.
- Collagen peptides (2 tablespoons): Dissolves invisibly and adds a subtle protein boost without changing the texture at all.
- Unflavored gelatin powder (3 tablespoons): This is what does the heavy lifting so do not skimp or substitute unless you know exactly what you are doing.
Instructions
- Bloom the gelatin:
- Pour the juice into a small saucepan and sprinkle the gelatin over the surface in an even layer, then wait two to three minutes without stirring so it can soak up the liquid properly.
- Gently warm it through:
- Set the pan over low heat and whisk slowly until every grain of gelatin vanishes into the liquid, which usually takes about two minutes of patient stirring.
- Stir in the good stuff:
- Take the pan off the heat and add the collagen peptides and your sweetener if you are using any, whisking until the mixture looks completely smooth.
- Pour and chill:
- Transfer the liquid into silicone molds or a parchment lined dish and slide it into the fridge for at least two hours until it holds its shape when nudged.
- Cut and store:
- Pop the jellies out of the molds or slice them into bite sized squares and keep them in an airtight container in the refrigerator.
 Save
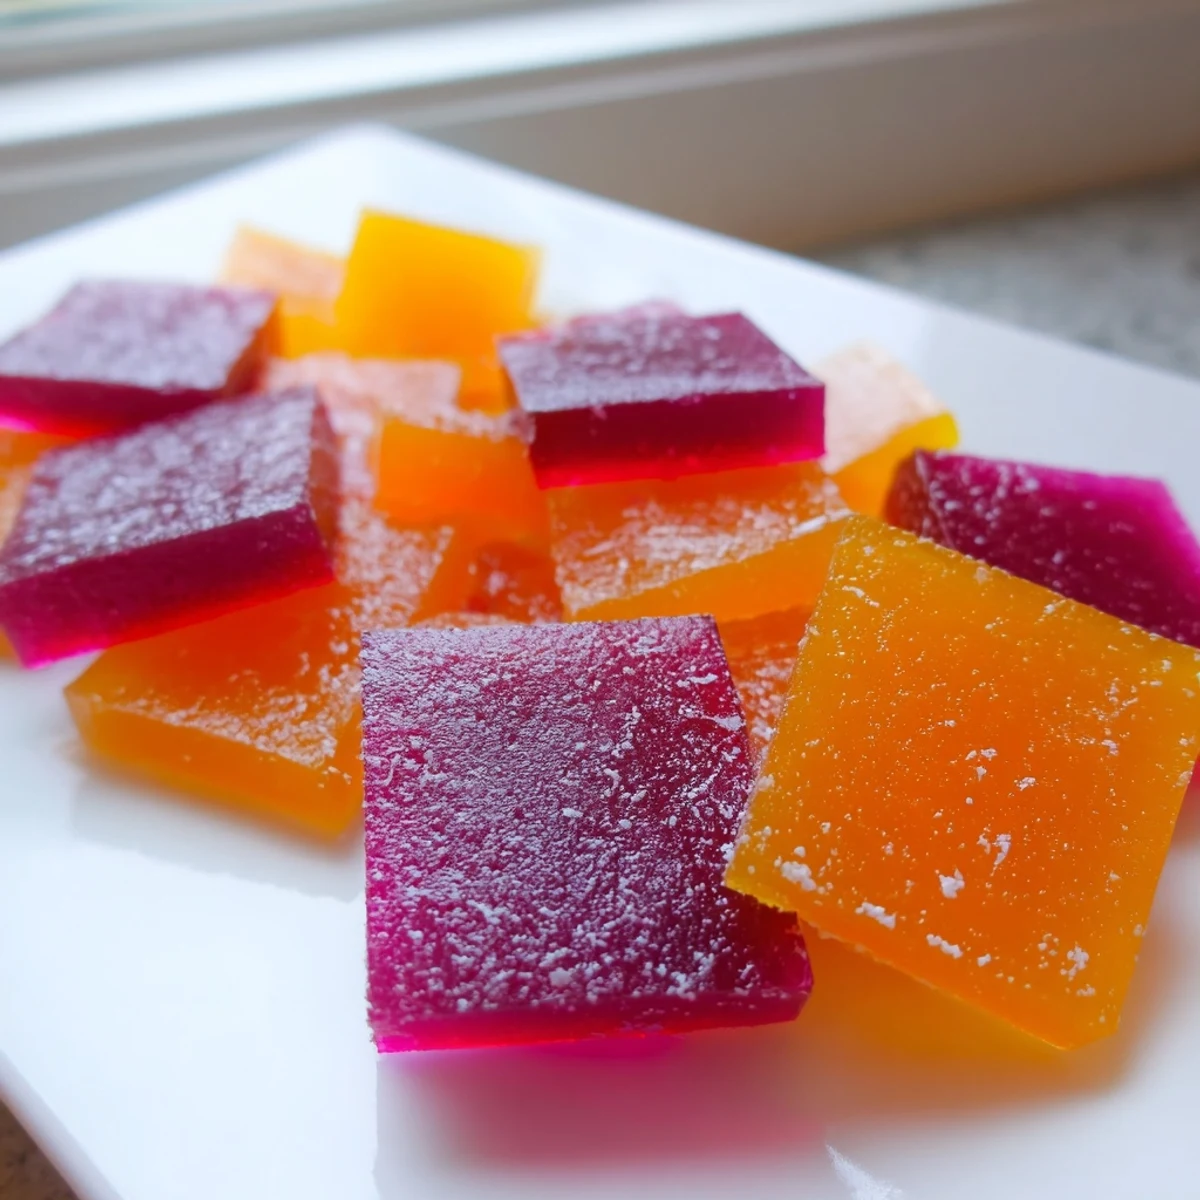
Save The night my daughter helped me cut a pan of these into wobbly little squares, she lined them up by color and announced she was opening a jelly shop, and I realized this recipe had accidentally become a Saturday morning tradition.
Picking the Right Juice
Not all fruit juices behave the same way when you turn them into jellies. Fresh squeezed orange juice gives a softer set, while store bought berry blends tend to firm up beautifully because of their natural pectin content. Avoid anything with added fiber or pulp because it clouds the final result and creates an odd grainy bite. If you want crystal clear jellies that look like stained glass, strain your juice through a fine mesh sieve before starting.
Storage That Actually Works
These jellies will weep and get sticky if left at room temperature for more than an hour, so the fridge is their true home. A single layer in a container with a lid keeps them looking nice, but if you have to stack them, toss each piece in a tiny dusting of cornstarch first. They hold their texture for about a week, though mine have never lasted that long. Freezing changes the texture to something spongy and strange, so skip that idea entirely.
Making Them Your Own
Once you have the basic ratio down, the variations are endless and that is where the real fun begins. A teaspoon of lemon zest brightens everything, a pinch of sea salt on top makes them taste fancy, and layered molds with two different juices look stunning at a party.
- Try coconut water and mango juice for a tropical version that tastes like vacation.
- Add a few drops of vanilla extract to apple juice jellies for an apple pie flavor without the crust.
- Always do a small test batch with a new juice before committing the whole cup.
 Save
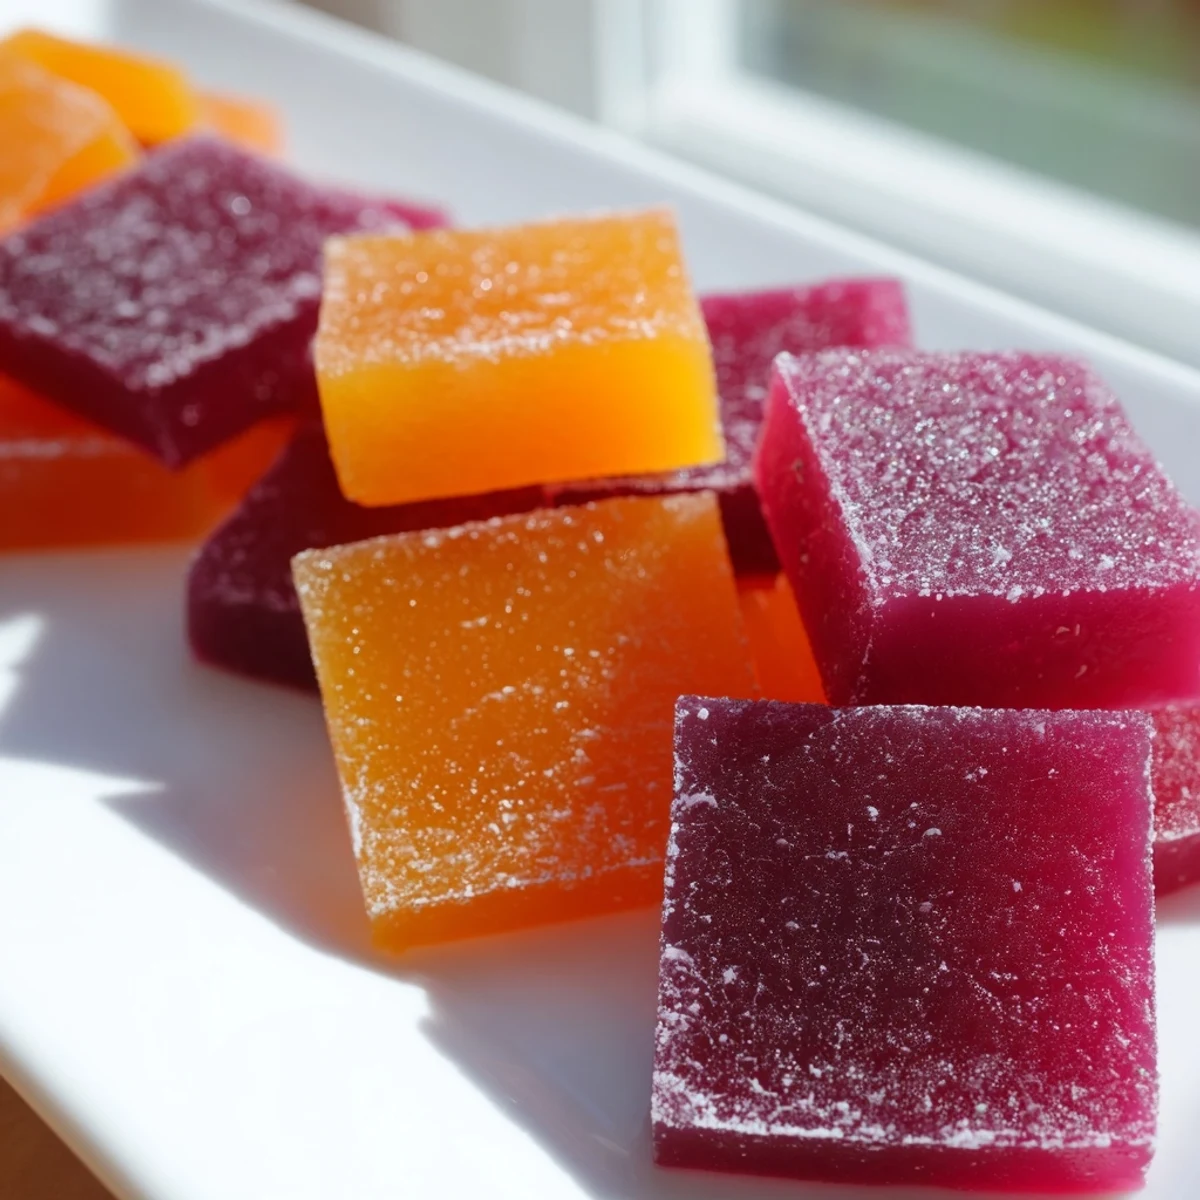
Save Keep a batch tucked in the back of the fridge and you will always have something sweet waiting when the afternoon slump hits.
Recipe FAQs
- → What type of fruit juice works best for these jellies?
-
100% fruit juice without added sugars or artificial flavors yields the best results. Orange, mixed berry, apple, and pomegranate are all excellent choices. Avoid juices with added preservatives, as they can interfere with the gelling process.
- → Can I make these jellies vegan?
-
Yes, you can substitute the gelatin with agar-agar powder for a vegan version. Use approximately 1 tablespoon of agar-agar for every 1 tablespoon of gelatin. Note that collagen peptides are animal-derived, so for a fully vegan alternative, you may omit them or explore plant-based collagen-boosting supplements.
- → How should I store the finished jellies?
-
Store the jellies in an airtight container in the refrigerator for up to one week. Lightly dusting them with cornstarch before storing prevents sticking. They should not be left at room temperature for extended periods, as gelatin softens in warmth.
- → Why won't my jellies set properly?
-
The most common reason is insufficient chilling time—they need at least 2 hours in the refrigerator. Another possibility is that the mixture boiled during heating, which can weaken gelatin's setting power. Always heat gently over low heat and never let it boil. Also ensure you're using the correct ratio of gelatin to liquid.
- → Can I use flavored collagen instead of unflavored peptides?
-
Flavored collagen peptides can work but will alter the taste profile of your jellies. If using flavored collagen, consider reducing or eliminating the added honey or maple syrup to avoid overpowering sweetness. Unflavored collagen peptides give you the most control over the final flavor.
- → Are these suitable for children?
-
Absolutely. These jellies are a fun and wholesome snack for kids. They contain no common allergens and are free from artificial colors and flavors. You can use fun-shaped silicone molds to make them more appealing. Just ensure the pieces are an appropriate size for young children to avoid choking hazards.