 Save
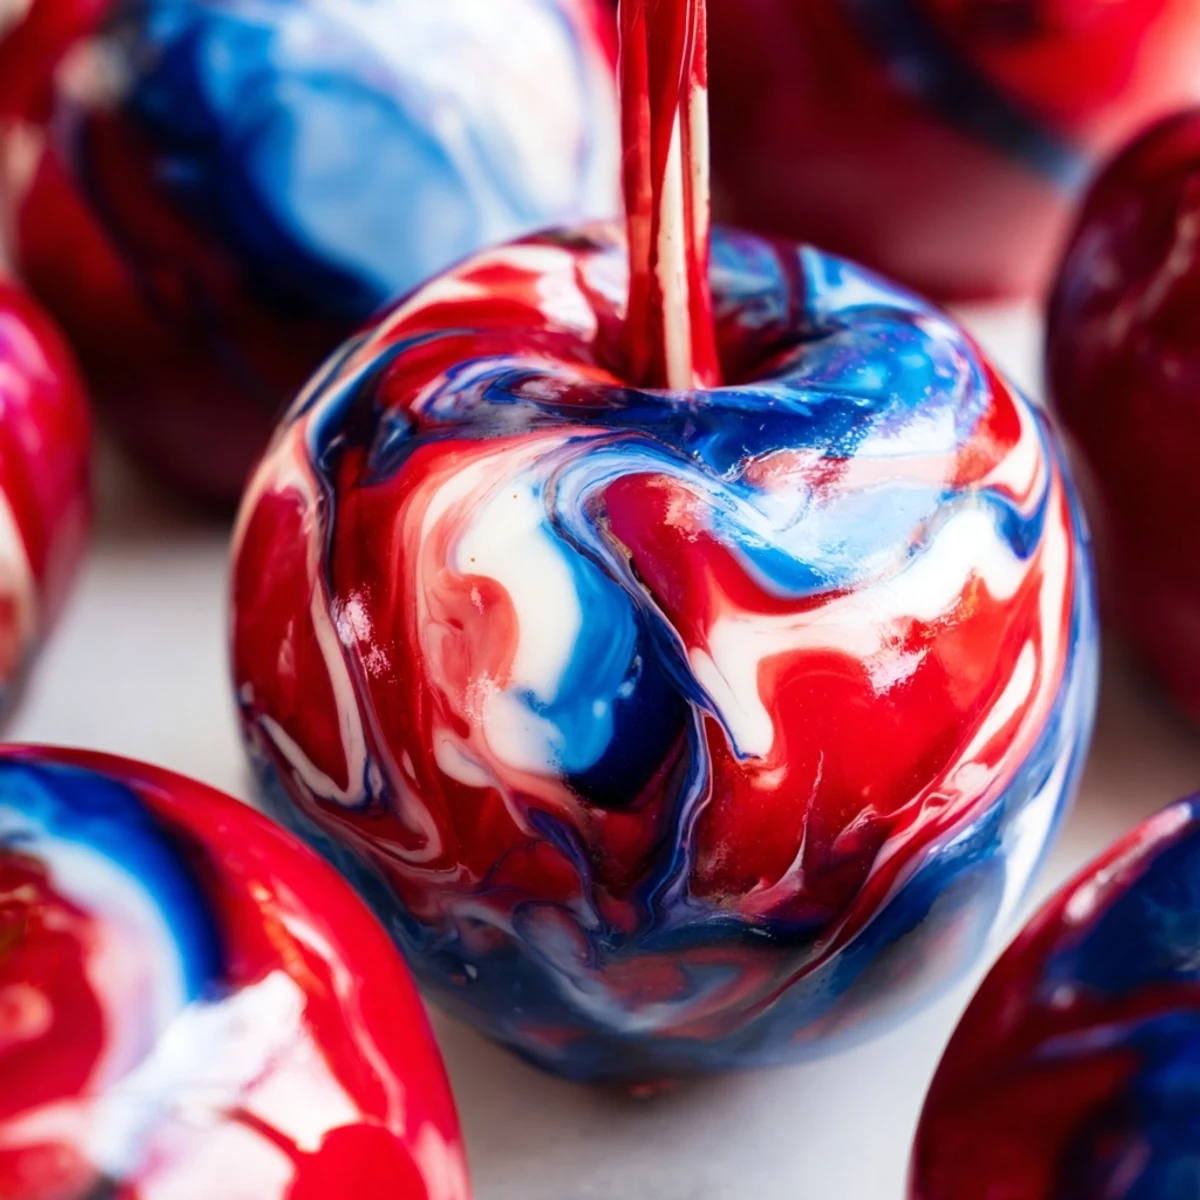
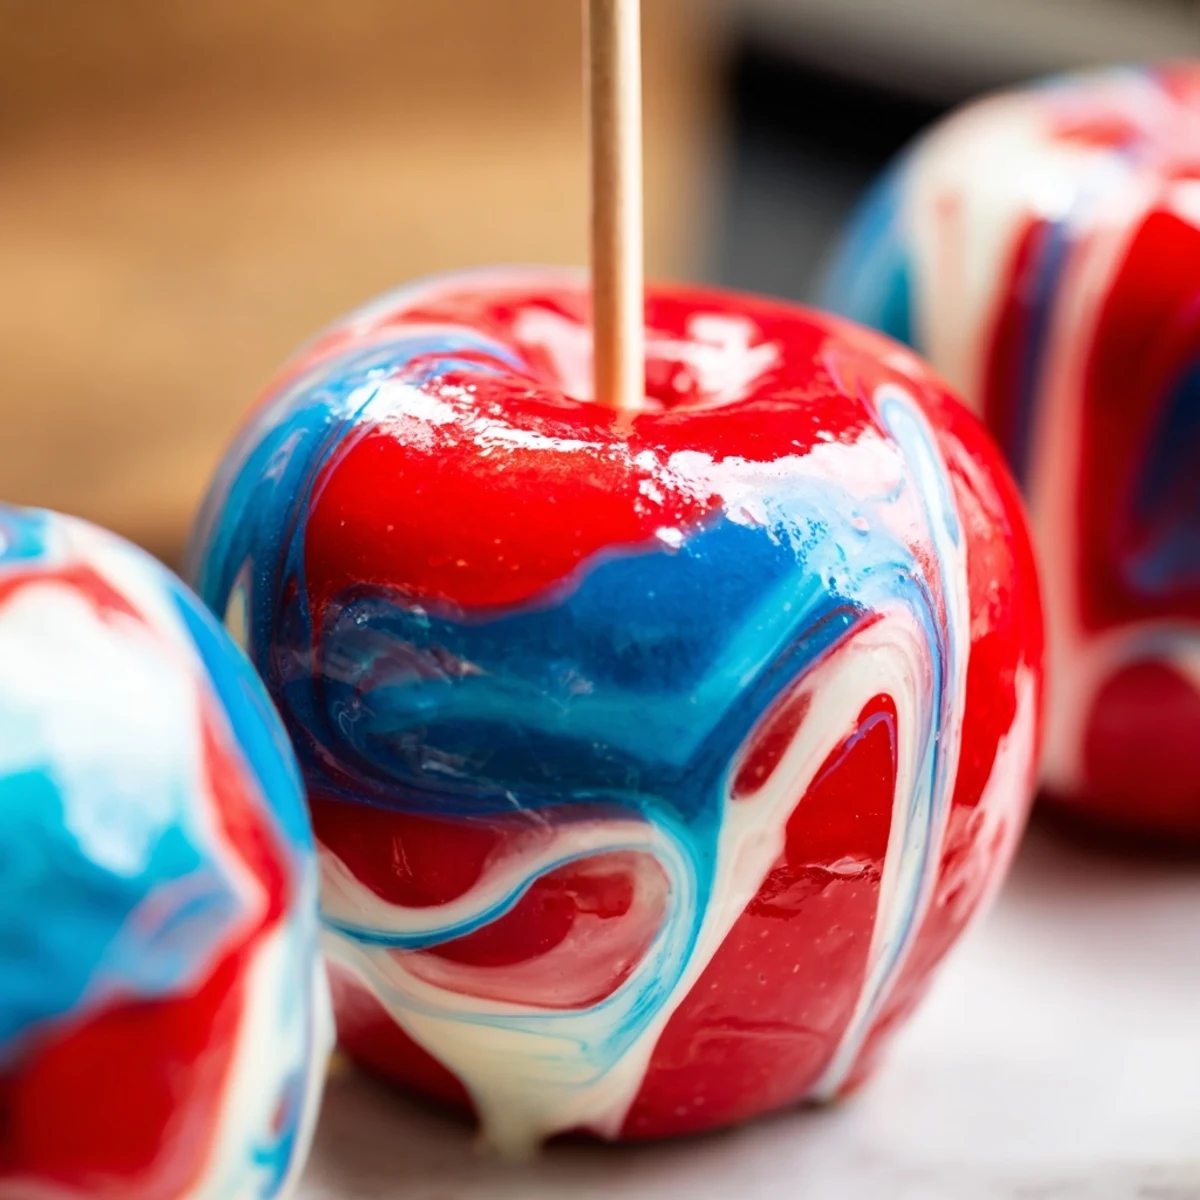
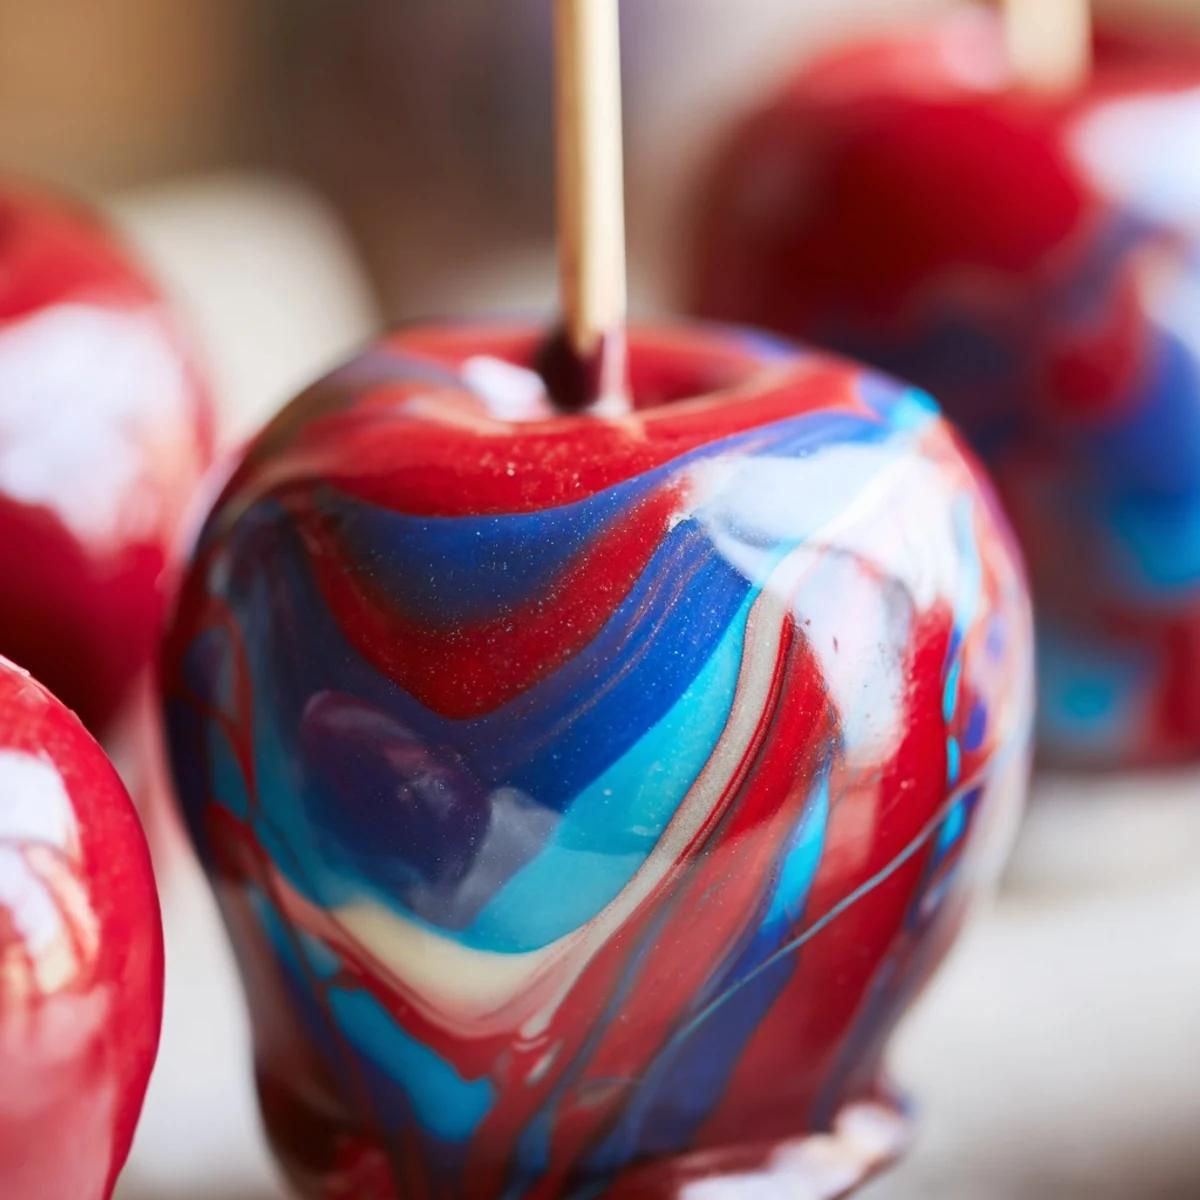
Save Create stunning marbled candy apples with this easy technique. Crisp apples are coated in a glossy, vibrantly swirled candy shell that's perfect for parties, holidays, or whimsical dessert displays. The marbling effect is achieved by adding drops of different colored food coloring to hot candy syrup and gently swirling, creating beautiful streaks without fully mixing. These treats combine the classic appeal of candy apples with an artistic twist that's sure to impress guests.
The first time I attempted marbled candy apples, I stood over my stove mesmerized as the swirls of red and blue rippled through the hot sugar like edible marble. My kitchen smelled like carnival nostalgia and pure sugar alchemy, and when that first apple emerged with galaxies of color trapped in glass, I actually gasped out loud.
I made a batch for my daughters Halloween party last year, and they disappeared faster than any treat Ive ever served. Parents were asking for the recipe, and kids were holding them up to the light like they were precious gems, watching the colors catch the afternoon sun.
Ingredients
- 8 medium apples: Granny Smith or Fuji work beautifully because their tartness balances the intense sweetness, and their firm texture holds up against the hard candy shell
- 8 sturdy wooden sticks: Insert them firmly but gently into the stem end, going about halfway through the apple center so they stay secure during dipping
- 2 cups granulated sugar: This is the foundation of your candy coating, so measure accurately for proper crystallization
- 3/4 cup water: Helps dissolve the sugar and creates the right consistency for smooth dipping
- 1/2 cup light corn syrup: Prevents the sugar from recrystallizing and keeps your coating glossy and smooth
- 1/2 tsp vanilla extract: Optional, but adds a lovely warmth that rounds out the sugar rush
- Red, blue and white gel food coloring: Gel coloring is essential here because liquid coloring can make your candy seize up or turn cloudy
Instructions
- Set up your workspace:
- Line a large baking sheet with parchment paper or a silicone mat and have all your tools within reach because once that sugar reaches temperature, you need to move quickly
- Prep your apples:
- Wash and thoroughly dry each apple because any moisture will prevent the candy from adhering properly, then insert wooden sticks into the stem end until they feel secure
- Make the candy base:
- Combine sugar, water, and corn syrup in a heavy-bottomed saucepan over medium heat, stirring just until the sugar dissolves completely
- Reach the magic temperature:
- Turn the heat to high and bring to a boil without stirring, then attach your candy thermometer and cook until it hits exactly 300°F, the hard crack stage that creates that satisfying glass shell
- Create the marble:
- Remove from heat immediately, stir in vanilla if using, then add drops of your gel colors and drag a wooden skewer through just once or twice to create streaks
- Dip and swirl:
- Hold an apple by the stick, dip it straight down into the hot candy, and twist as you pull it up to catch those beautiful swirling patterns, letting excess drip off
- Set and admire:
- Place each coated apple on your prepared sheet and let them cool completely until the shell hardens, which takes about 15 minutes of patient waiting
 Save
Save My nephew called them galaxy apples because the swirls looked like nebula frozen in time, and now every time he visits he asks if were making planets today. These have become the thing people remember most about our fall gatherings.
Getting The Swirl Right
The key is restraint when adding your colors. Too much swirling blends everything into muddy purple, so just drag your skewer through the hot sugar two or three times maximum and trust that the dipping motion will create additional patterns on its own.
Temperature Matters
Invest in a good candy thermometer because this recipe fails at 290°F and burns at 310°F. I learned this the hard way with three batches of grainy, failed candy before I finally trusted my thermometer over my instincts.
Making Them Ahead
These apples are best served within 24 hours because the moisture from the apple eventually starts to break down the candy shell from the inside out. Store them at room temperature wrapped in individual cellophane bags to protect that gorgeous finish.
- If you need to make them a day ahead, keep them in a cool, dry place away from direct sunlight
- Never refrigerate candy apples because the condensation will ruin the glossy surface
- Work in small batches of 4 apples at a time if this is your first attempt
 Save
Save There is something deeply satisfying about making something so beautiful from such simple ingredients. These apples remind me that a little patience and the right technique can transform the ordinary into something magical.
Recipe FAQs
- → What type of apples work best for candy coating?
-
Medium-firm apples like Granny Smith or Fuji work best as they hold up well to the hot candy coating without becoming too soft. Make sure to wash and thoroughly dry the apples before inserting sticks, as any moisture can cause the candy to crack.
- → How do I achieve the marbled effect?
-
Add a few drops of different colored gel food coloring to the hot candy syrup, then gently swirl with a wooden skewer. Don't fully mix - you want visible streaks for the marbled effect. The syrup should be at hard crack stage (300°F/150°C) for proper coating.
- → Can I use liquid food coloring instead of gel?
-
Gel food coloring is recommended for vibrant, distinct marbling. Liquid food coloring may not produce the same intensity and can affect the candy's texture and setting properties.
- → How long do the candy apples last?
-
Store finished apples at room temperature for up to 24 hours. The candy shell will harden as it cools, creating a crisp exterior that protects the apple inside.
- → What if my candy syrup thickens before I finish dipping?
-
If the syrup thickens, gently rewarm it over low heat until it reaches the proper consistency again. Be careful not to overheat, as this can affect the candy's texture and color.
