 Save
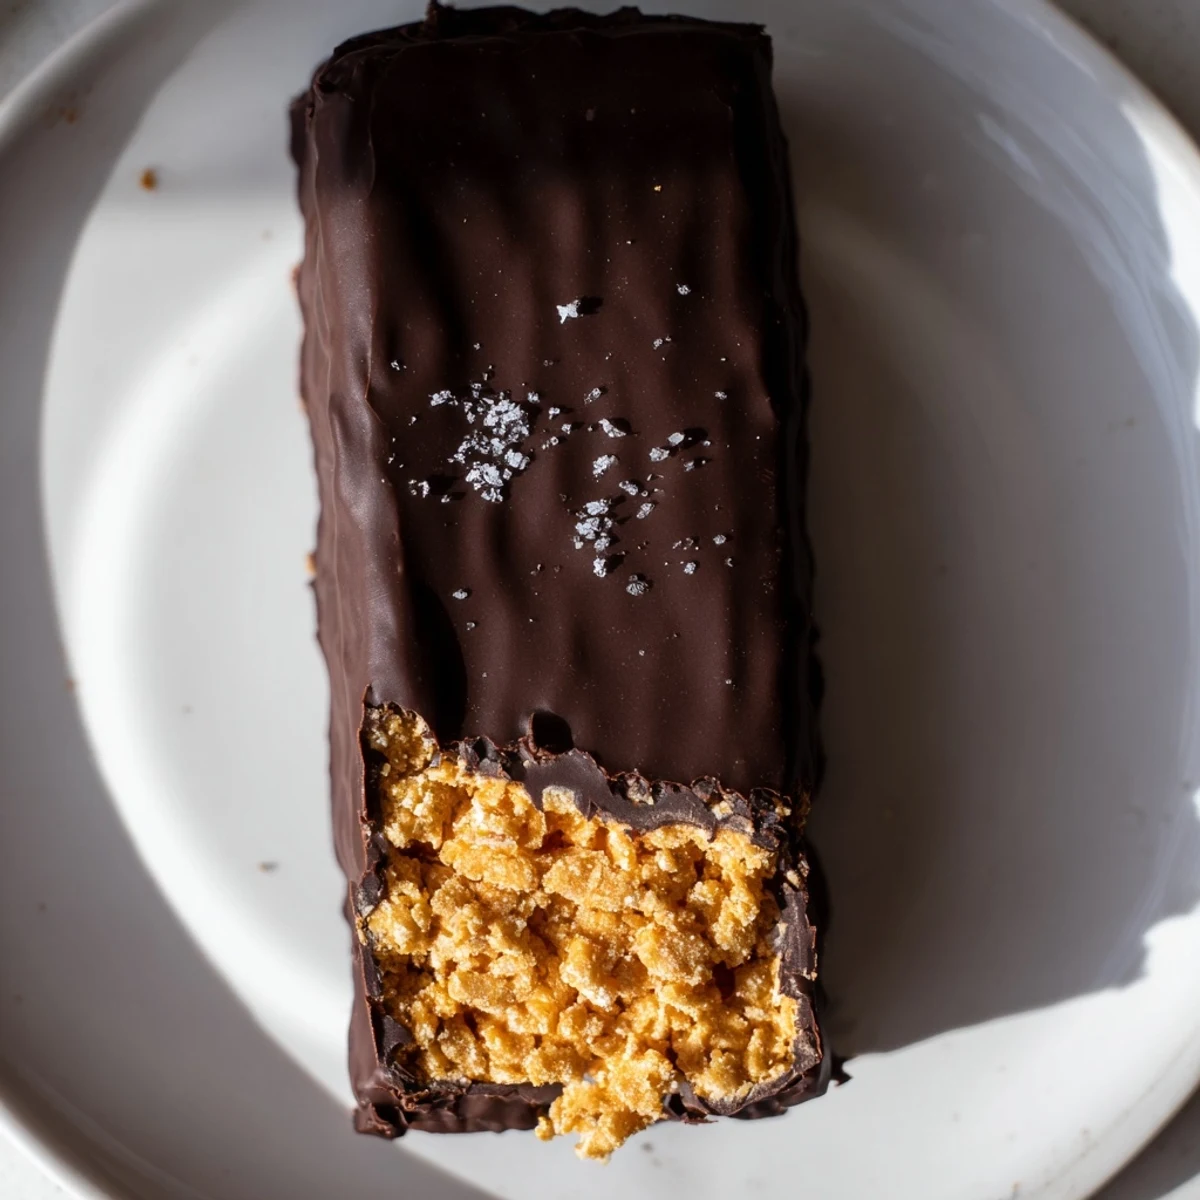
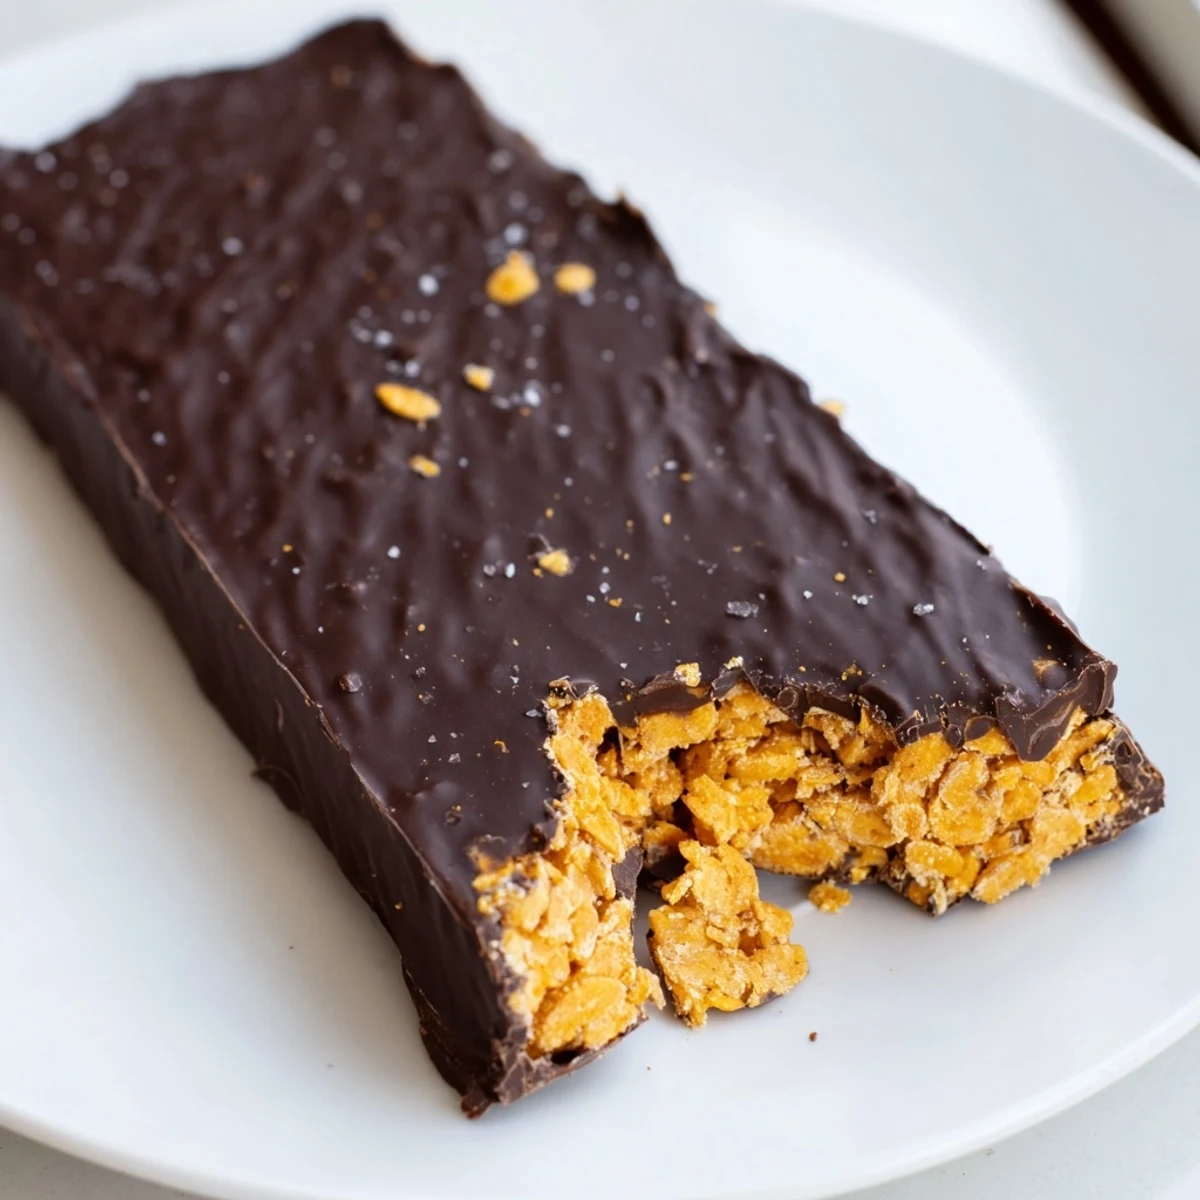
Save These homemade Butterfingers capture everything you love about the classic candy bar with a wholesome twist. A crunchy peanut butter and cornflake center is mixed with maple syrup for natural sweetness, then dipped in velvety dark chocolate.
The entire process takes about 30 minutes of hands-on time, plus chilling. They're vegetarian-friendly and easily made gluten-free and vegan with simple ingredient swaps.
Each bar delivers that signature snap and crunch without refined sugars or artificial ingredients. Store them in the fridge for a firm bite, or freeze for up to three months.
The smell of melting peanut butter and chocolate together is enough to make anyone abandon whatever they were doing and wander into the kitchen. My sister walked in while I was making these one rainy Saturday, took one look at the cornflake studded bars cooling on the counter, and said nothing else mattered anymore. She wasnt wrong.
I brought a container of these to a movie night thinking theyd last the whole evening. They were gone before the opening credits finished rolling, and two people asked me to text them the recipe before the night was over.
Ingredients
- Natural creamy peanut butter: Use the kind with just peanuts and salt, the stabier natural brands work best here since they hold the bars together without making them greasy.
- Pure maple syrup or honey: Maple syrup keeps the bars vegan, while honey adds a rounder sweetness that some people prefer.
- Vanilla extract: Just a teaspoon rounds out the flavors beautifully.
- Cornflakes, lightly crushed: Do not pulverize them into dust, you want irregular pieces that give that signature flaky crunch.
- Sea salt: A small pinch lifts everything and keeps the sweetness from taking over.
- Dark chocolate chips: Go for something around 60 to 70 percent cacao for the best balance against the sweet filling.
- Coconut oil: This thins the chocolate so it coats smoothly and sets with a nice snap.
Instructions
- Prep the pan:
- Line an 8x8 inch baking dish with parchment paper, leaving enough overhang on the sides to lift the slab out later. This small step saves you from a sticky mess.
- Warm the peanut butter mixture:
- In a saucepan over medium low heat, stir the peanut butter and maple syrup together until they melt into one smooth, glossy mixture. This takes about two or three minutes, and you will know it is ready when it looks like liquid caramel.
- Add flavor and crunch:
- Take the pan off the heat, stir in the vanilla and salt, then gently fold in the crushed cornflakes. Use a folding motion so you do not crush the flakes any further.
- Press and freeze:
- Spread the mixture into your lined pan and press it down firmly and evenly with a spatula. Pop it into the freezer for 20 to 30 minutes until it feels solid and holds its shape.
- Cut into bars:
- Lift the whole slab out using the parchment overhang and cut it into 16 bars with a sharp knife. A gentle sawing motion helps keep the edges clean.
- Melt the chocolate:
- Combine the chocolate chips and coconut oil in a microwave safe bowl and heat in 30 second bursts, stirring between each, until the mixture is completely smooth and pourable.
- Coat the bars:
- Dip each bar into the melted chocolate, turning it with a fork to cover every side. Let the excess drip off, then set each bar on a fresh sheet of parchment paper.
- Let them set:
- Place the coated bars in the fridge for 15 to 20 minutes until the chocolate shell is firm to the touch and no longer tacky.
 Save
Save The real magic hits when you bite through that dark chocolate shell and hear the crackle of the cornflake center. It is the kind of texture that makes people close their eyes for a second.
Storing Your Bars
These bars keep beautifully in an airtight container in the refrigerator for about two weeks. You can also freeze them for up to three months, layered between sheets of parchment so they do not stick together.
Making It Your Own
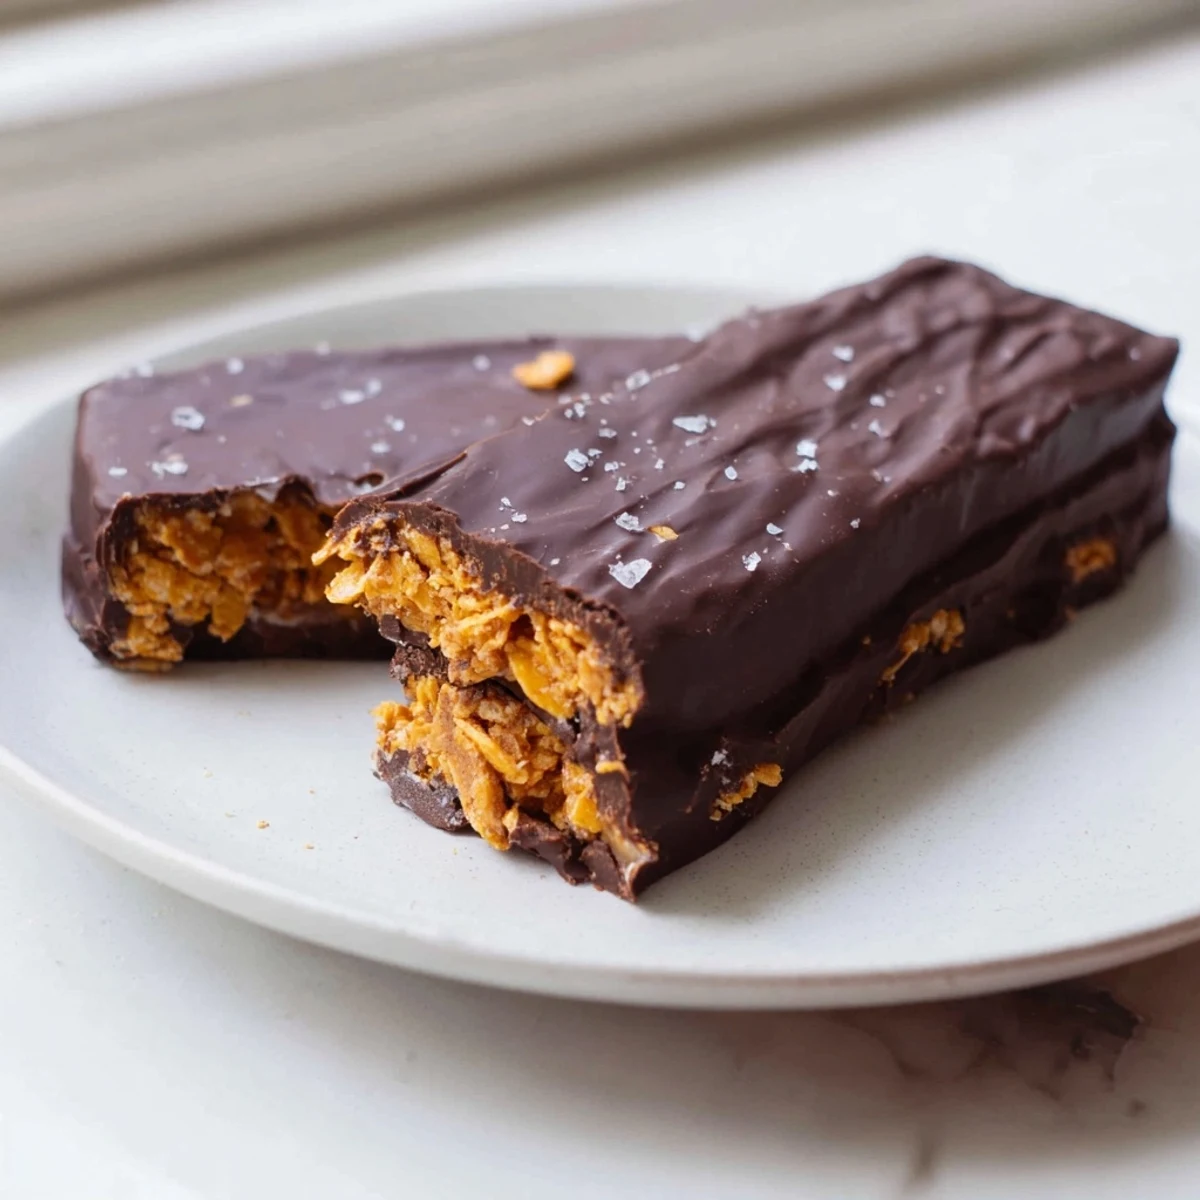
Swapping in milk chocolate for the coating gives a sweeter, more traditional candy bar flavor that kids especially love. A light sprinkle of flaky sea salt on top right before the chocolate sets takes these from great to absolutely irresistible.
Keeping Things Safe
This recipe is naturally gluten free if you use certified cornflakes, and easily vegan when you choose maple syrup and dairy free chocolate. Always check your labels since cross contamination can hide in unexpected places.
- Look for peanut butter brands that only contain peanuts and salt for the cleanest result.
- Verify your chocolate chips are produced in a nut safe facility if serving to someone with allergies.
- Label any leftovers clearly so no one misses the storage instructions.
 Save
Save There is something deeply satisfying about making a candy bar you would normally buy in a checkout line. Once you try it, you will have a hard time going back to the packaged version.
Recipe FAQs
- → Can I make these Butterfingers vegan?
-
Yes, use maple syrup instead of honey and choose dairy-free dark chocolate chips. Coconut oil remains the same. Always check your cornflake brand for any hidden animal-derived ingredients.
- → Why are my bars falling apart when dipping?
-
The peanut butter layer needs adequate chilling time — at least 20 to 30 minutes in the freezer until completely firm. If your kitchen is warm, work quickly when cutting and dipping, and return bars to the fridge between batches.
- → What can I substitute for cornflakes?
-
Rice cereal works as a direct swap and keeps the bars gluten-free. Crushed pretzels add a salty twist, though they contain gluten. Rolled oats can work but will yield a chewier, less crunchy texture.
- → How should I store the finished bars?
-
Keep bars in an airtight container in the refrigerator for up to two weeks. For longer storage, freeze them with parchment paper between layers for up to three months. Let frozen bars thaw for five minutes before eating.
- → Can I use milk chocolate instead of dark?
-
Absolutely. Milk chocolate melts and coats just as well. Add the same amount of coconut oil for a smooth coating. Keep in mind milk chocolate is sweeter, so the overall flavor will be less balanced than with dark chocolate.
- → Why add coconut oil to the chocolate?
-
Coconut oil thins the melted chocolate for easier dipping and creates a snappier, shinier coating once set. Without it, the chocolate can be too thick and may seize. Use refined coconut oil if you want to avoid any coconut flavor.
