 Save
Save This vanilla buttercream delivers the perfect balance of sweetness and structure for decorating sugar cookies. The fluffy texture spreads smoothly while still holding its shape when piped, and it develops a delicate crust that protects your designs without becoming hard. Ready in just 10 minutes, this versatile frosting works beautifully for everything from simple swirls to intricate holiday designs.
The kitchen counter was covered in flour-dusted cookie cutters and my daughter was practically vibrating with excitement. We had spent the afternoon rolling out sugar cookies in every shape imaginable, from snowflakes to stars to a very misshapen dinosaur. But the real magic happened when I pulled out the mixer and showed her how to make frosting. She watched in wide-eyed wonder as the butter and sugar transformed into something cloud-like and impossibly white.
Last Christmas, my neighbor mentioned she'd always wanted to learn how to decorate cookies like the ones in bakery windows. I invited her over with a batch of freshly baked sugar cookies, and we spent three hours experimenting with different piping tips and colors. By the end of the afternoon, her kitchen counter was covered in the most beautiful frosted cookies, some sprinkled with edible glitter, others dotted with tiny silver balls. She texted me the next day to say her family had declared it the best Christmas ever.
Ingredients
- Unsalted butter: Softened to room temperature so it incorporates smoothly without leaving lumps
- Powdered sugar: Sifted first to prevent any stubborn clumps from ruining the silky texture
- Whole milk: Adds just enough liquid to make it spreadable while keeping structure intact
- Pure vanilla extract: The secret ingredient that makes it taste professionally made
- Pinch of salt: Balances the sweetness and makes all the flavors pop
Instructions
- Cream the butter:
- Beat the softened butter in a large mixing bowl until it's smooth and creamy, about one minute. Scrape down the sides to ensure everything is evenly incorporated.
- Add the sugar gradually:
- Pour in the powdered sugar slowly while mixing on low speed to avoid a cloud of sugar dust. Keep scraping the bowl so everything combines smoothly.
- Make it fluffy:
- Add the milk, vanilla extract, and salt. Beat on medium-high speed for two to three minutes until the frosting is light and airy.
- Adjust the consistency:
- Add more milk one teaspoon at a time if you need it thinner, or more powdered sugar if you want it stiffer. Trust your judgment based on what you are planning to do with it.
- Frost your cookies:
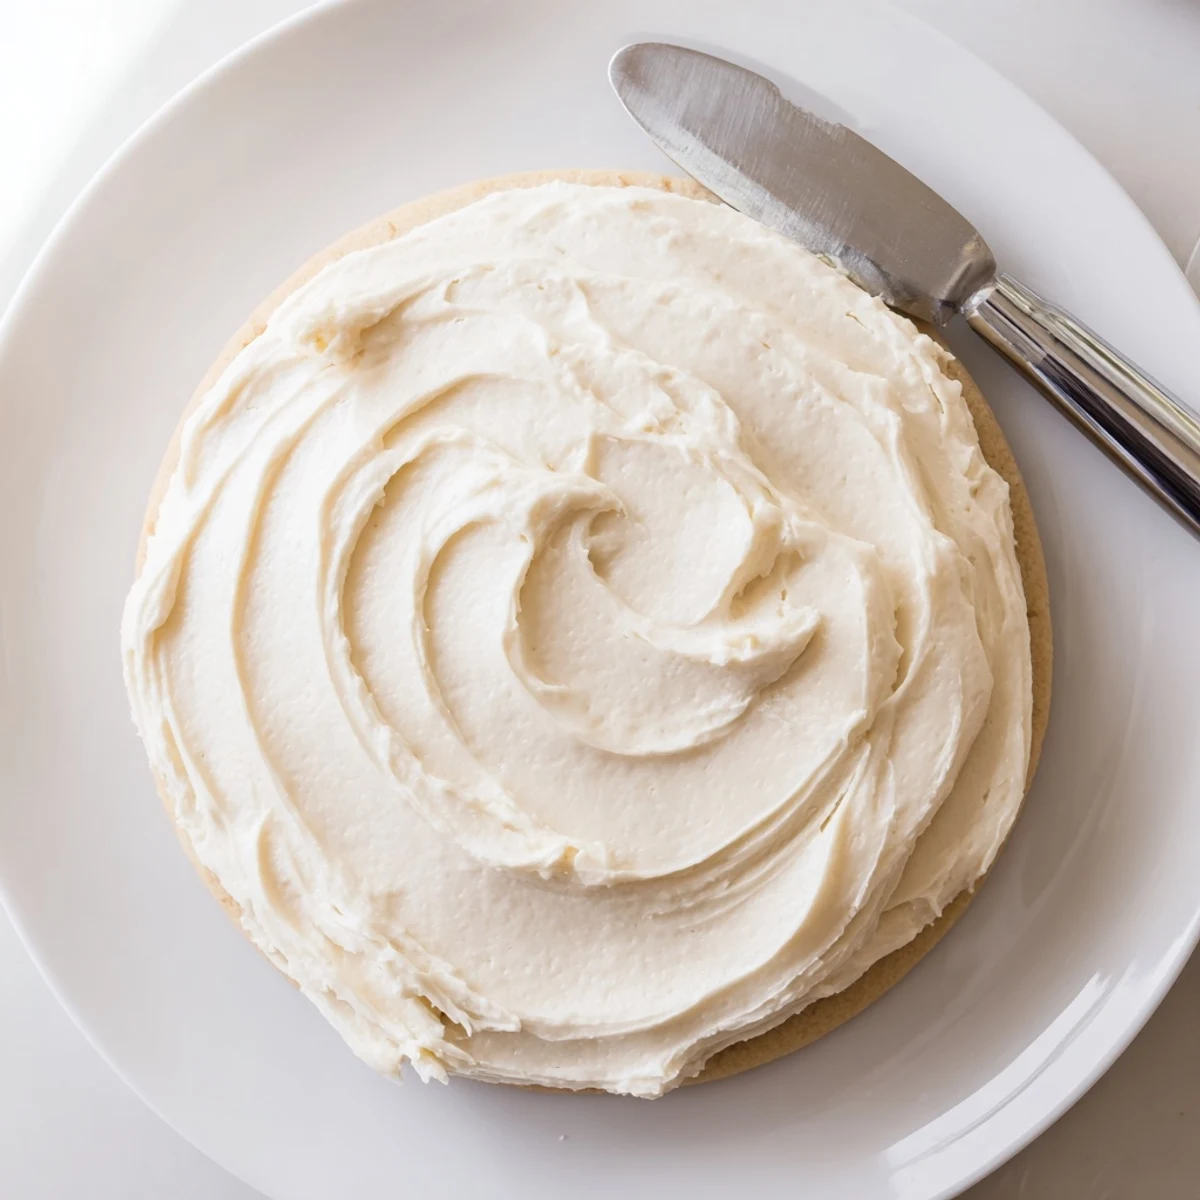
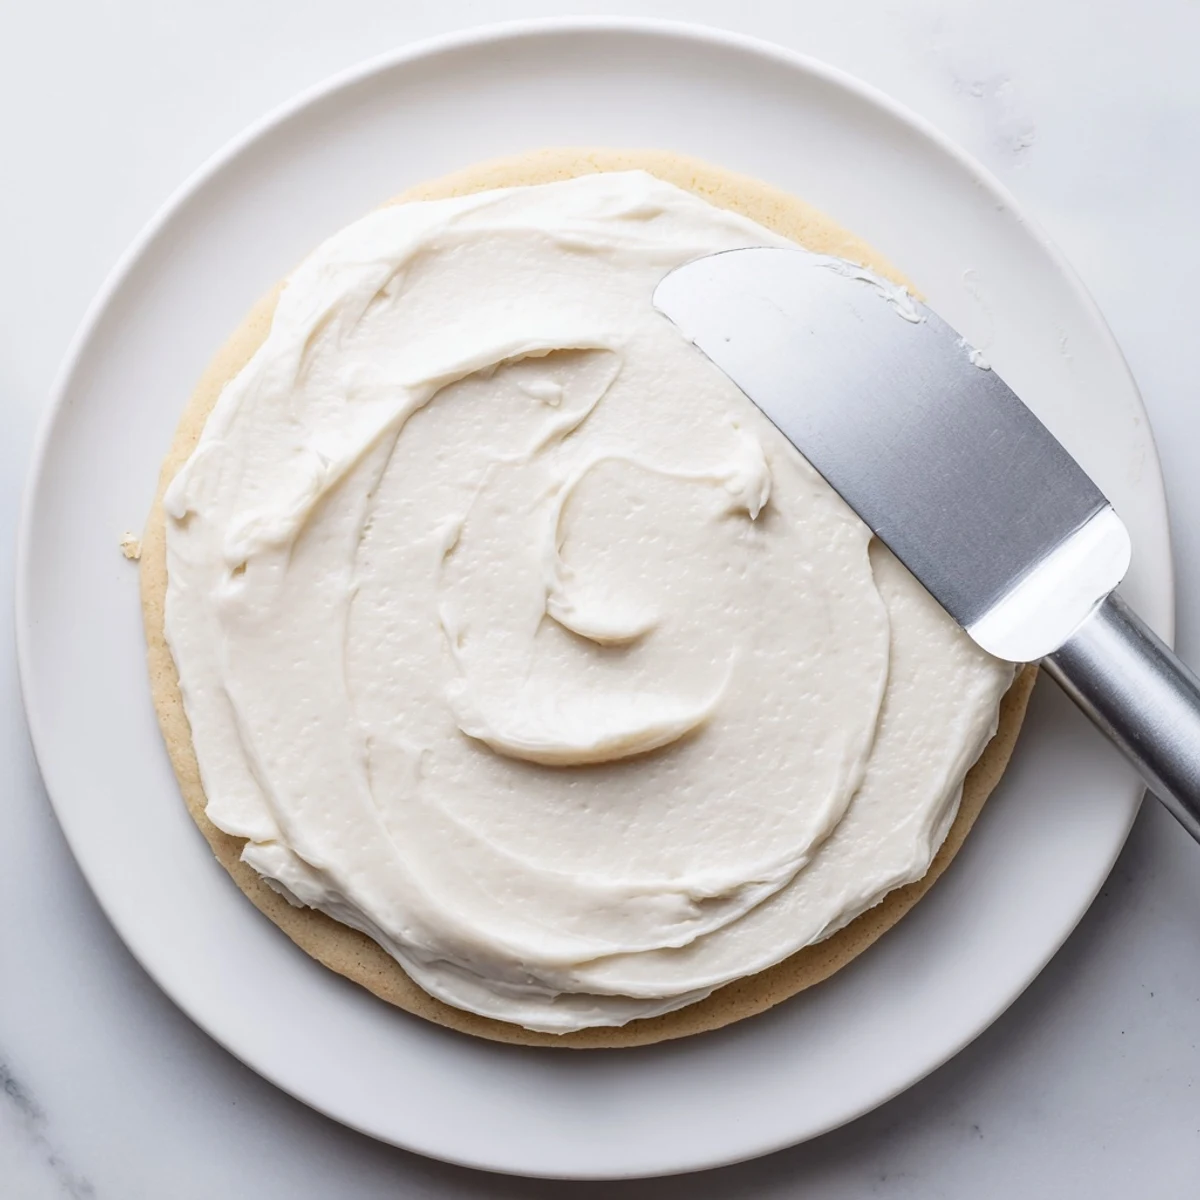
- Spread or pipe onto completely cooled cookies. Let them sit at room temperature for one to two hours to develop that perfect slight crust on top.
 Save
Save My mom used to make this frosting every year for Valentine's Day, tinting it different shades of pink and red. She would spread it on heart-shaped cookies and then let us kids go wild with the sprinkles. The best part was always sneaking a finger-full of frosting while she was distracted, that pure vanilla sweetness lingering on your tongue like a secret between us.
Getting The Consistency Right
The perfect frosting consistency depends entirely on what you are planning to do with it. For spreading with a knife, you want it soft enough to glide effortlessly across the cookie surface without dragging. But if you are piping decorations like rosettes or borders, the frosting needs to be firm enough to hold its shape. Start with the base recipe and adjust from there.
Making Colors That Pop
Gel food coloring is superior to liquid varieties because it delivers intense color without thinning your frosting. Start with a tiny amount on a toothpick, you can always add more but you cannot take it back. Deep colors like red or black need time to develop, so mix them and let them sit for an hour to see the true shade.
Storage And Make-Ahead Tips
This frosting keeps beautifully in an airtight container in the refrigerator for up to one week. When you are ready to use it again, let it come to room temperature completely before giving it a quick whip with the mixer to restore that fluffy texture. You can even freeze it for up to three months.
- Separate frosting into small bowls before coloring to keep your options open
- Cover any frosting you are not actively using with a damp towel to prevent crusting
- Bring refrigerated frosting to room temperature for at least two hours before re-whipping
 Save
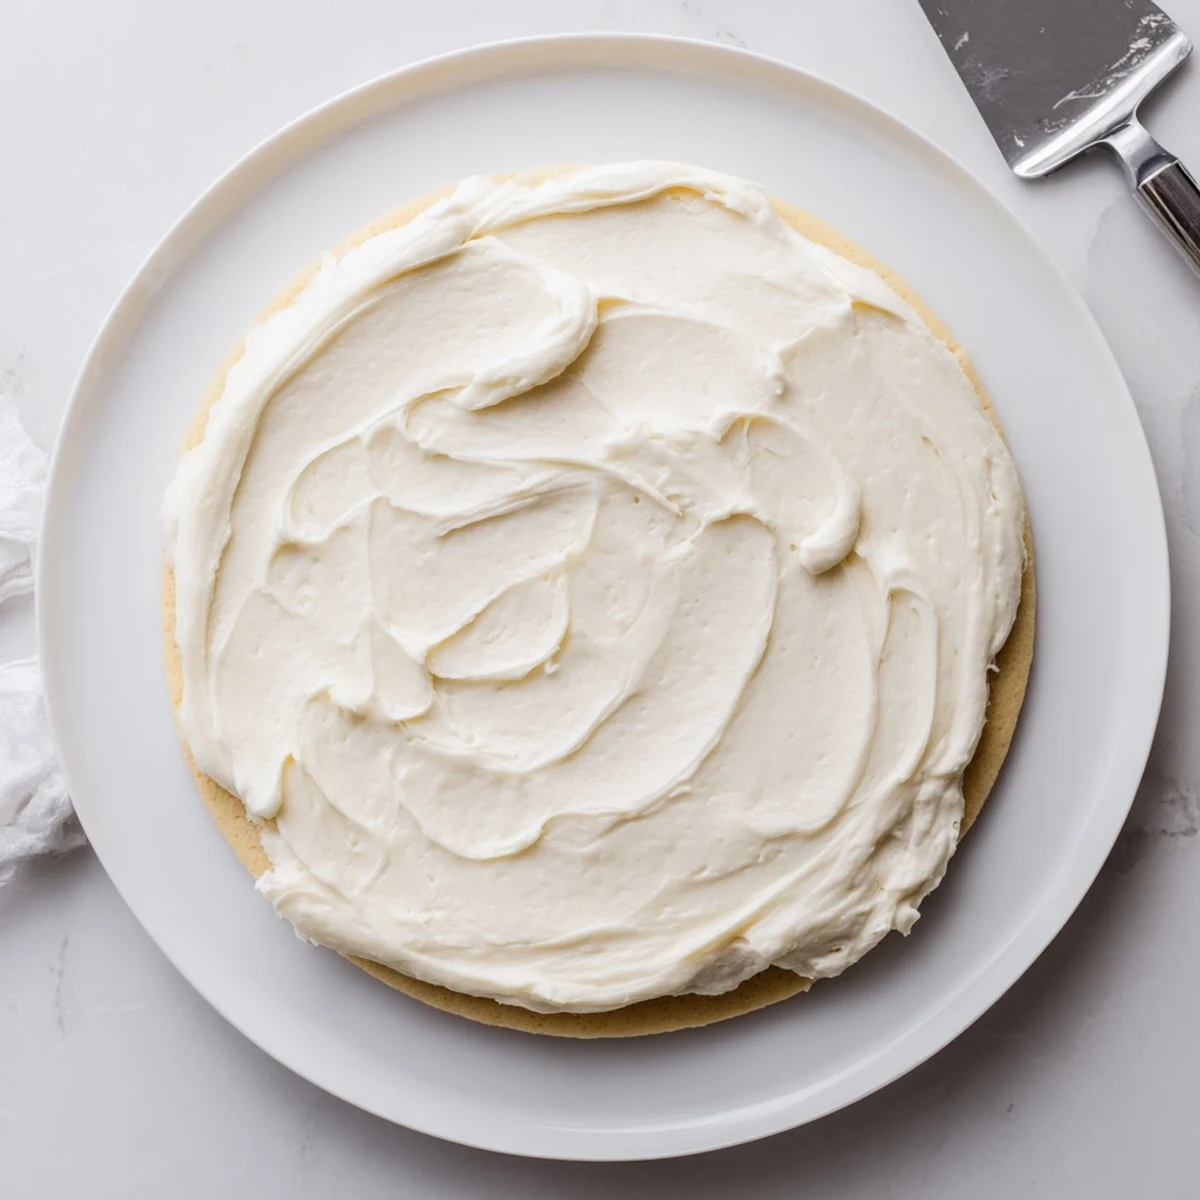
Save There is something deeply satisfying about a perfectly frosted cookie, that smooth surface catching the light. Whether you are decorating for holidays or just because Tuesday feels like a frosting day, this recipe never lets you down.
Recipe FAQs
- → What consistency should the frosting be?
-
The ideal consistency is similar to peanut butter—thick enough to hold peaks when piped but soft enough to spread smoothly. Add milk one teaspoon at a time to thin, or powdered sugar to thicken until you reach your desired texture.
- → Can I make this frosting in advance?
-
Yes, store unused frosting in an airtight container in the refrigerator for up to one week. When ready to use, bring to room temperature and re-whip with your electric mixer to restore the fluffy texture.
- → Why did my frosting turn out too thin?
-
This usually happens from adding too much liquid or using butter that was too soft. Start with cold butter and let it soften only until you can press it gently. Add liquid gradually—just one teaspoon at a time—until you reach the right consistency.
- → How do I color the frosting?
-
Add gel food coloring after step 3, mixing until fully blended. Gel coloring works better than liquid drops because it won't thin your frosting. Start with a tiny amount—you can always add more to achieve deeper colors.
- → Does this frosting need to be refrigerated?
-
Once applied to cookies, the frosting can stay at room temperature for up to two days. Store unused portions in the refrigerator. For longer storage, frosted cookies can be frozen in a single layer, then transferred to an airtight container.
