 Save
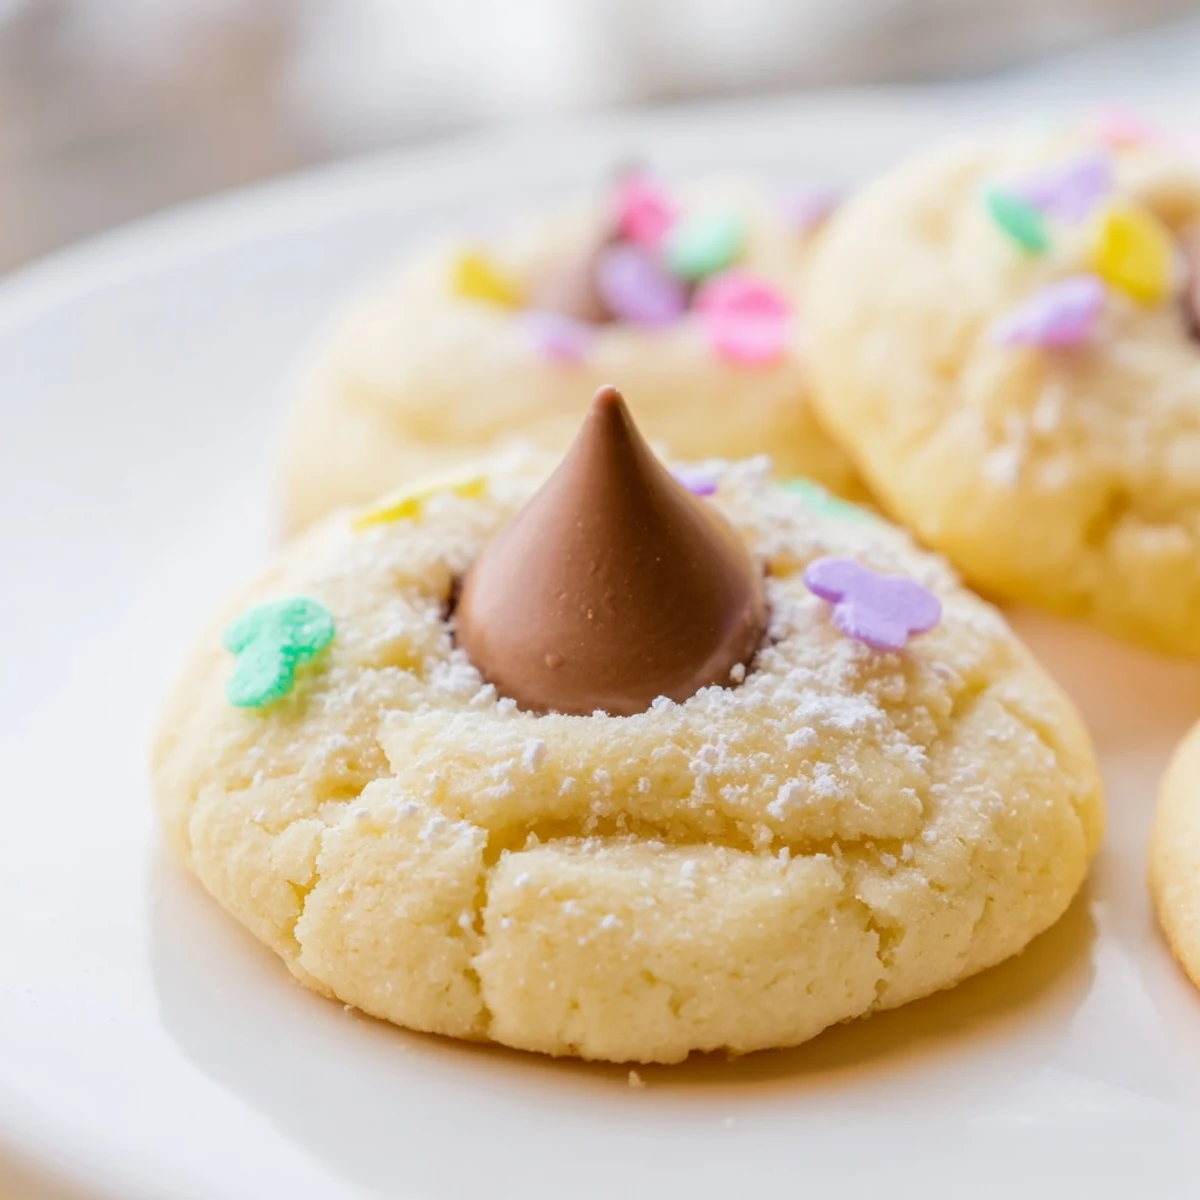
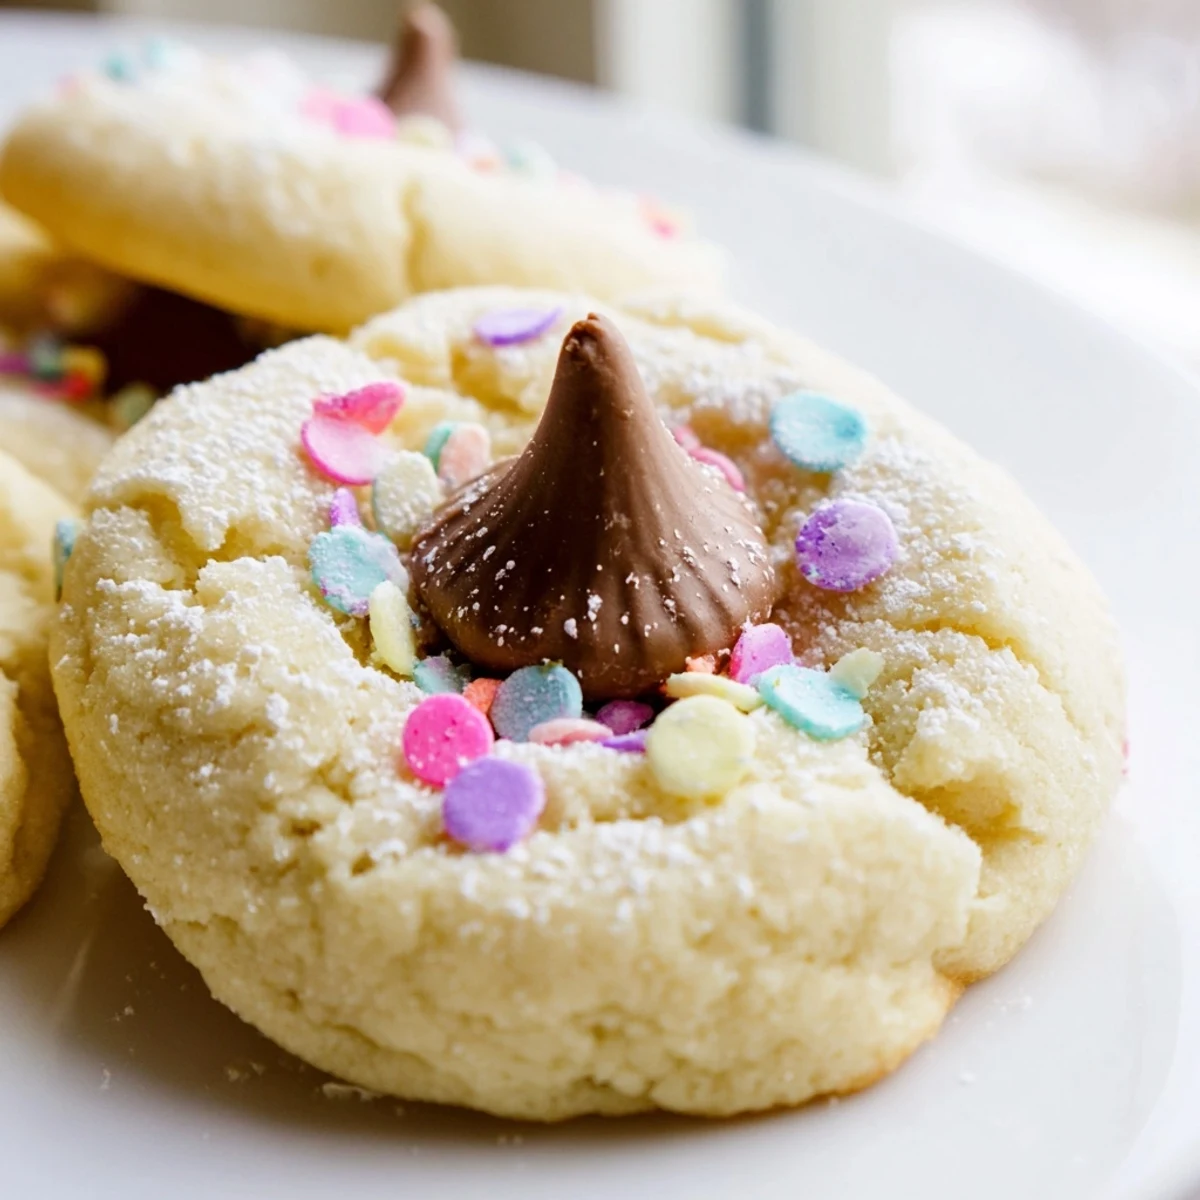
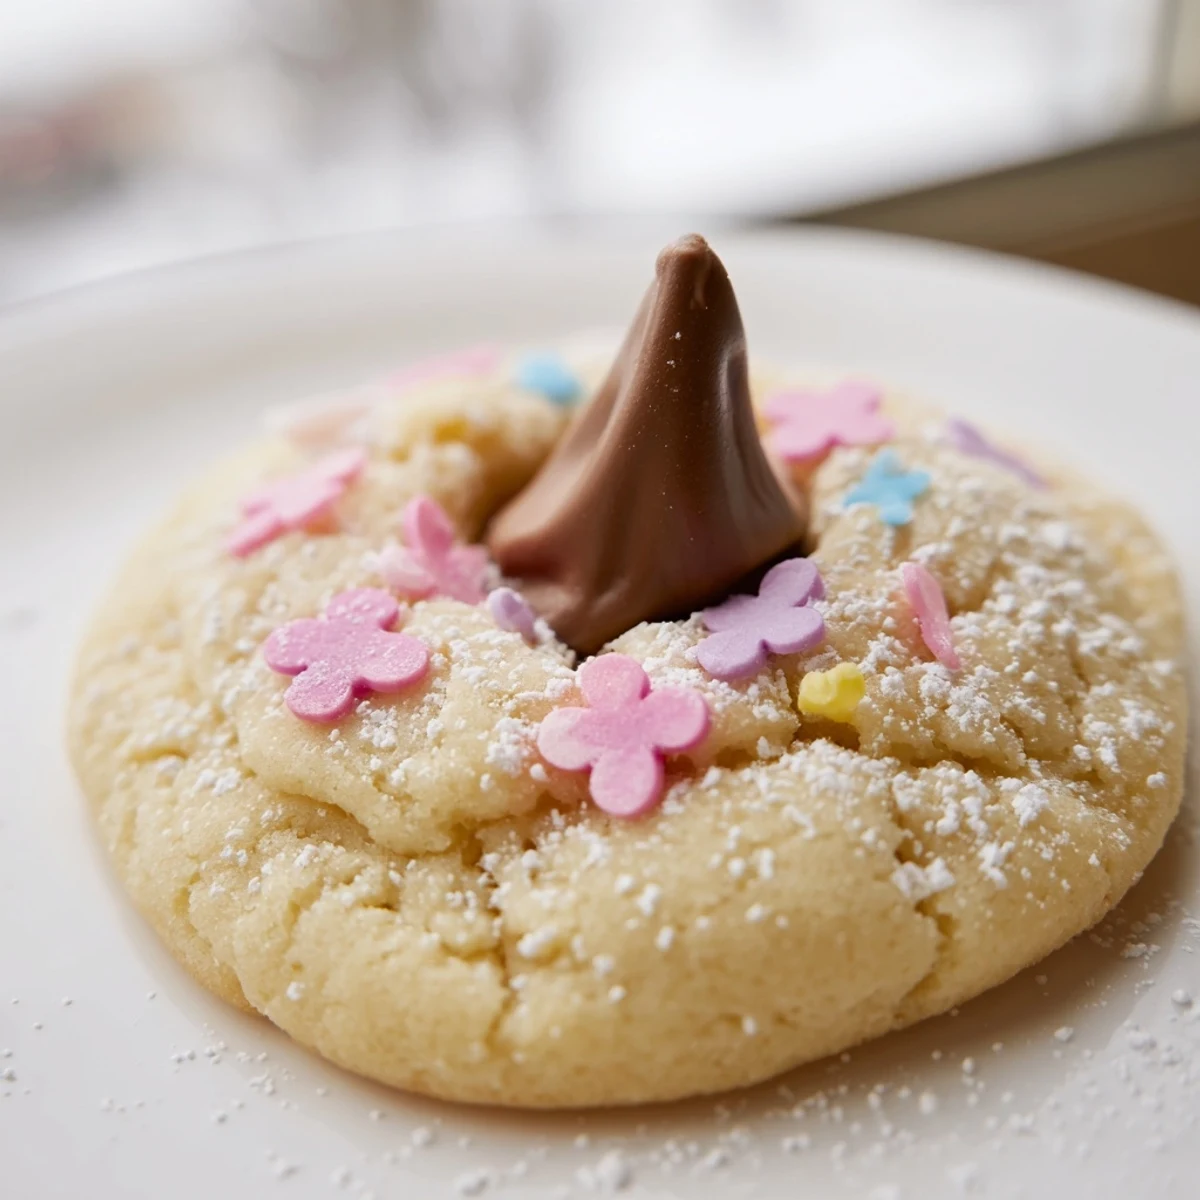
Save These delightful blossom cookies feature a soft, buttery base rolled in pastel sprinkles and topped with a chocolate kiss pressed into the warm center. The dough comes together quickly with pantry staples, and the 10-minute bake yields cookies with set edges and tender centers. Press the chocolate in immediately after baking for that classic blossomed appearance. These keep beautifully for a week, making them ideal for preparing ahead of Easter brunch or spring parties.
The kitchen smelled like vanilla and butter while my daughter stood on her step stool, carefully placing pastel sprinkles on each ball of dough. Her hands were covered in colored sugar and she looked so proud arranging them like tiny jeweled treasures. These cookies became our Easter tradition the year she turned five, and now spring doesn't feel complete without a batch cooling on the counter.
Last Easter my neighbor knocked on the door just as I was pulling a tray from the oven. She ended up staying for coffee and we ate them warm while the chocolate was still melty, watching kids hunt eggs in the yard. Sometimes the simplest recipes create the best memories.
Ingredients
- Unsalted butter: Room temperature butter creates the tenderest crumb, so set it out an hour before baking
- Granulated sugar: Cream this thoroughly with the butter for that light, melt-in-your-mouth texture
- Large egg: Adds structure and richness, bring it to room temperature too for better incorporation
- Pure vanilla extract: Dont skimp here, high-quality vanilla makes all the difference in simple cookies
- All-purpose flour: The foundation, scoop and level it gently to avoid packing too much in
- Salt: A small amount balances the sweetness and makes flavors pop
- Baking powder: Gives just enough lift for soft edges without making them cakey
- Chocolate blossom kisses: Unwrap them before you start baking so theyre ready to press immediately
- Pastel sprinkles or sanding sugar: These add the festive sparkle that makes them feel special
Instructions
- Get your oven ready:
- Preheat to 350°F and line your baking sheets with parchment paper so nothing sticks
- Cream the butter and sugar:
- Beat them together until the mixture turns pale and fluffy, about 3 minutes of patience pays off
- Add the egg and vanilla:
- Mix until everything is glossy and combined, scraping down the sides of the bowl once
- Whisk the dry ingredients:
- In a separate bowl, combine the flour, salt, and baking powder so theyre evenly distributed
- Bring it all together:
- Gradually add the flour mixture to the butter mixture, mixing just until you no longer see dry streaks
- Shape and coat:
- Scoop tablespoon-sized balls, roll them smooth, then gently roll each one in sprinkles for that festive coating
- Space them out:
- Arrange the dough balls 2 inches apart on your prepared sheets, giving them room to spread
- Bake to perfection:
- Pop them in for 8 to 10 minutes, pulling them out when edges look set but centers still feel soft
- The crucial step:
- Immediately press a chocolate kiss into the center of each warm cookie, right on the baking sheet
- Let them cool briefly:
- Wait 5 minutes on the tray before transferring to a wire rack, or the kisses might slide off
 Save
Save My mom started making these when I was little, and she always let me do the honors of pressing down the chocolate. Now I watch my own kids do the same, their small hands making that gentle indent in each warm cookie.
Making Them Ahead
The dough balls freeze beautifully for up to three months. Roll them in sprinkles before freezing and bake straight from frozen, adding just one minute to the baking time.
Flavor Variations
Swap vanilla for almond extract in the dough, or try dark chocolate kisses instead of milk chocolate. A teaspoon of lemon zest in the dough makes them taste like spring itself.
Serving And Storing
These are best eaten within 24 hours when the chocolate is still soft, but they stay fresh in an airtight container for up to a week. Stack them between wax paper if you need to transport them to a gathering.
- Let the cookies cool completely before storing to prevent condensation
- Room temperature storage keeps the chocolate kisses perfectly melty inside
- They freeze beautifully baked too, just thaw in the container for an hour
 Save
Save These cookies have become the official start of spring at our house, and I hope they become part of your celebrations too.
Recipe FAQs
- → Can I make the dough ahead of time?
-
Yes, the dough can be prepared and refrigerated for up to 2 days before baking. Let it come to room temperature for easier rolling, or scoop frozen dough balls directly onto baking sheets, adding 1-2 minutes to the bake time.
- → What other chocolates work well?
-
While classic milk chocolate kisses are traditional, try white chocolate, dark chocolate, caramel-filled, or almond-centered varieties. Even chocolate-covered espresso beans or peanut butter cups make delicious alternatives.
- → Why press the chocolate in after baking?
-
Pressing chocolate into warm cookies creates the signature blossomed appearance and ensures the candy adheres properly without melting completely. If added before baking, the chocolate loses its shape and becomes too runny.
- → Can I freeze these cookies?
-
Freeze baked cookies in layers separated by parchment for up to 3 months. Thaw at room temperature. Alternatively, freeze scooped dough balls and bake straight from frozen, adding 2-3 minutes to the baking time.
- → How do I know when they're done?
-
The edges should look set and slightly golden while the centers still appear soft. They'll firm up as they cool. Overbaking results in dry cookies that won't hold the chocolate kisses as well.
- → What if I don't have sprinkles?
-
Roll dough balls in granulated sugar, colored sanding sugar, or even finely chopped nuts. The coating adds texture and helps control spread while providing a decorative finish.
