 Save
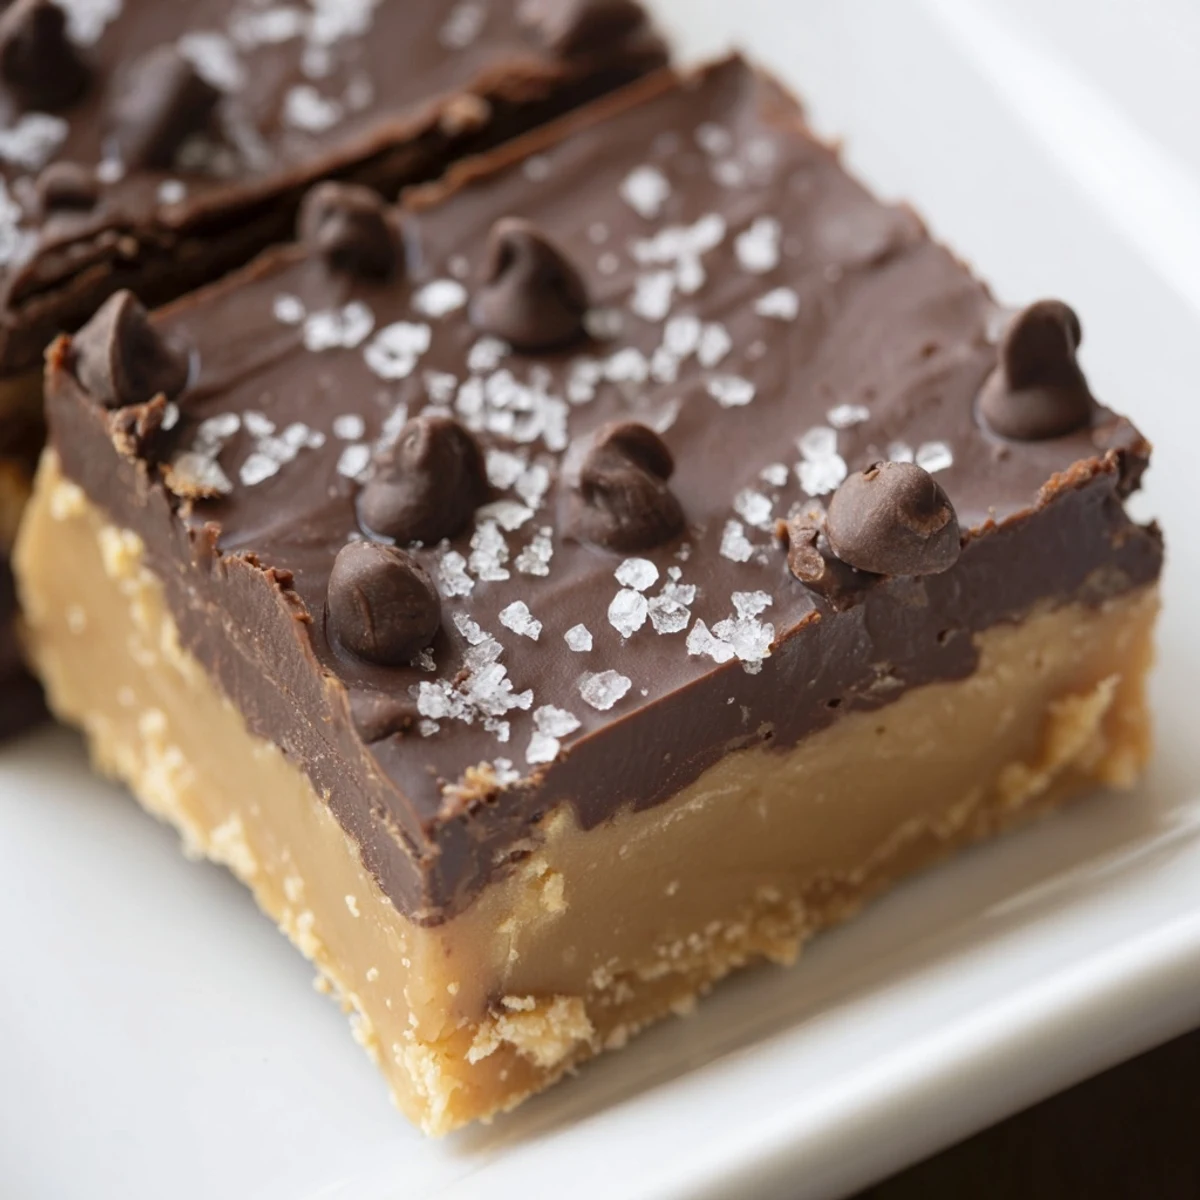
Save This confection combines a velvety chocolate layer with a creamy peanut butter topping for a balanced sweet experience. Made with semisweet chocolate, condensed milk, and vanilla, the chocolate base melts smoothly in the pan. The peanut butter layer adds sweetness and richness, enhanced by powdered sugar, butter, and a dash of salt. Chilling allows the treat to set firm, making it easy to cut into shareable squares. Variations include adding roasted peanuts or swapping chocolate types for texture and flavor nuances. Store chilled for freshness and enjoy a rich, satisfying sweet bite any time.
My neighbor handed me a piece of homemade chocolate peanut butter fudge at a summer block party, and I immediately understood why she'd been so secretive about the recipe. It was impossibly smooth, with this perfect balance where the chocolate and peanut butter seemed to dance together rather than compete. I spent the next week thinking about that fudge, and when I finally asked for the recipe, she laughed and said it was simpler than I'd imagined. Now it's become my go-to when someone needs comfort food or a thoughtful gift.
I made this for my book club last fall, and one member who never eats sweets came back for seconds without even realizing it. She said something about how the peanut butter kept it from feeling too heavy, and that stuck with me. Since then, I've learned that these are the recipes people actually remember, the ones that feel indulgent but not overwhelming.
Ingredients
- Semisweet chocolate chips (1½ cups): This is your base layer, and the quality matters more than you'd think—if you can grab a brand you actually like eating on its own, that's your answer.
- Sweetened condensed milk (14 oz can): This is the secret to the creamy texture that makes people pause mid-chew and wonder what they're eating.
- Unsalted butter (6 tbsp total): Split between layers, it's what keeps everything silky and prevents graininess.
- Pure vanilla extract (2 tsp total): Don't skip this or use imitation—it's one of the few ingredients you can actually taste.
- Creamy peanut butter (1½ cups): Use the kind you'd actually eat on toast, not the industrial stuff that tastes like cardboard.
- Powdered sugar, sifted (1 cup): Sifting matters here; clumps ruin the smooth texture you're working toward.
- Fine sea salt (½ tsp): This tiny amount makes the peanut butter layer sing instead of being one-note sweet.
Instructions
- Set up your pan:
- Line an 8-inch square pan with parchment paper, letting it hang over the sides—this is how you'll lift the whole thing out later without it crumbling.
- Make the chocolate layer:
- Combine chocolate chips, condensed milk, and 2 tbsp butter in a medium saucepan over low heat, stirring constantly until everything is melted and glossy. Remove from heat and stir in 1 tsp vanilla, then pour it into your prepared pan and smooth it out evenly.
- Build the peanut butter layer:
- In a separate bowl, mix peanut butter, sifted powdered sugar, melted butter, salt, and 1 tsp vanilla until it's completely smooth and creamy. This takes a minute or two, but pushing through lumps now saves you from a grainy final product.
- Layer and smooth:
- Gently spread the peanut butter mixture over the chocolate layer using a spatula, working from the center outward and trying to create an even top.
- Let it set:
- Cover the pan loosely and refrigerate for at least 2 hours until everything is completely firm—patience here is what separates fudge from peanut butter cake.
- Cut and store:
- Use the parchment overhang to lift the whole block out, then cut into 36 pieces with a sharp knife, wiping the blade between cuts to keep edges clean. Store in an airtight container in the fridge for up to a week.
 Save
Save My daughter once took these to school for a project potluck, and her teacher texted me asking for the recipe because three kids asked for seconds. That single message made me realize this wasn't just candy—it was something that actually brought people joy.
The Perfect Two-Layer Balance
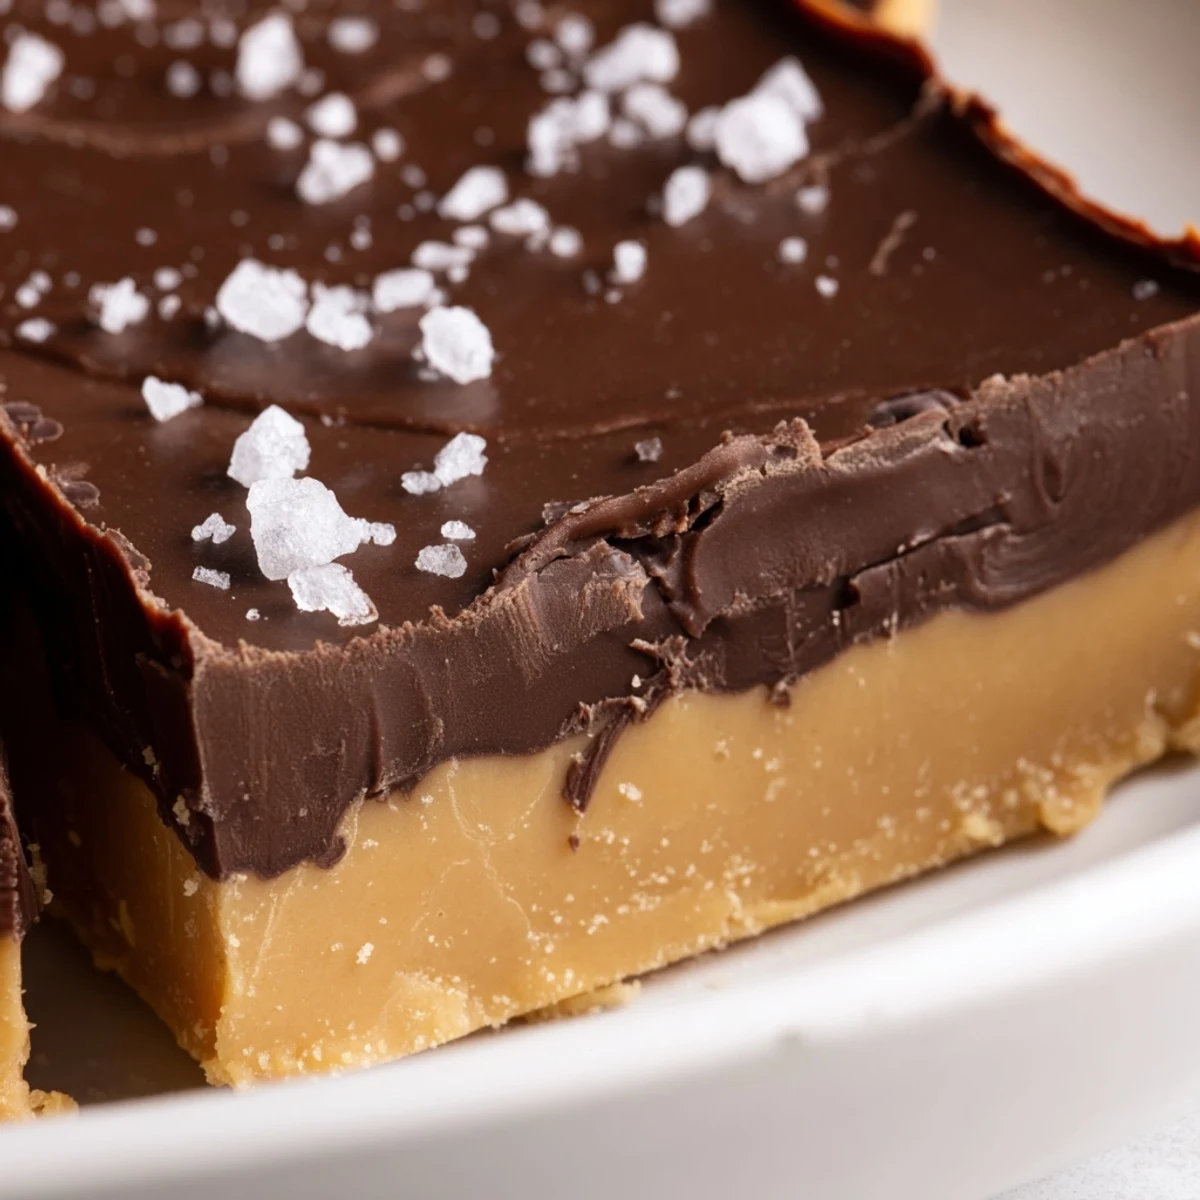
The magic of this fudge lives in that moment when you bite through the thin chocolate shell into the creamy peanut butter center. Neither layer overpowers the other; instead, they create this sense of completion that sounds dramatic but is genuinely true. I've tried versions with extra chocolate or less peanut butter, and they're never as satisfying.
Make It Your Own
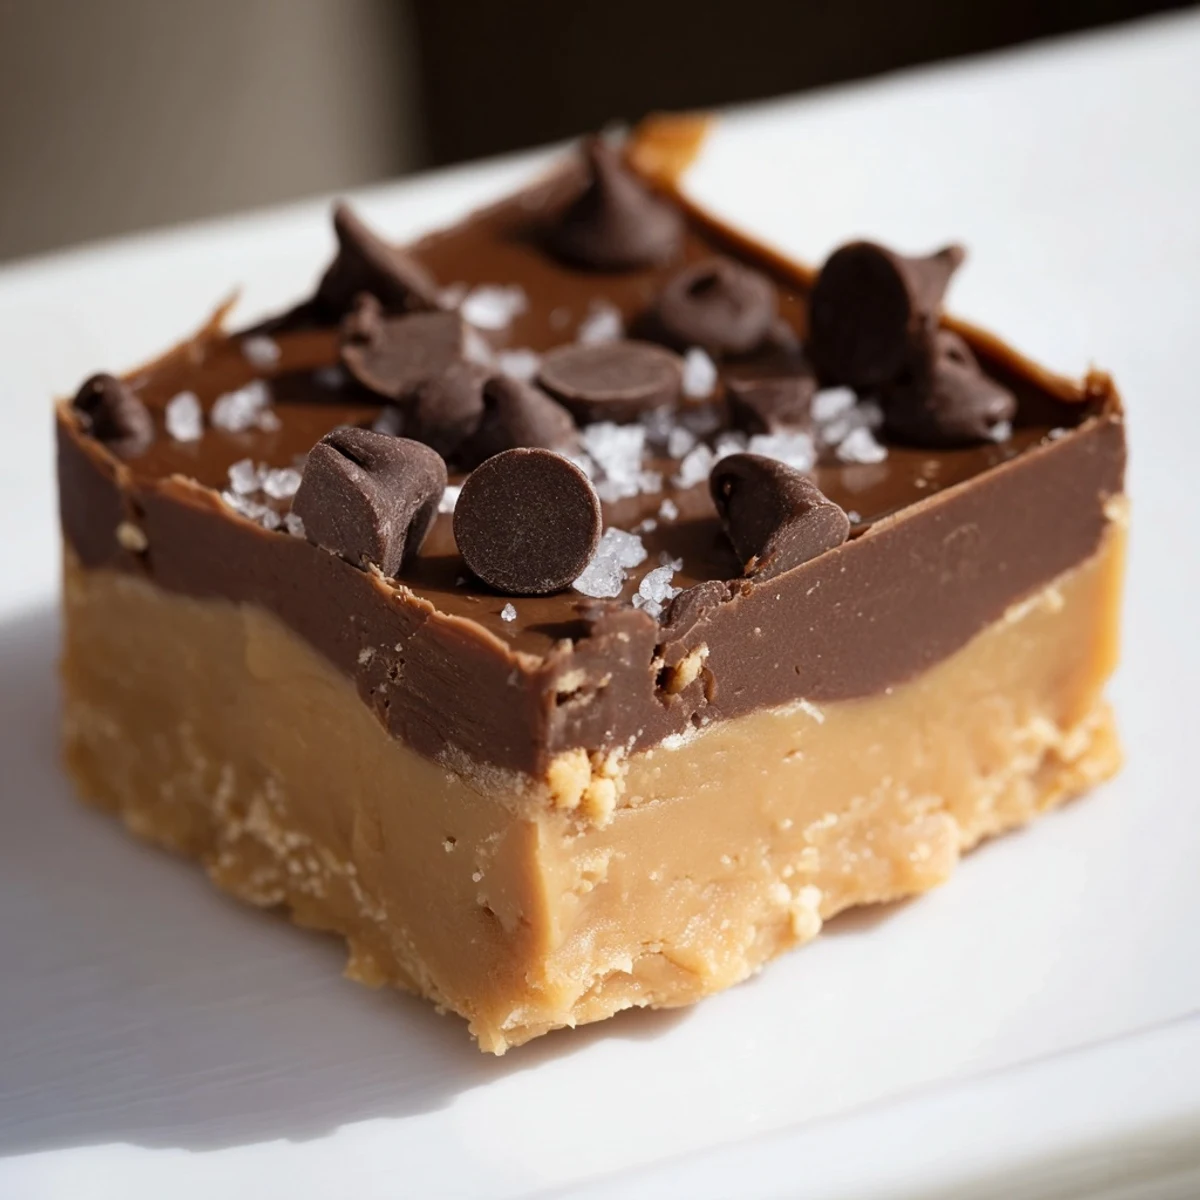
Once you nail the basic version, the variations are endless and honestly kind of fun to experiment with. My friend folds roasted peanut pieces into the peanut butter layer for texture, while my mom swaps in dark chocolate for a less-sweet version. The beauty is that this recipe is forgiving enough to handle personalization without falling apart.
Storage and Gifting Ideas
These keep in the fridge for a week, and honestly, they taste better cold—the layers stay distinct and the texture is perfect. I've also frozen them successfully for up to two months, which means you can make a batch whenever inspiration hits and not worry about using them right away.
- Stack pieces in a small box lined with parchment and tie with twine for an instant gift that feels handmade.
- Cut them slightly smaller if you're gifting to people who prefer less-intense sweets.
- Let them sit at room temperature for just a minute or two before eating for the best texture and flavor.
 Save
Save This is the kind of recipe that reminds you why homemade sweets matter. It's genuinely effortless to make, impossible to mess up badly, and always worth the two hours of waiting.
Recipe FAQs
- → What type of chocolate works best?
-
Semisweet chocolate chips provide a balanced sweetness and melt smoothly for a creamy texture. Milk or dark chocolate chips can be substituted for different flavor profiles.
- → Can I add nuts for texture?
-
Yes, folding in chopped roasted peanuts into the peanut butter layer adds a delightful crunch without overpowering the smooth layers.
- → How long should it chill?
-
Refrigerate the layers for at least 2 hours until firm to ensure clean slicing and optimal texture.
- → Is this suitable for special diets?
-
It's vegetarian and gluten-free, but contains dairy and peanuts, so check allergen concerns before serving.
- → How should leftovers be stored?
-
Keep the cut squares in an airtight container in the refrigerator for up to one week to maintain freshness.
