 Save
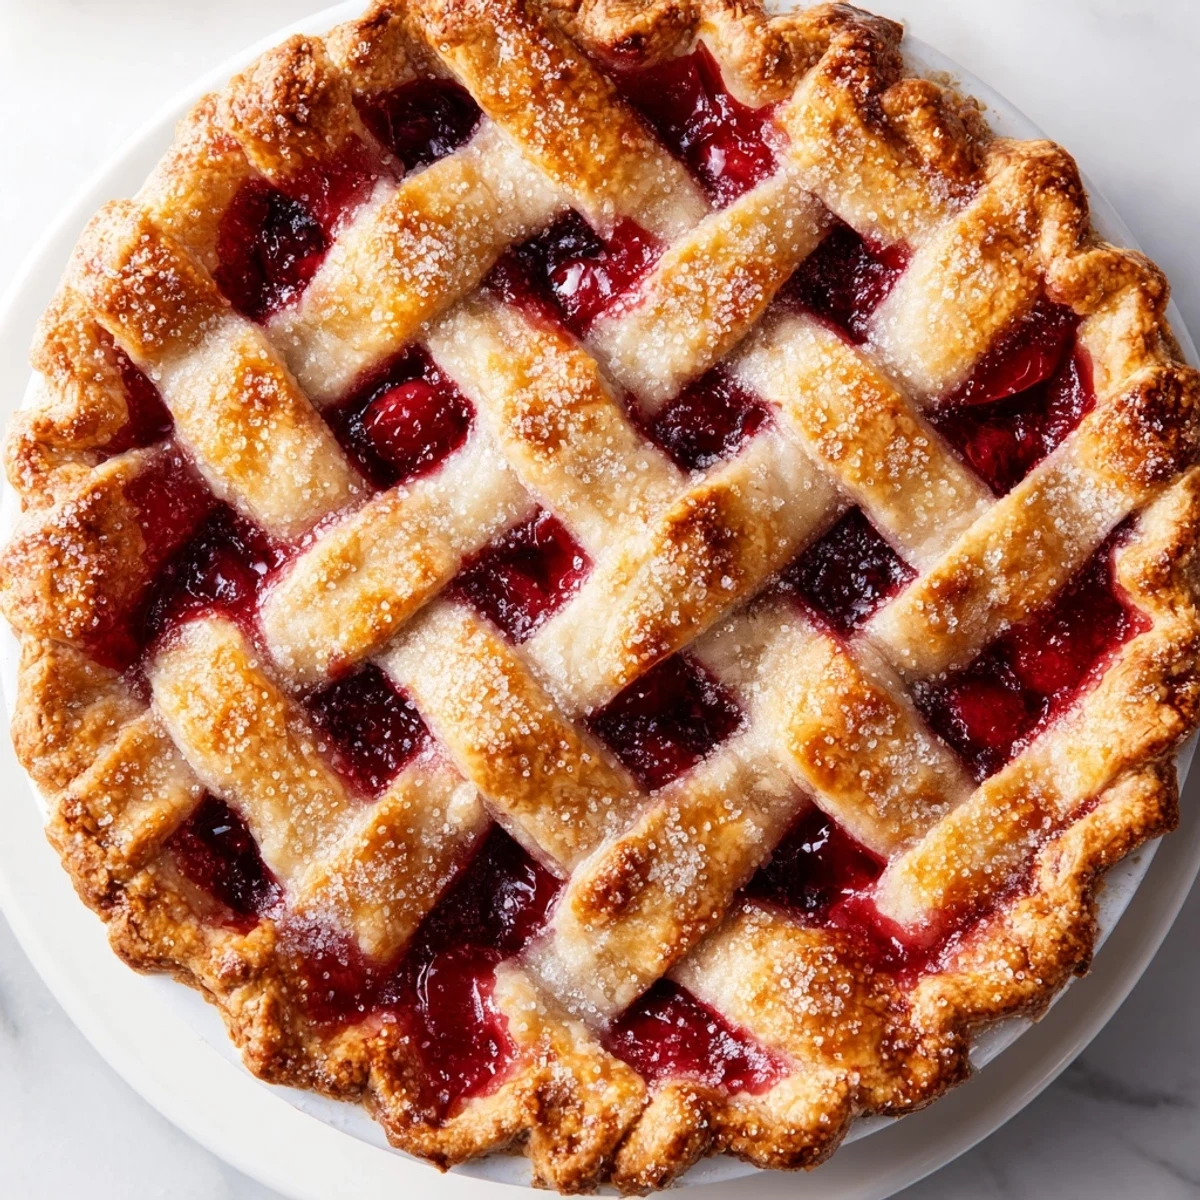
Save This cherished dessert features a buttery, flaky crust with a beautiful lattice pattern, enclosing a luscious filling of sweet and tart cherries. The crust is prepared by blending cold butter into flour with a touch of sugar and salt, then chilled before rolling. Meanwhile, cherries are mixed with sugar, cornstarch, lemon juice, and optional almond extract to enhance flavor and texture. The filling is poured into the crust-lined dish, topped with woven dough strips, brushed with egg wash, and sprinkled with coarse sugar for a golden, crisp finish. Baked until bubbling and golden brown, it’s best cooled before serving, offering a perfectly balanced taste of summer’s bounty.
The kitchen counters were covered in a thin layer of red juice speckles, my hands stained pink from pitting what felt like a mountain of cherries on a humid July afternoon. I'd gotten carried away at the farmers market, as one does when the season is fleeting and the fruit looks impossibly perfect. That first lattice attempt looked like a chaotic basket weave experiment gone wrong, but somewhere between the lopsided crust and the bubble over filling, something magical happened in that oven.
My grandmother watched me wrestle with that first lattice, patient and amused, before finally stepping in to show me how the strips need to alternate over and under like some edible basket pattern. She told me pie crust senses nervousness, which sounds ridiculous until you have tried to roll out dough with tense shoulders and sweaty palms. Now I make this on the hottest days of summer, windows open, letting the cherry scent drift through the house like an invitation to linger a little longer at the table.
Ingredients
- 2 1/2 cups all-purpose flour: This is your foundation, and I learned the hard way that measuring by weight instead of volume makes the difference between a pie crust that behaves and one that fights back
- 1 cup cold unsalted butter: Keep it freezing cold, seriously, warm butter is the enemy of flaky layers and I have ruined enough dough to speak from experience
- 5 cups pitted cherries: Fresh is ideal but frozen works beautifully too, just remember to thaw them and drain off some of that excess liquid or you will have a soupy situation
- 3/4 cup granulated sugar: Cherries vary in sweetness, so taste your filling before you commit, tart cherries might need an extra tablespoon
- 1/4 cup cornstarch: This is what transforms those juicy cherries into that luscious, sliceable filling instead of a runaway river of fruit soup
- 1 tbsp lemon juice: Brightens everything and cuts through the sugar so the cherry flavor sings instead of getting lost in sweetness
- 1/4 tsp almond extract: The secret weapon that makes people ask what exactly you did differently, it pairs with cherries like they were made for each other
- 1 egg for egg wash: Gives you that gorgeous golden finish that makes everyone think you have been making pies for decades
Instructions
- Make the crust dough:
- Whisk together your flour, salt, and sugar in a large bowl, then work in that cold butter with a pastry cutter or your fingertips until the mixture looks like coarse crumbs with some pea sized butter pieces remaining. Sprinkle in the ice water gradually, tossing with a fork until the dough just starts to come together when you squeeze a handful. Divide in half, form into two disks, wrap them tight, and let them rest in the fridge for at least an hour because cold dough rolls out like a dream and warm dough is a nightmare.
- Prepare the cherry filling:
- In a large bowl, toss those beautiful cherries with the sugar, cornstarch, lemon juice, almond extract if you are using it, and that pinch of salt. Mix until every cherry is coated and let it sit while you roll out your bottom crust, the sugar will start drawing out some of the juices and thicken slightly.
- Roll and assemble:
- Preheat your oven to 400 degrees and roll out one dough disk into a 12 inch circle on a floured surface, working quickly to keep the butter from melting. Carefully transfer it to your 9 inch pie dish, letting the edges drape over the sides, and pour in that gorgeous cherry filling.
- Weave the lattice:
- Roll out the second disk and cut it into strips about 3/4 inch wide, laying half of them horizontally across the pie. Fold back every other strip, place a vertical strip in the center, and fold the horizontal strips back over it, repeating this over under weave until you have created that classic basket pattern.
 Save
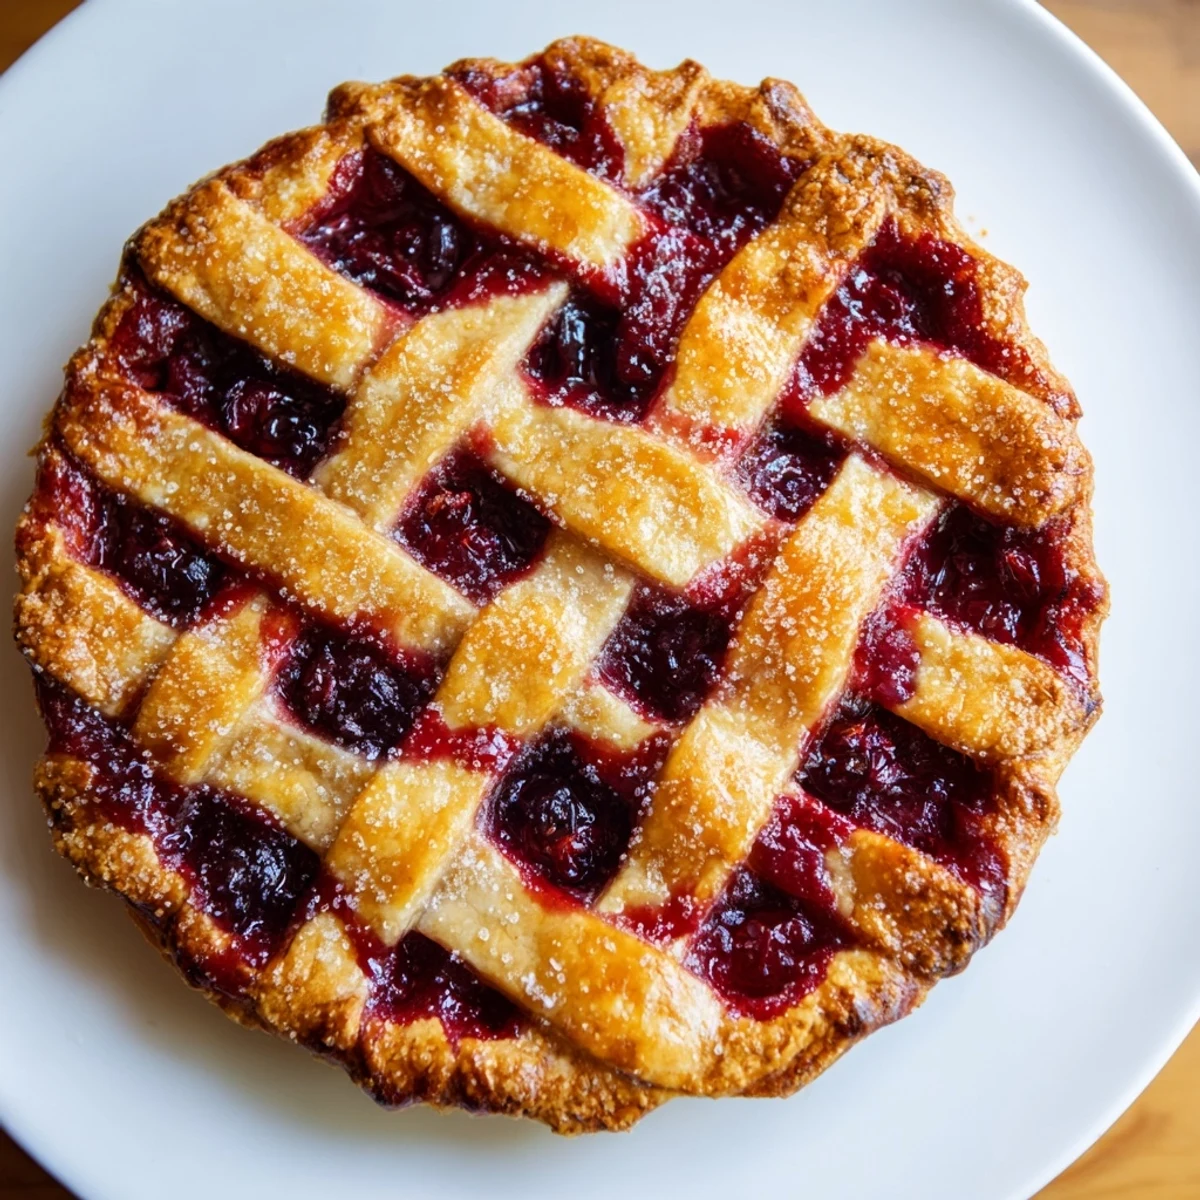
Save That first imperfect pie, with its wonky lattice and slightly burned edges from a moment of inattention, disappeared faster than anything I had ever baked. My family kept sneaking back to the kitchen for just one more sliver, and suddenly the red stained fingers and the flour dusted countertops seemed like small prices to pay for something that could bring everyone to the table twice in one evening.
Working With Lattice Crusts
The first time I attempted a lattice, I ended up with more of a pie tumbleweed situation than a neat woven pattern. The trick is cutting evenly sized strips and having the patience to actually fold back every other one instead of just laying strips on top of each other. After a few tries, I found that keeping the dough strips chilled makes them easier to handle, and if they start getting soft or sticky, just pop the whole pie in the freezer for ten minutes before continuing.
Fresh vs Frozen Cherries
I have made this with both, and while fresh cherries during peak season are undeniably glorious, frozen cherries actually produce a more consistent filling because they are picked at perfect ripeness and frozen immediately. The key adjustment is letting frozen cherries thaw completely and then draining off some of the excess liquid before mixing them with the sugar and cornstarch. You will end up with a pie that sets up beautifully instead of one that never quite thickens properly.
Serving And Storage
This pie is actually better the second day, after the flavors have had time to mingle and the filling has fully set into that perfect sliceable consistency. I like to serve it slightly warmed with vanilla ice cream that melts into those cherry crevices, but room temperature with a dollop of whipped cream is pretty close to perfection too. Leftovers keep well on the counter for a day or two, loosely covered, though in my house they rarely make it past the first night.
- Warm individual slices in the oven at 300 degrees for about 10 minutes if you want that fresh baked experience without making a whole new pie
- The lattice crust might get a little soft if covered tightly with plastic, so I usually just set a pie dome or inverted bowl over it instead
- If you are planning ahead, you can freeze the unbaked pie and bake it straight from the freezer, just add about 15 minutes to the baking time
 Save
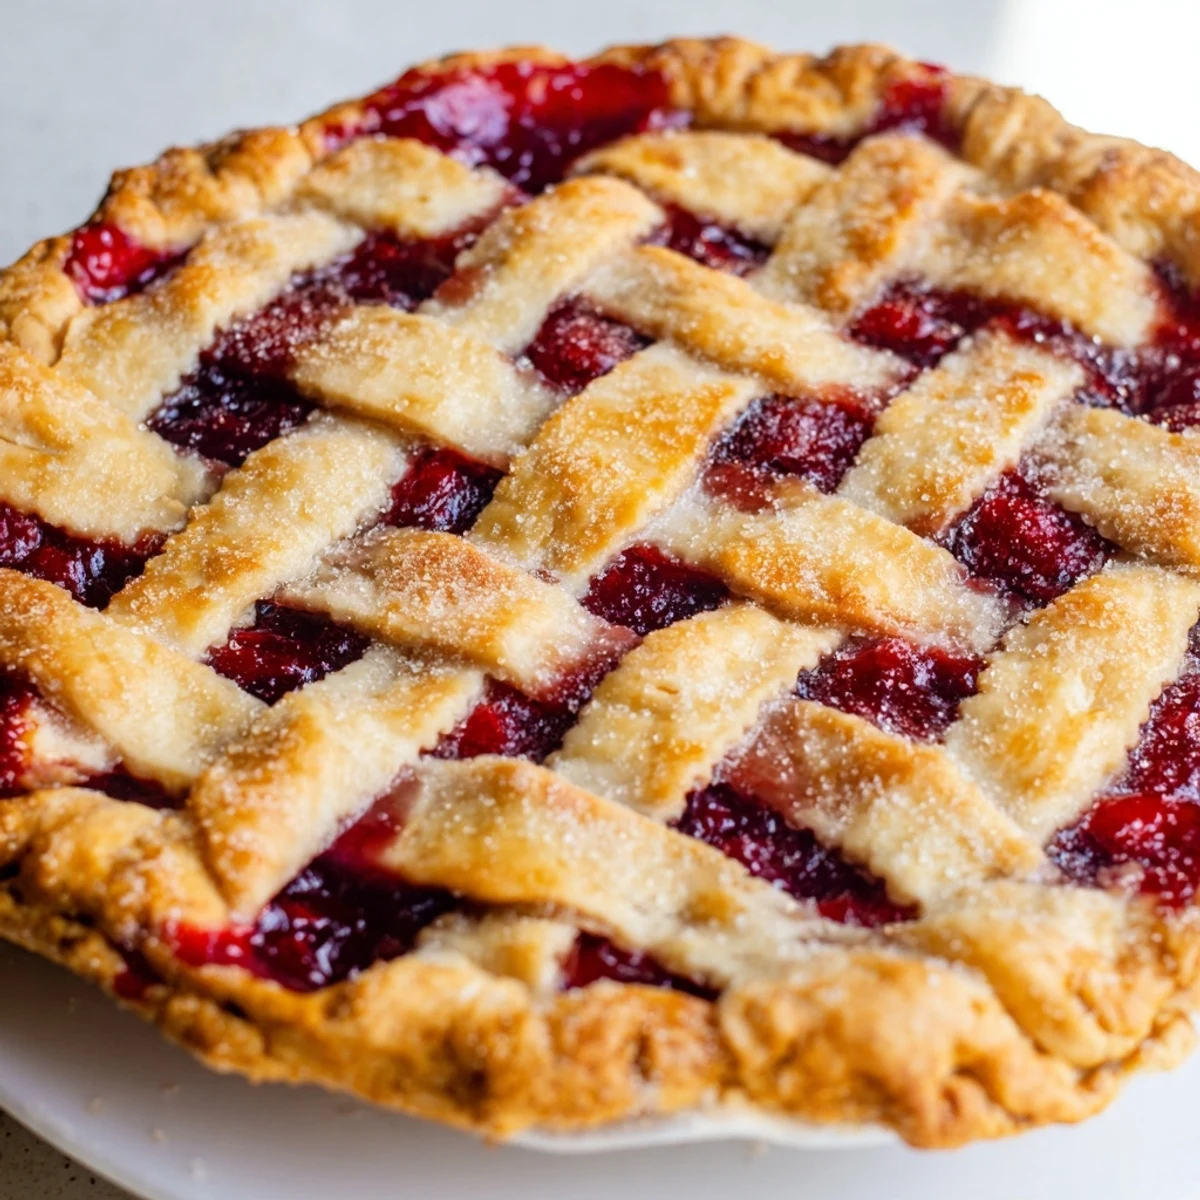
Save There is something deeply satisfying about pulling a cherry pie from the oven, seeing that golden lattice and those ruby bubbles, and knowing you created something that will become someone else memory of summer.
Recipe FAQs
- → How do I make a flaky lattice crust?
-
Use cold butter cut into flour, mix gently until coarse crumbs form, and chill the dough before rolling to keep the texture flaky.
- → Can I use frozen cherries for the filling?
-
Yes, but thaw and drain excess liquid to prevent a soggy crust and maintain the filling’s consistency.
- → What enhances the cherry filling flavor?
-
Adding lemon juice brightens the tartness, while a small amount of almond extract deepens the cherry aroma.
- → Why is cornstarch added to the filling?
-
Cornstarch thickens the cherry juices during baking, preventing a runny filling and helping it set nicely.
- → How do I achieve a golden crust finish?
-
Brush the lattice and edges with beaten egg and sprinkle coarse sugar before baking to create a shiny, crisp surface.
