 Save
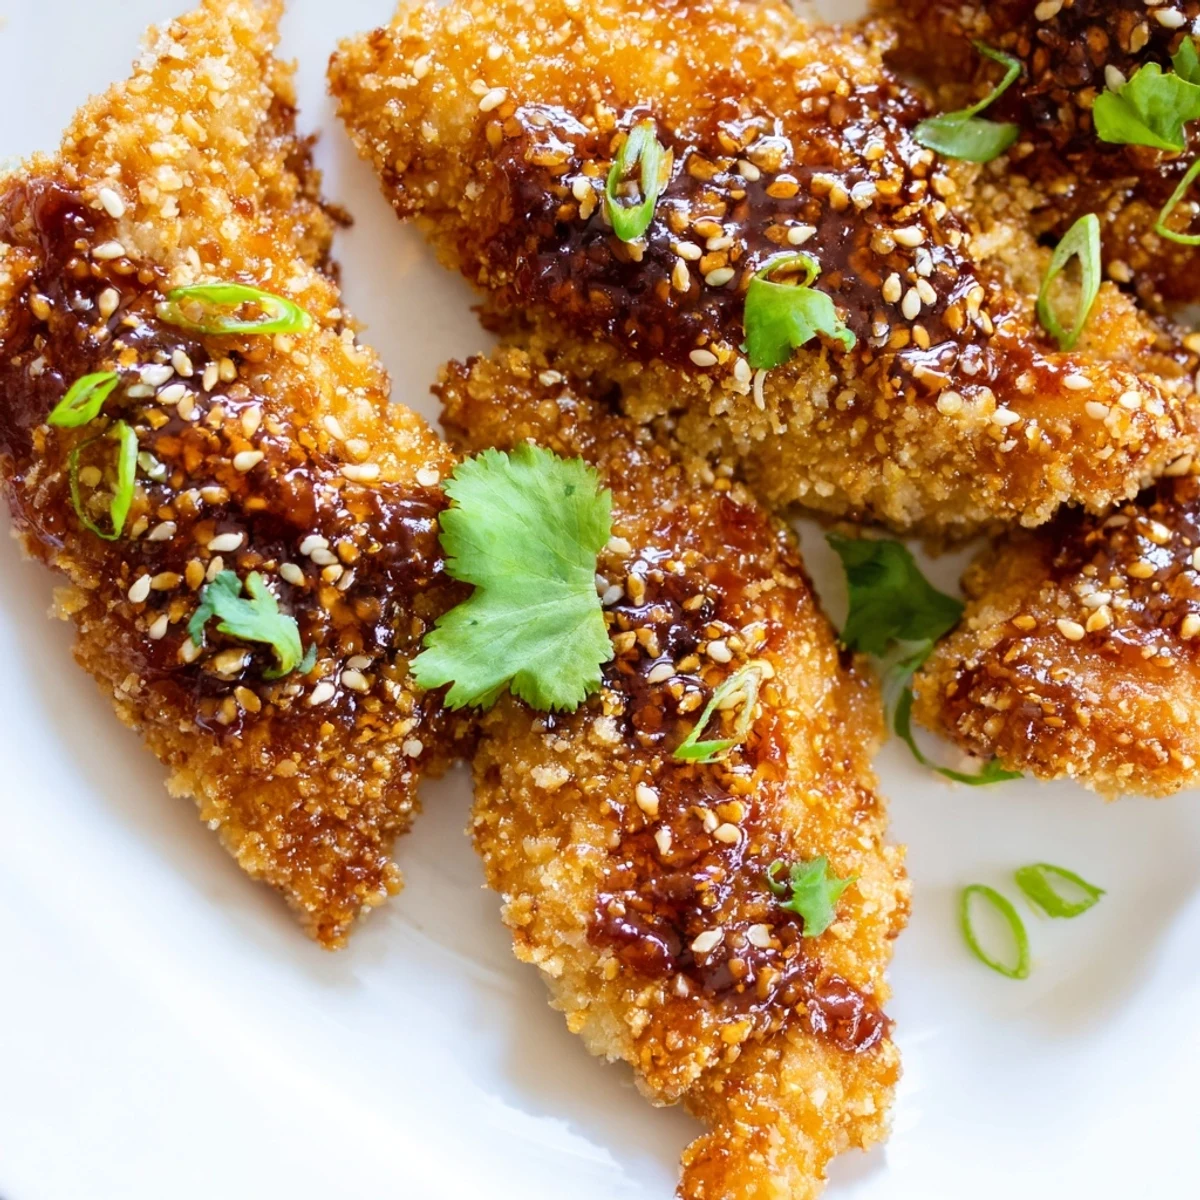
Save These crispy chicken fingers start with tender strips coated in seasoned panko breadcrumbs, oven-baked until golden and crunchy. The magic happens when they're tossed in a warm homemade Thai sauce combining sweet chili, soy sauce, honey, garlic, and fresh ginger for that perfect balance of sweet and heat.
The coating stays remarkably crisp even after saucing, thanks to the panko breadcrumb mixture. Final garnishes of toasted sesame seeds, fresh spring onions, and cilantro add color and freshness that cuts through the rich glaze.
Perfect for gatherings, game days, or as an impressive appetizer that comes together in under an hour. The sauce can be made ahead and reheated, while the chicken bakes.
The first time I made these sticky chicken fingers, my kitchen smelled like the best Thai street corner I've never visited. That sweet and spicy sauce bubbling away on the stove is the kind of aroma that pulls everyone into the room wondering what's happening.
I served these at a small dinner party last winter and watched two friends who usually claim they're not hungry suddenly demolish the entire platter. Something about that glossy, caramelized coating makes these disappear faster than you can plate them.
Ingredients
- Chicken tenders: Fresh tenders work best but cutting breasts into strips works perfectly too
- Salt and black pepper: Dont skimp on seasoning the chicken before coating
- All-purpose flour: Creates the essential first layer for the coating to stick
- Eggs: Room temperature eggs help the breadcrumbs adhere better
- Panko breadcrumbs: These Japanese crumbs create that extra crispy texture we all want
- Garlic powder: Even distribution of flavor in every bite
- Smoked paprika: Adds a subtle depth and beautiful golden color
- Sweet chili sauce: The base of our sticky glaze and the key to authentic flavor
- Soy sauce: Brings that essential savory umami to balance the sweet
- Honey: Natural sweetness that helps create that gorgeous glossy finish
- Rice vinegar: Cuts through the richness and brightens the whole sauce
- Sesame oil: Just a teaspoon adds that unmistakable aromatic depth
- Sriracha: Optional but adds a gentle heat that builds beautifully
- Fresh garlic and ginger: Fresh aromatics make all the difference here
- Toastedsesame seeds: Add crunch and a nutty finish to the dish
- Spring onions: Fresh bite and color against the sticky glazed chicken
- Fresh cilantro: Bright herbal notes that wake up the whole plate
Instructions
- Get your oven ready:
- Preheat to 220C 425F and line a baking tray with parchment paper for easy cleanup
- Season the chicken:
- Sprinkle salt and pepper over both sides of your chicken strips
- Set up your coating station:
- Arrange three shallow bowls with flour beaten eggs and panko mixed with garlic powder and paprika
- Coat each strip:
- Dredge in flour dip in egg then press into the panko mixture until well coated
- Arrange and prep:
- Place coated strips on the baking tray and lightly spray or brush with oil
- Bake until golden:
- Cook for 20 to 25 minutes flipping halfway until crispy and cooked through
- Make the magic sauce:
- Combine all sauce ingredients in a small saucepan and simmer for 2 to 3 minutes until slightly thickened
- Bring it together:
- Toss the warm chicken in the sauce until every piece is beautifully coated
- Finish with flair:
- Sprinkle with sesame seeds spring onions and fresh cilantro before serving
 Save
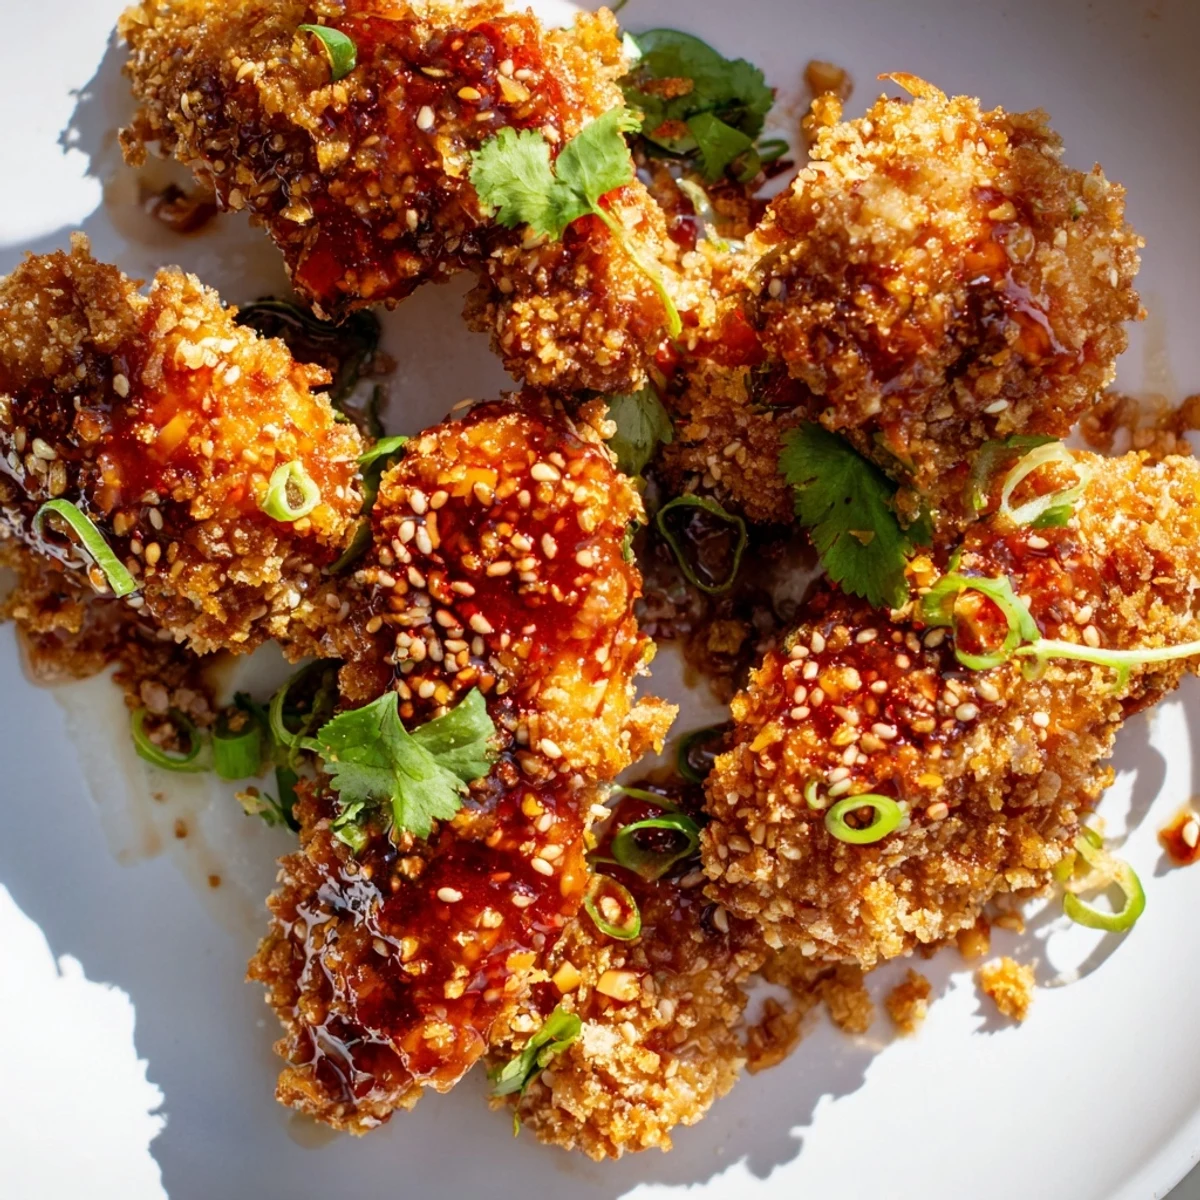
Save These have become my go-to when I want something that feels like takeout but tastes like home. Theres something deeply satisfying about making restaurant quality food in your own kitchen.
Getting the Crispiest Coating
Press the panko mixture firmly onto each chicken strip and dont skip the oil spray before baking. That little bit of fat is what transforms the breadcrumbs from soft to shatteringly crisp.
Balancing the Sauce
Taste your sauce before tossing it with the chicken. Too sweet add a splash more rice vinegar. Need more heat extra sriracha is your friend. The sauce should be a perfect balance of sweet tangy and spicy.
Serving Suggestions
These work beautifully as an appetizer but add jasmine rice and steamed vegetables and youve got a complete meal. The sauce clings to rice in the most wonderful way.
- Cool cucumber slices help tame the heat
- Extra lime wedges on the side let guests adjust the acidity
- Make double the sauce because people will want to drizzle extra
 Save
Save Watch these disappear faster than you thought possible and keep that sauce recipe handy because you'll want to put it on everything.
Recipe FAQs
- → How do I keep the chicken fingers crispy after coating with sauce?
-
The panko breadcrumbs create a sturdy coating that resists sogginess. Toss the chicken gently with warm sauce immediately before serving, and avoid letting them sit too long. The sauce should coat lightly rather than drench the strips.
- → Can I make these ahead of time?
-
Prepare the sauce up to 3 days ahead and store refrigerated. The breaded chicken can be assembled and refrigerated for up to 6 hours before baking. For best results, bake fresh and toss with reheated sauce just before serving.
- → What can I use instead of sweet chili sauce?
-
Mix equal parts apricot preserves and sriracha, or combine honey with red pepper flakes and rice vinegar. A Thai sweet red chili paste diluted with water works well too.
- → How spicy is this dish?
-
Mild to medium heat level. The sriracha is optional, and sweet chili sauce provides gentle warmth. Adjust spiciness by adding more sriracha or including fresh chili in the sauce.
- → Can I fry these instead of baking?
-
Absolutely. Fry in 350°F oil for 3-4 minutes until golden brown and cooked through. Drain on paper towels before tossing with sauce. This method yields extra-crispy results.
- → What sides pair well with this?
-
Jasmine rice absorbs the extra sauce beautifully. Fresh cucumber slices, steamed bok choy, or crisp vegetable sticks provide refreshing contrast. A simple green salad with lime dressing balances the richness.
