
 Save
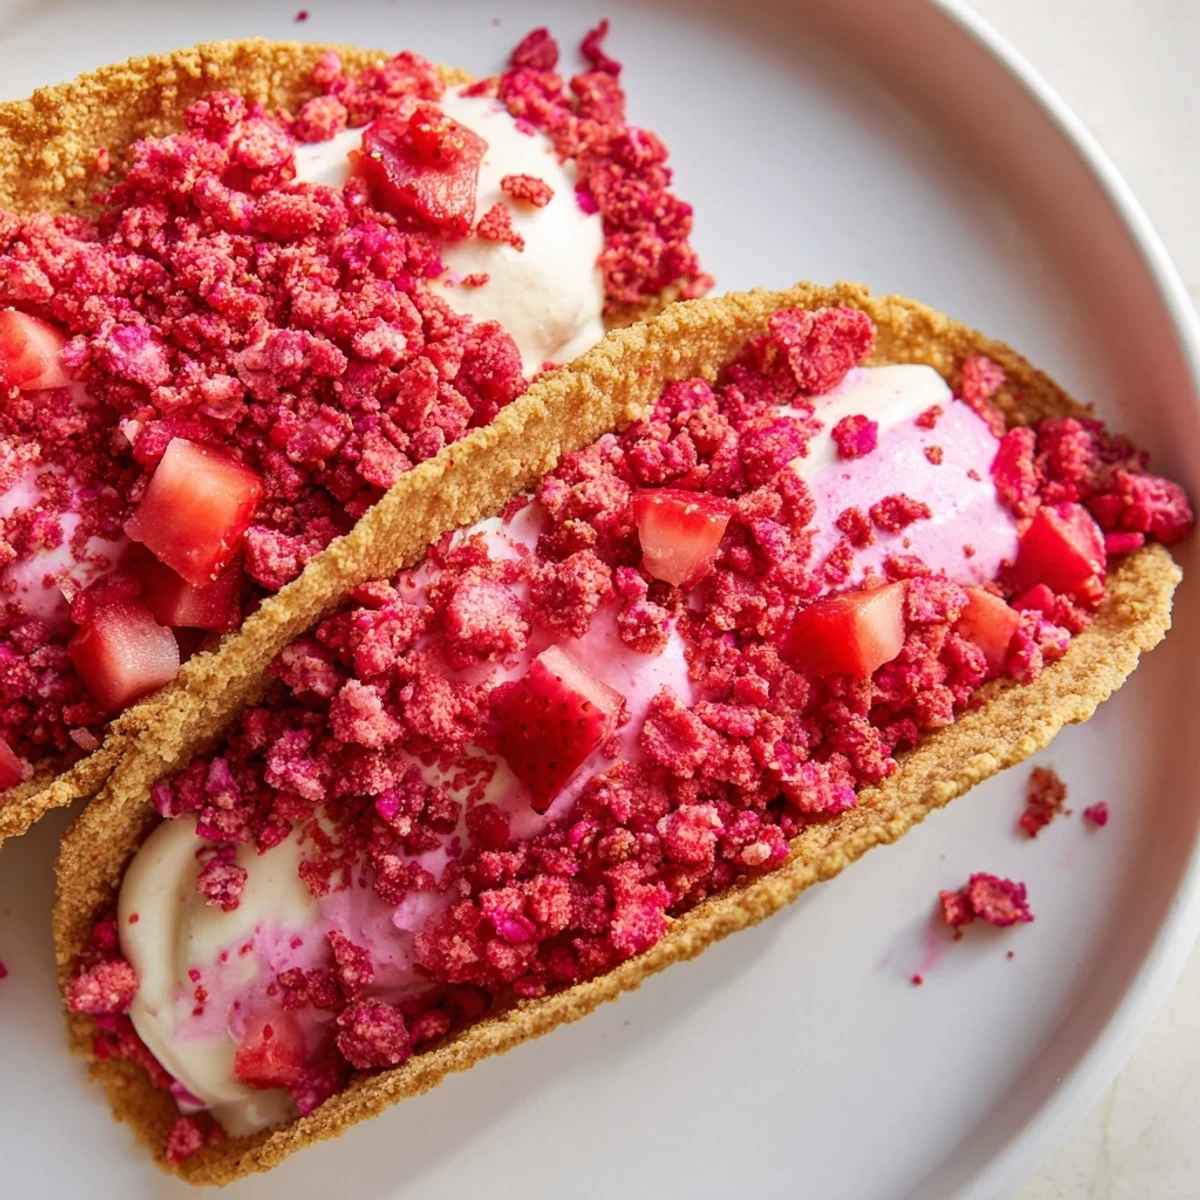
Save These strawberry crunch cheesecake tacos bring together the best of textures and flavors in a fun hand-held format. Crispy baked flour tortillas coated in cinnamon sugar serve as the perfect vessel for a light and airy cheesecake mousse filling.
The star of the show is the addictive strawberry crunch topping made from pulverized freeze-dried strawberries and crispy rice cereal bound with butter and sugar. Every bite delivers a satisfying contrast of creamy, crunchy, and fruity elements.
Ready in just 35 minutes with no special equipment required beyond a food processor, these tacos are perfect for parties, potlucks, or a weekend treat. Assemble them just before serving to keep the shells perfectly crisp.
The strawberry crunch cheestcake taco was born in my kitchen on a rainy Tuesday when I had leftover tortillas, a block of cream cheese, and zero desire to make anything complicated. I draped those buttered tortillas over the oven rack, heard them crackle as they crisped, and realized I had stumbled onto something genuinely fun. The whole thing came together in half an hour and disappeared even faster.
I brought a platter of these to a backyard potluck last summer and watched a table full of adults abandon their forks and eat them like actual tacos, crumbs falling everywhere, nobody caring. My friend Carlos held one up, examined it like a jeweler inspects a diamond, and said this is the smartest dessert you have ever made. I have made them for every gathering since.
Ingredients
- 8 small flour tortillas: The foundation of the shell, smaller tortillas hold their shape better and are easier to eat in a few bites.
- 2 tbsp unsalted butter, melted: Brushed on generously, this is what helps the tortillas crisp and turn golden in the oven.
- 2 tbsp granulated sugar plus 1 tsp ground cinnamon: A simple cinnamon sugar coating that makes the shells taste like a churro met a taco.
- 225 g (8 oz) cream cheese, softened: Let it sit out for at least thirty minutes because cold cream cheese will leave you with lumpy filling no matter how hard you beat it.
- 120 ml (1/2 cup) heavy cream: Whipped and folded in, this is the secret to transforming dense cream cheese into airy mousse.
- 60 g (1/4 cup) granulated sugar plus 1 tsp vanilla extract: Just enough sweetness to let the strawberries shine without competing.
- 120 g (1 cup) freeze-dried strawberries: Do not substitute fresh or frozen here, freeze-dried berries pulverize into a concentrated strawberry dust that is magical.
- 100 g (2 cups) crispy rice cereal: Adds the crunch factor and toasts beautifully with the butter and strawberry crumbs.
- 2 tbsp unsalted butter, melted plus 2 tbsp granulated sugar (for topping): Binds the crunch mixture together and adds a hint of caramelized sweetness.
- 150 g (1 cup) fresh strawberries, diced: A juicy, bright garnish that brings everything alive right before serving.
Instructions
- Shape and bake the taco shells:
- Preheat your oven to 180 degrees C (350 degrees F). Brush each tortilla with melted butter on both sides, then sprinkle with the cinnamon sugar mixture. Drape them over the bars of your oven rack so they sag into a taco shape, and bake for 7 to 9 minutes until they are deeply golden and rigid. Let them cool completely on the rack, during which they will crisp up dramatically.
- Whip the cheesecake mousse:
- Beat the softened cream cheese, sugar, and vanilla together until completely smooth and lump-free, scraping the bowl once or twice. In a separate chilled bowl, whip the heavy cream to medium peaks, soft hills that barely hold their shape, then gently fold it into the cream cheese in three additions so you do not deflate all that lovely air. Transfer the mousse to a piping bag if you want neat filling, or just use a spoon if you are keeping things casual.
- Build the strawberry crunch:
- Pulse the freeze-dried strawberries and rice cereal together in a food processor until you have a coarse, sandy crumb with a few larger pieces for texture. Pour in the melted butter and sugar, pulse once or twice more to combine, and the mixture should clump slightly when you squeeze it in your palm.
- Assemble the tacos:
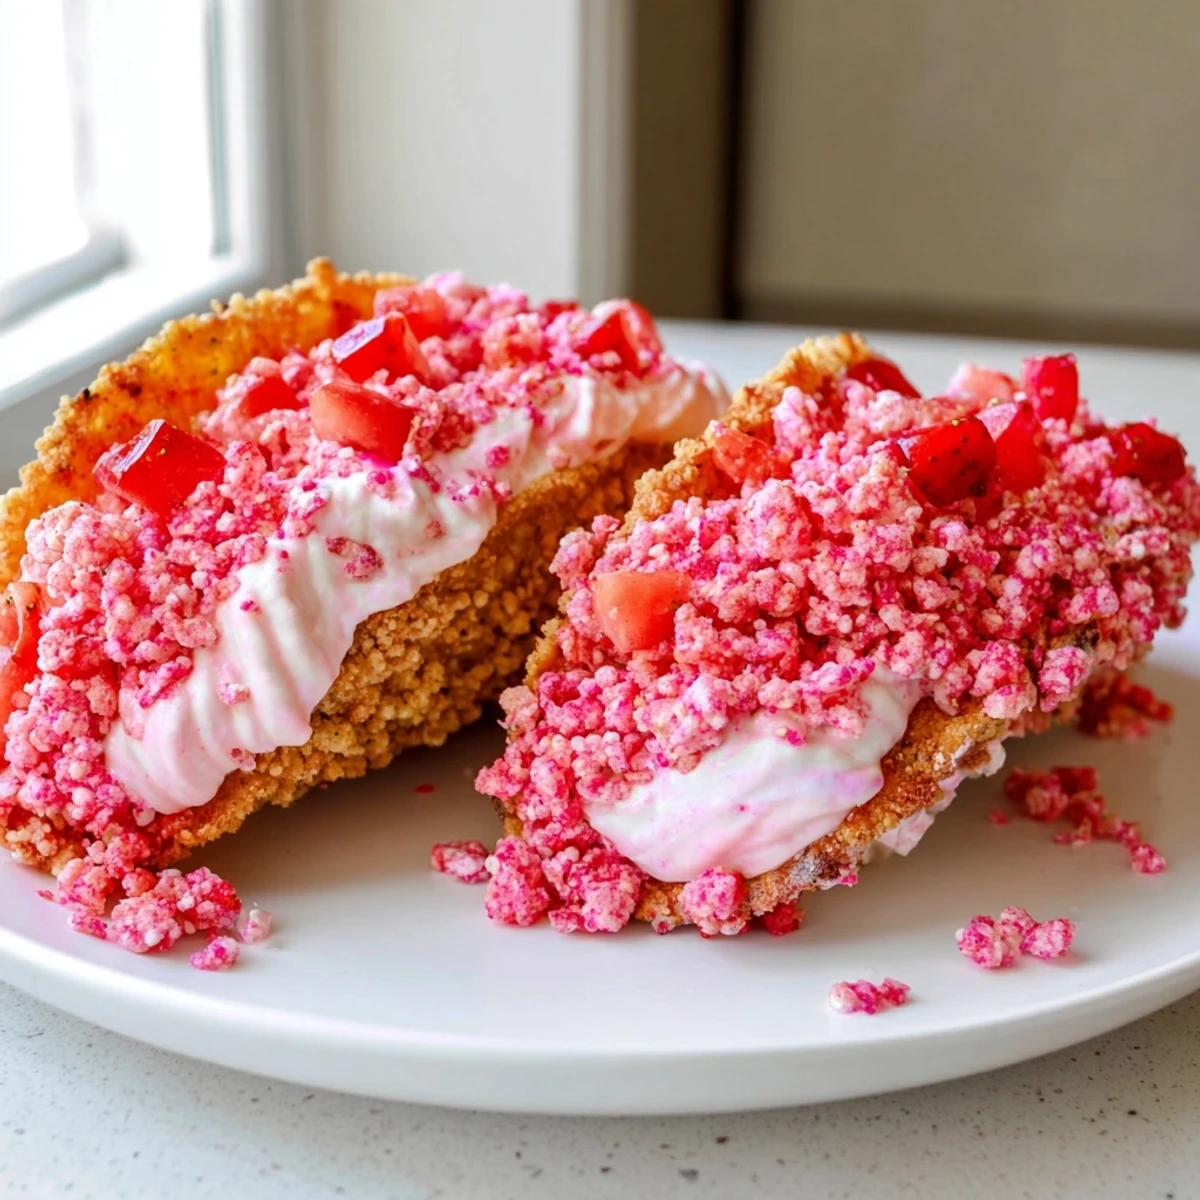
- Pipe or spoon the cheesecake mousse generously into each cooled shell, filling them from end to end. Sprinkle the strawberry crunch over the top with abandon, pressing gently so it adheres, then scatter the fresh diced strawberries over everything.
- Serve immediately:
- These are at their absolute best the moment they are assembled, when the shell is still shatteringly crisp and the mousse is cool and pillowy against the warm crunch topping.
 Save
Save One evening my daughter helped me make these and insisted we set up a taco bar where everyone built their own, which turned out to be the most joyful chaos my kitchen has ever seen. There were crunch crumbs on the floor, mousse on someone's elbow, and every single taco was devoured in minutes. That night this recipe stopped being just a dessert and became a reason to gather.
Making It Your Own
The beauty of this recipe is how eagerly it accepts variations depending on what you have on hand or what mood strikes. Swap the strawberries for freeze-dried raspberries or mango and the whole dessert transforms into something entirely new while keeping the same playful spirit. I once used crushed Oreo cookies mixed with the cereal and my guests lost their minds completely.
Gluten-Free and Dietary Swaps
Gluten-free flour tortillas work beautifully here, though they tend to crisp a bit faster so check them a minute early. For a dairy-free version, coconut cream whipped solid makes a decent mousse base, and plant-based butter handles the shell brushing and crunch binding without complaint. The texture shifts slightly but the sheer fun of eating cheesecake from a taco remains fully intact.
Storing and Preparing Ahead
The components each store well separately for up to two days, which means you can do all the work in advance and assemble in five minutes when guests arrive. Keep the cooled shells in an airtight container at room temperature, the mousse covered in the refrigerator, and the crunch in a sealed bag.
- Never store assembled tacos in the refrigerator because the moisture will turn your crisp shells soggy within the hour.
- A drizzle of melted white chocolate over the finished tacos adds a gorgeous finishing touch that takes ten extra seconds.
- Always make a few extra shells because one or two inevitably crack during shaping and you will want backups.
 Save
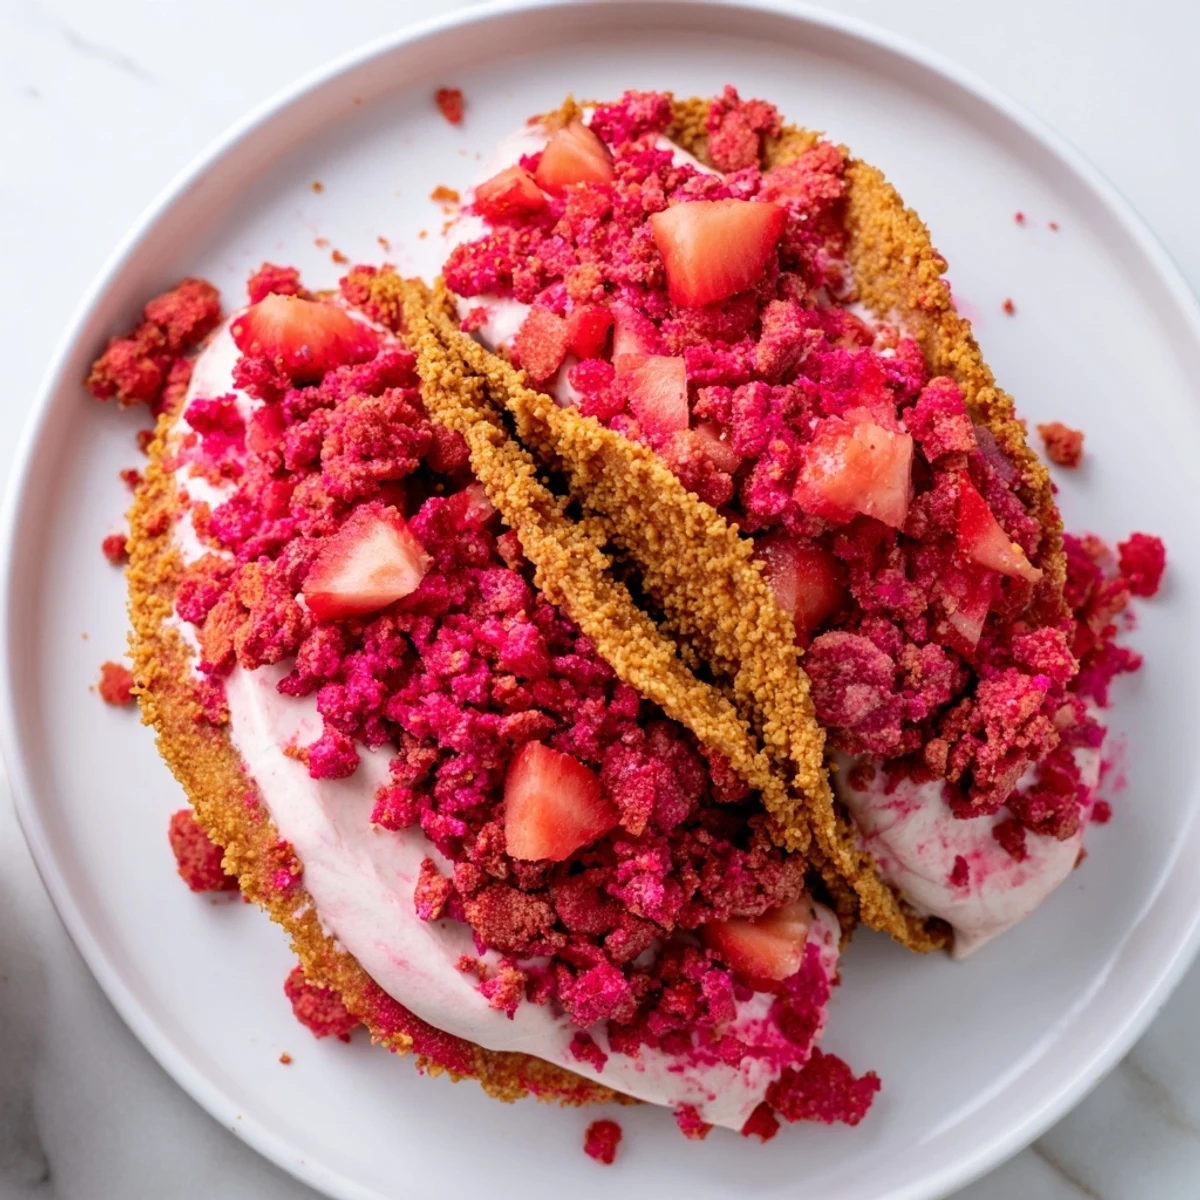
Save Make these once and they will become the dessert people request from you by name, the one that shows up at every potluck and birthday for years to come. That first bite of shattering cinnamon sugar shell, cool mousse, and bright strawberry crunch is worth every minute spent in the kitchen.
Recipe FAQs
- → Can I make the taco shells ahead of time?
-
Yes, you can bake the taco shells up to 24 hours in advance. Store them in an airtight container at room temperature to maintain their crispness. Avoid refrigerating them as moisture will make them soggy.
- → What can I substitute for freeze-dried strawberries?
-
If freeze-dried strawberries are unavailable, you can crush strawberry-flavored sandwich cookies or graham crackers mixed with a tablespoon of strawberry jam. The texture will differ slightly but still deliver great flavor and crunch.
- → How do I keep the taco shells from breaking?
-
Watch the tortillas closely while baking and remove them as soon as they are crisp but still have a slight give. Over-baking makes them brittle. Letting them cool completely on the rack helps them set into a sturdy shape that holds the filling without cracking.
- → Can I use corn tortillas instead of flour?
-
Flour tortillas work best because they are more pliable and bake into a sweeter, tender-crisp shell. Corn tortillas tend to crack when shaped and have a savory flavor that clashes with the sweet cheesecake filling. Stick with small flour tortillas for the best results.
- → How long can assembled tacos sit before serving?
-
Assembled tacos are best served within 15 to 20 minutes. Beyond that, the moisture from the cheesecake filling and fresh strawberries will begin softening the taco shells. For gatherings, keep all components separate and let guests assemble their own for maximum crunch.
- → Is there a dairy-free version of this dessert?
-
You can make a dairy-free version by using plant-based cream cheese, coconut cream instead of heavy cream, and vegan butter for both the shells and the crunch topping. Dairy-free flour tortillas are widely available and work perfectly for the shells.