 Save
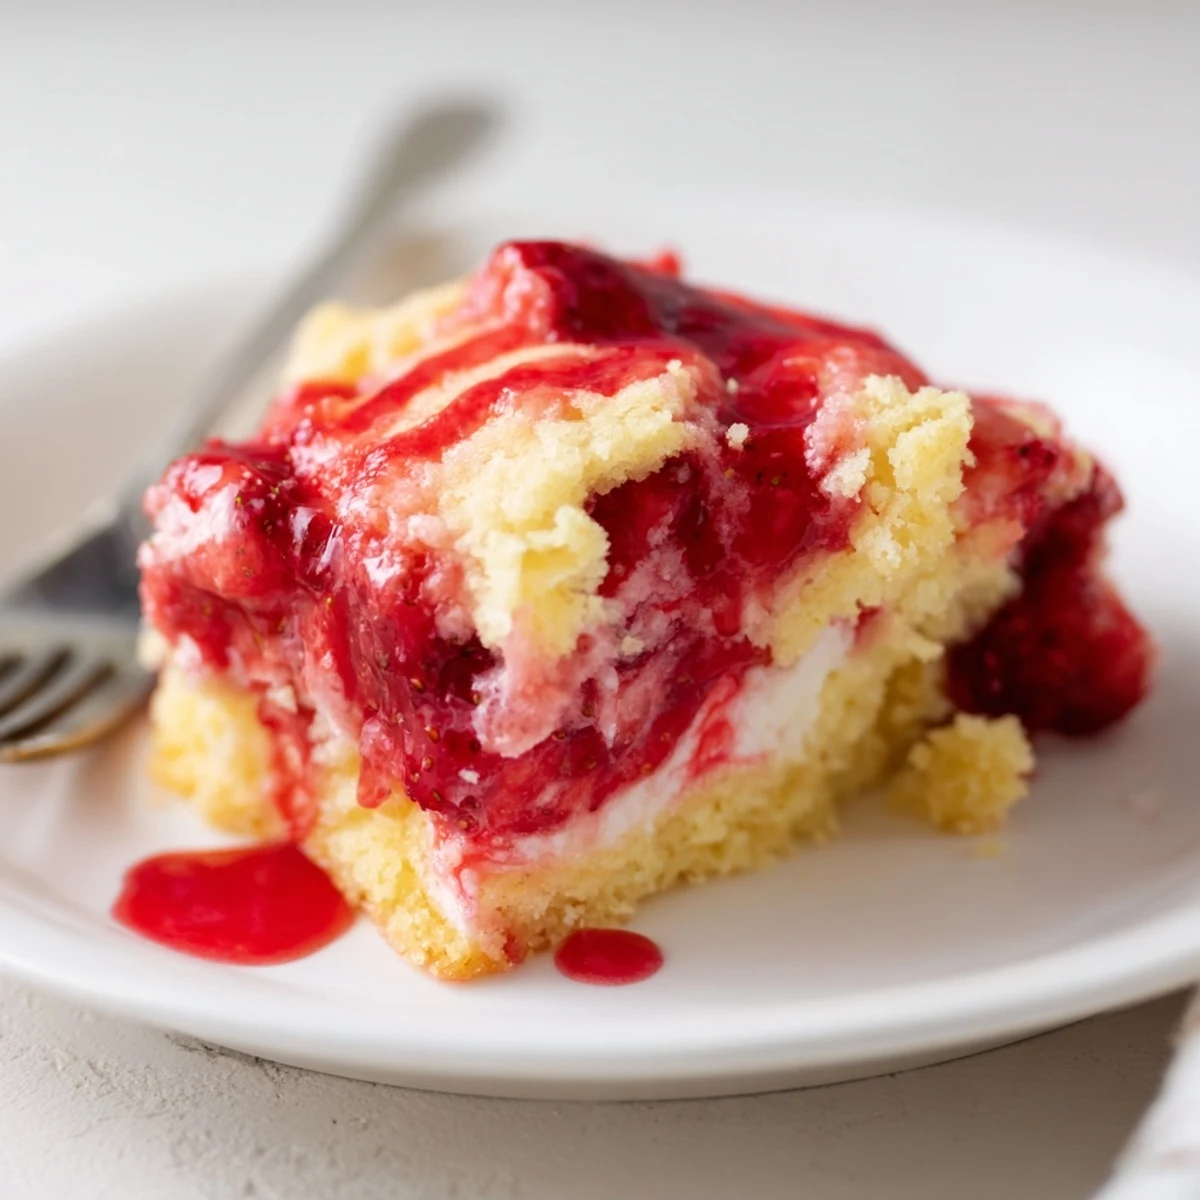
Save This dump-style bake layers fresh or canned strawberries with spoonfuls of sweetened cream cheese, then a blanket of dry cake mix and melted butter. It takes about 10 minutes to assemble and 40–45 minutes to bake until golden and bubbling. Let cool 20 minutes before slicing. Serve warm or at room temperature with ice cream or whipped cream for extra indulgence.
The oven door had barely clicked shut when my sister leaned over my shoulder and whispered that it already smelled like summer in my kitchen, even though it was a rainy Tuesday in October and the strawberries in this cake were straight from the freezer.
I brought this to a potluck once expecting it to be overshadowed by a towering three layer chocolate cake someone else had brought, and it disappeared first, leaving me to scrape the corners of the dish for a single bite to call my own.
Ingredients
- 2 cups fresh or frozen sliced strawberries: Frozen works beautifully here, and you do not even need to thaw them, which makes this dessert a year round possibility.
- 1 can strawberry pie filling: This is the shortcut that makes the fruit layer luxuriously thick, but you can absolutely replace it with extra fresh berries tossed in sugar if you prefer a less sweet result.
- 225 g cream cheese, softened: Leave it on the counter for about an hour so it blends without lumps, because smooth cream cheese means those gorgeous pockets of tanginess throughout the cake.
- 1/2 cup granulated sugar: This sweetens the cheesecake layer just enough to balance the tartness of the berries without overpowering it.
- 1 teaspoon vanilla extract: A small amount that quietly enhances every layer of the dessert.
- 1 box yellow or white cake mix: You only need the dry mix, so ignore whatever the box instructions say about eggs and oil.
- 1/2 cup unsalted butter, melted: This gets drizzled over the dry cake mix and is what transforms it into a crispy, golden topping as it bakes.
Instructions
- Preheat and prepare the dish:
- Set your oven to 175 degrees Celsius (350 degrees Fahrenheit) and grease a 9 by 13 inch baking dish so nothing sticks when you try to scoop out those gorgeous squares later.
- Layer the strawberries:
- Scatter the fresh or frozen sliced strawberries evenly across the bottom of the dish, then spoon the pie filling over them and spread it gently until the entire base is covered in a ruby red blanket.
- Whip up the cheesecake mixture:
- Beat the softened cream cheese with sugar and vanilla until it is completely smooth and creamy, then drop generous spoonfuls across the strawberry layer, spacing them out so every bite gets a taste of that tangy richness.
- Add the dry cake mix:
- Sprinkle the entire contents of the cake mix box evenly over the surface without stirring, because this untouched dry layer is what creates that magical, crumbly topping.
- Drizzle the butter:
- Pour the melted butter slowly and evenly across the cake mix, trying to cover as much surface area as you can, since every buttery patch will turn golden and crisp in the oven.
- Bake until golden:
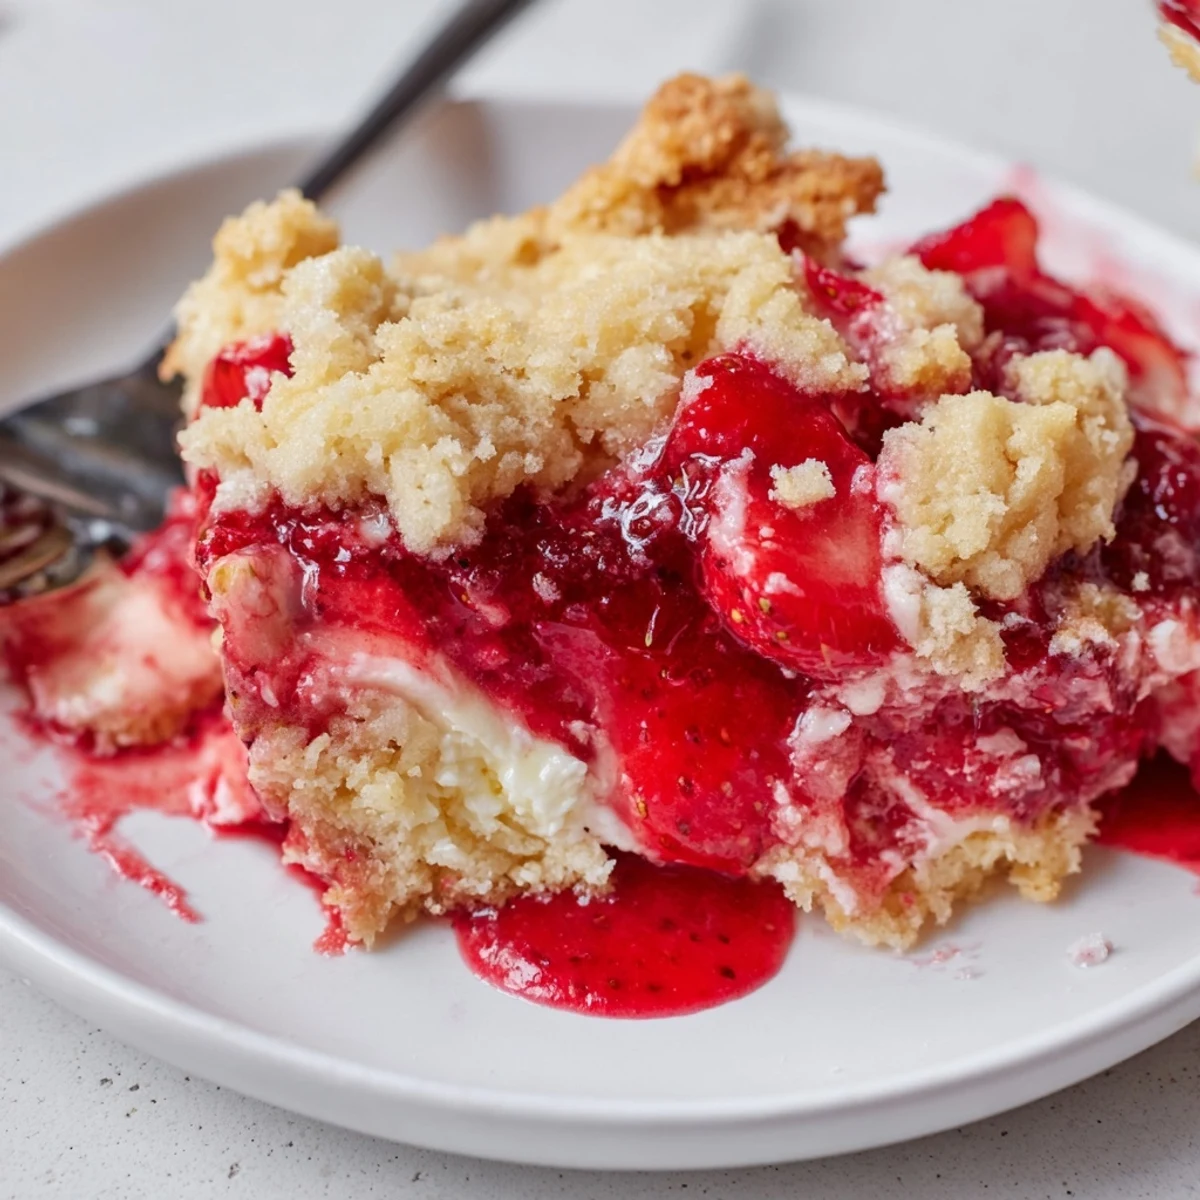
- Slide the dish into the oven for 40 to 45 minutes, watching for a deeply golden top and bubbling cheesecake at the edges, which are your signs that everything has melded together perfectly.
- Cool and serve:
- Let it rest for at least 20 minutes so the layers settle and you can actually cut clean squares, then serve it warm or at room temperature depending on your mood.
 Save
Save One Sunday afternoon my neighbor stopped by while this was cooling on the counter, and we ended up sitting on the kitchen floor with two forks and the whole pan between us, barely saying a word because the dessert was doing all the talking.
Serving Suggestions Worth Trying
A warm square with a generous scoop of vanilla bean ice cream slowly melting into the crevices is hard to beat, but a cloud of fresh whipped cream on top of a room temperature slice is equally lovely for a more casual approach.
Fun Flavor Twists
Swap the strawberry pie filling for cherry, blueberry, or raspberry and suddenly you have an entirely new dessert on your hands with almost no extra effort, which is why this recipe is the gift that keeps on giving all year long.
Storage and Make Ahead Tips
This holds up remarkably well covered in the refrigerator for up to three days, and some people actually prefer it chilled the next day when the flavors have had time to deepen and the texture becomes wonderfully dense.
- Reheat individual portions in the microwave for about 20 seconds if you want to recapture that fresh from the oven warmth.
- Freeze tightly wrapped portions for up to one month and thaw overnight in the refrigerator.
- Always check your cake mix label for allergens, as brands vary and some contain traces of nuts or soy.
 Save
Save Some desserts demand precision and patience, but this one simply asks you to layer, drizzle, and trust the oven, and I think that is exactly the kind of cooking we all need more of.
Recipe FAQs
- → Can I use frozen strawberries?
-
Yes. Use frozen sliced strawberries straight from the bag and spread them evenly in the dish; baking time remains about the same, though slightly longer if excess moisture is present.
- → How do I avoid a soggy bottom?
-
Drain excess liquid from thawed berries or use a thicker pie filling. Ensure melted butter is spread evenly over the cake mix so the top crisps while the filling thickens during baking.
- → What can I substitute for strawberry pie filling?
-
Use extra fresh strawberries mixed with about 1/3 cup sugar and a splash of lemon juice, or swap in raspberry, cherry, or blueberry pie filling for variation.
- → Can I make this gluten-free?
-
Yes. Substitute a certified gluten-free cake mix and confirm all other ingredients are labeled gluten-free. The method and bake time remain the same.
- → Is it better served warm or cooled?
-
Both are delightful: warm yields a gooey, comforting texture perfect with ice cream, while cooled slices hold shape better for cleaner servings.
- → How should leftovers be stored?
-
Cover and refrigerate leftovers for up to 3 days. Bring to room temperature or gently warm before serving to restore softened cheesecake pockets.
