 Save
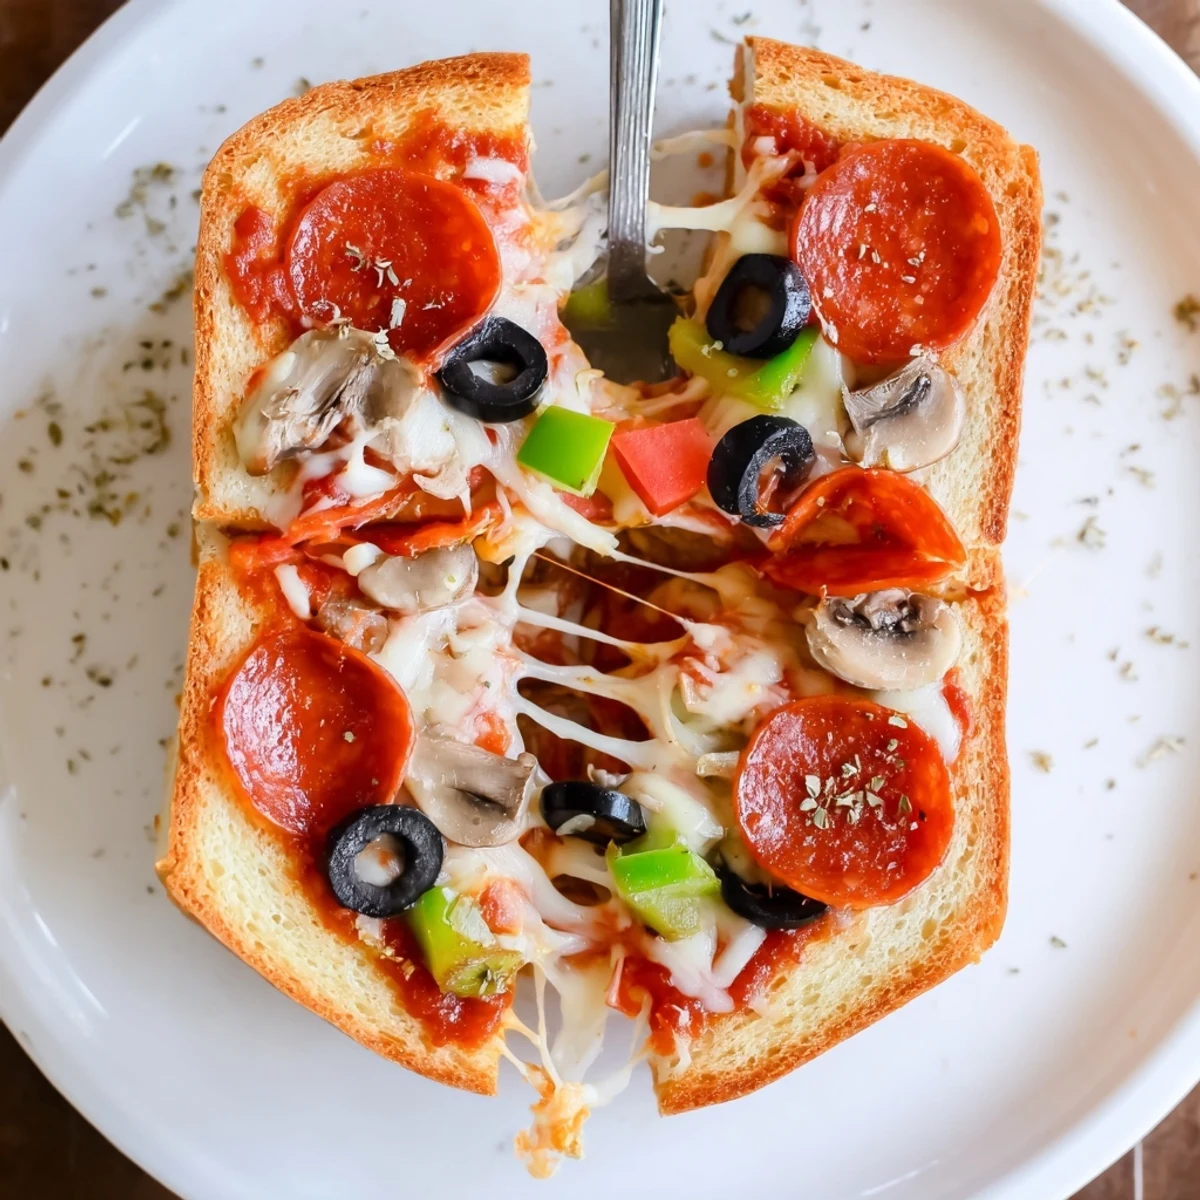
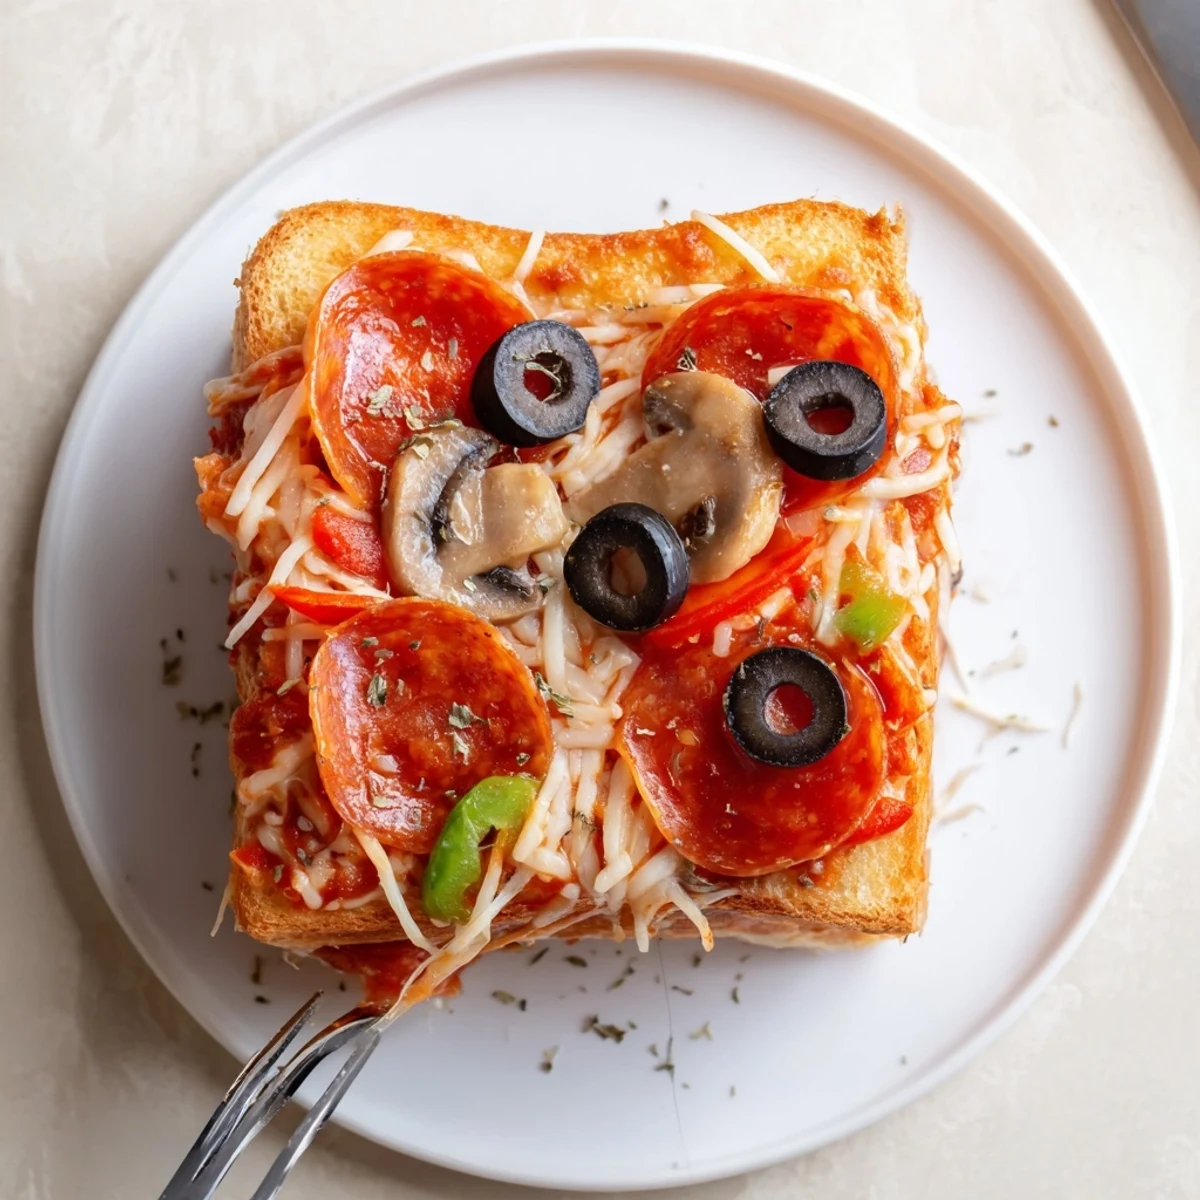
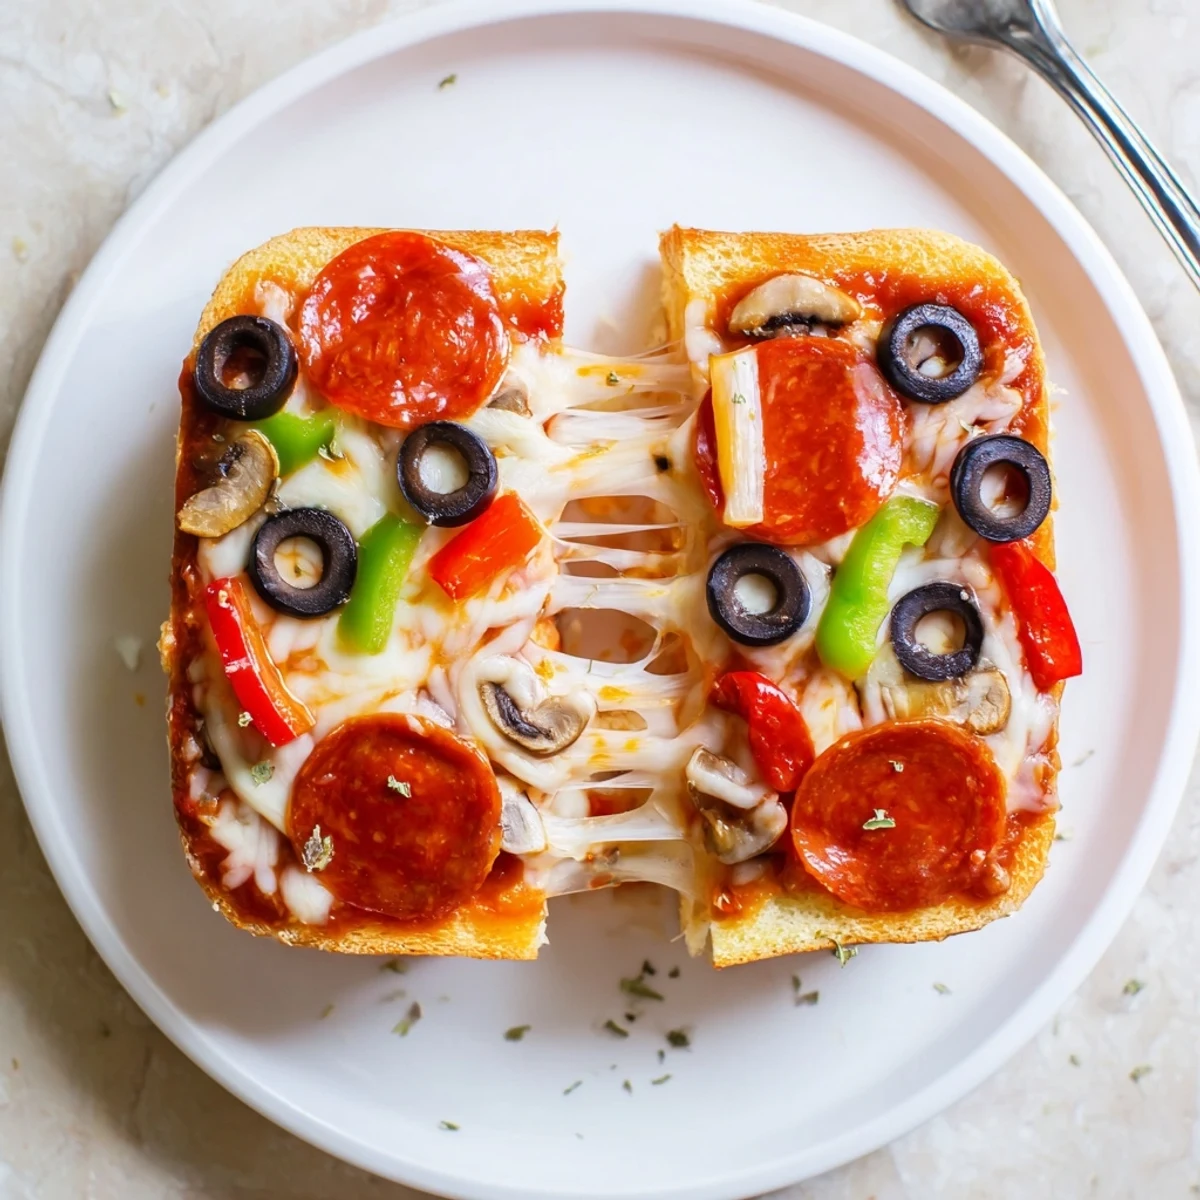
Save Layer buttered sandwich bread with pizza sauce, shredded mozzarella and chosen toppings, seal in a pie iron and cook 3–4 minutes per side over medium campfire heat or on a stovetop until golden and the cheese is melted. Let cool briefly before serving. Try gluten-free bread, add fresh basil, or brush with extra melted butter for deeper color.
The sizzle of the pie iron always brings me back to lazy afternoons by the lake, trading stories while the fire did its magic. One rainy evening, curiosity got the better of us, and we decided to see what would happen if we stuffed our favorite pizza fixings between slices of bread. The results—crispy, cheesy, and just a little bit smoky—surprised everyone and quickly became a ritual. I still grin when I remember the scramble of hands reaching for the first bubbling hot pizza pocket.
I'll never forget the day my niece insisted on cramming her pizza pocket with every topping—she proudly declared it the 'super supreme' before anyone else even got a turn. We couldn't stop laughing as she juggled mushrooms and olives, and she still brags that hers was the mystery bite that kept us guessing all night. Making a whole row of pockets over the coals, we found our best ideas came out of the silliest topping combos. It's now our go-to when we need a little edible excitement by the campfire.
Ingredients
- Bread: Sturdy sandwich bread (white or wheat) is important, as flimsy bread tears when you close the pie iron and doesn’t crisp up as nicely.
- Pizza Sauce: A little goes a long way—the trick is not to over-saturate so your pockets stay crisp inside.
- Mozzarella Cheese: Pre-shredded melts faster and more evenly when the heat is unpredictable outdoors.
- Pepperoni/Salami: If using, tuck the slices beneath the cheese to prevent them from sliding out as you cook.
- Black Olives: Pat them dry before adding so your pocket doesn’t get soggy.
- Bell Peppers: Dice them finely; they mellow and sweeten beautifully in the heat of the fire.
- Mushrooms: Raw is fine, but a quick sauté first brings out their umami if you have the patience.
- Dried Italian Herbs: Just a pinch on top of the cheese wakes everything up—don’t skip if you love that pizzeria aroma.
- Butter: Melted and brushed on both sides of the bread, this is the key to that crackling golden crust.
Instructions
- Heat the Pie Iron:
- Hold the closed iron over your campfire or stove for 2-3 minutes, listening for that faint ping as it warms up.
- Prep the Bread:
- Brush one side of each slice generously with melted butter, not skimping at the edges.
- Assemble Your Pocket:
- Lay four slices buttered side down and gently spread pizza sauce just shy of the edges; top with cheese and your chosen fillings.
- Sandwich It:
- Place the remaining bread slices on top, buttered side up, and press down gently to seal in the goods.
- Fill the Pie Iron:
- Nestle each sandwich into the iron, letting any stray bits peek out, then snap it shut and trim off excess bread if needed.
- Cook Over the Fire:
- Set the iron over medium heat, flipping after 3–4 minutes, until the bread is crisp and the cheese is stringing out the sides.
- Finish & Serve:
- Open the iron carefully, slide out your golden pocket, and wait just long enough to avoid a molten cheese mishap before diving in.
 Save
Save There was a time we were caught out by a sudden summer downpour, all of us huddled under a tarp with dripping ponchos, and those gooey pizza pockets felt like a small miracle. Our laughter—half from relief, half from melted cheese stuck to our chins—turned a damp evening into one of my favorite campfire memories. Sometimes, what's inside these pockets is just as warming as the flames outside.
Campfire Cooking Confidence
The unpredictable nature of an open flame might sound daunting, but part of the fun is learning to read the quiet roar of the embers. The first few attempts might be a little uneven—one smoky, one extra toasty—but no one ever complains with these in hand. Time and a little rotation are the secret to a perfectly even pocket, at least around our fire circle.
Mix-and-Match Pocket Toppings
We’ve played with everything from leftover cooked sausage to paper-thin zucchini slices, and even swapped the sauce for a dab of pesto from a nearly forgotten jar. Letting everyone choose their own fillings turns the meal into a choose-your-own adventure, and more than a few new favorite combos have been discovered by accident. Don’t be afraid to sneak in a surprise ingredient and see who notices first.
Making It Work Without a Campfire
On days the weather refuses to cooperate, we’ve used the same method right on our stovetop, with the pie iron nestled over a steady flame. The kitchen fills up with the same mouthwatering scent, and somehow even ordinary weeknights feel a little wild. It’s proof you don’t need the wilderness to recreate that outdoor magic.
- Give your iron a quick brush of oil before using if bread has a tendency to stick.
- Keep an eye on the heat; medium is just right—any hotter burns the bread before the cheese melts.
- Let each pocket rest for a minute after cooking—lava cheese waits for no one, but burnt tongues make for wary eaters!
 Save
Save Few things beat gathering around a fire—or a kitchen table—with everyone building their own pizza pocket masterpiece. I hope you have as much fun making (and eating) these as we always do.
Recipe FAQs
- → Can I cook these on a stove instead of a campfire?
-
Yes. Preheat the pie iron on medium heat over a burner, then cook each pocket 3–4 minutes per side until golden and the cheese is fully melted, adjusting heat to prevent burning.
- → How do I avoid a soggy bottom?
-
Butter the outside of the bread, use a modest amount of sauce, drain wet toppings, and trim excess filling before sealing to keep the interior warm and the crust crisp.
- → What toppings work well with mozzarella and sauce?
-
Pepperoni, cooked sausage, sautéed mushrooms, diced bell peppers, black olives and fresh basil all pair nicely. Precook high-moisture vegetables to prevent excess liquid.
- → Can I make these ahead and reheat?
-
Assemble and refrigerate for a few hours, or freeze before cooking. Reheat in a skillet or oven to restore crispness; microwaving may make them soggy.
- → Are there gluten-free or dairy-free options?
-
Use gluten-free sandwich bread and plant-based shredded cheese. Substitute melted oil for butter to brush the bread if dairy is a concern.
- → How should I care for a pie iron after use?
-
Let the iron cool slightly, remove crumbs, wipe with a damp cloth and dry thoroughly. Lightly oil and store to maintain the seasoned surface; avoid harsh detergents on seasoned cast iron.
