 Save
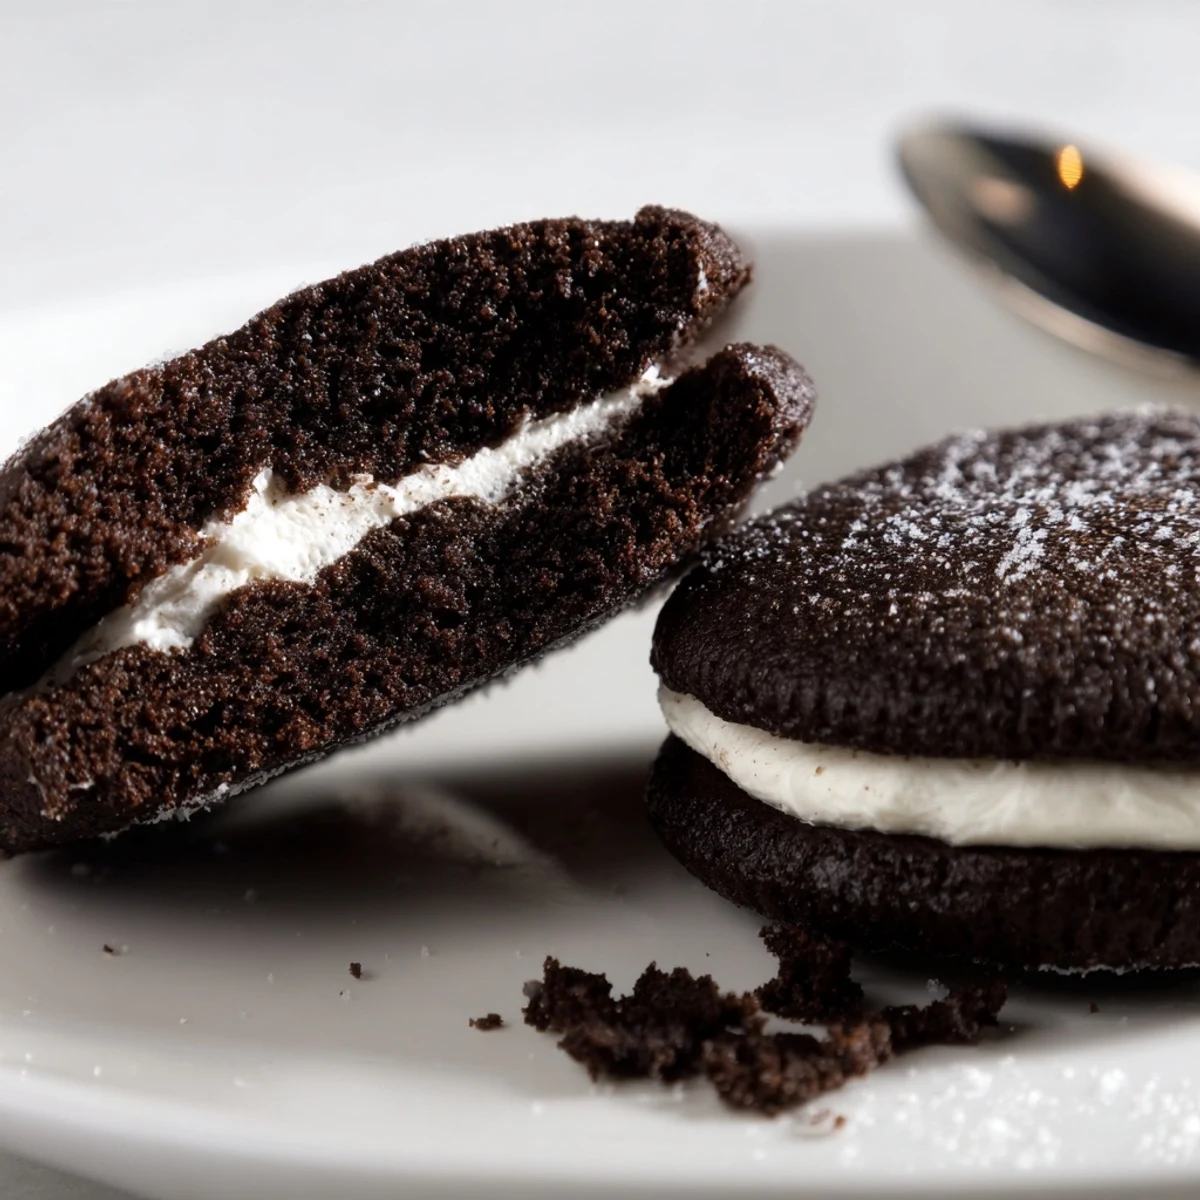
Save These homemade Oreo-style sandwich cookies pair deep Dutch-process cocoa rounds with a silky vanilla cream. The dough comes together quickly, is portioned into 1-inch balls, baked 10–12 minutes, then cooled and sandwiched with about 1 tablespoon of filling. Yields 18 cookies. Add a teaspoon of espresso powder for extra depth or swap shortening for extra buttery filling; store airtight up to 5 days.
The unmistakable crunch of twisting apart a dark chocolate sandwich cookie, scraping the cream off with your teeth, that is a childhood ritual nobody should outgrow. My kitchen counter was a disaster zone the afternoon I decided that store bought was no longer acceptable. Cocoa powder dusted every surface, the dog had powdered sugar on his nose, and I had never been happier. These homemade Oreo style cookies are the result of that beautiful mess.
My neighbor Dave walked in unannounced while I was piping filling onto my third batch, grabbed one straight off the tray, and declared with his mouth full that I had ruined store bought cookies for him forever. His wife called the next day asking for the recipe, which is the highest compliment I have ever received secondhand.
Ingredients
- All-purpose flour (1 cup, 125 g): Provides the sturdy structure these crisp cookies need, so measure carefully and avoid packing it down.
- Unsweetened Dutch-process cocoa powder (¾ cup, 70 g): This is what gives the cookies their signature deep, dark color and smooth chocolate flavor, and regular cocoa will not deliver the same result.
- Granulated sugar (1 cup, 200 g): Sweetens and helps create those crisp edges when the dough bakes.
- Baking soda (½ tsp): A small amount that keeps the cookies from becoming impossibly dense.
- Salt (¼ tsp): Just enough to make the chocolate taste more like itself.
- Unsalted butter, softened (½ cup, 115 g): For the cookie dough, brought to room temperature so it creams smoothly with the sugar.
- Large egg (1): Binds the dough together and adds a touch of richness.
- Vanilla extract (1 tsp, for cookies): Rounds out the chocolate flavor beautifully.
- Unsalted butter, softened (¼ cup, 60 g, for filling): Part of the creamy filling base, softened so it whips up light.
- Vegetable shortening (¼ cup, 55 g): This is the secret to that classic Oreo style filling texture, stable and smooth at room temperature.
- Powdered sugar, sifted (1½ cups, 180 g): Sifting is nonnegotiable here unless you want lumpy filling.
- Vanilla extract (1 tsp, for filling): The star flavor of that iconic cream center.
- Salt (pinch, for filling): A tiny pinch keeps the sweetness from becoming cloying.
Instructions
- Get the oven ready:
- Preheat your oven to 350°F (175°C) and line two baking sheets with parchment paper so nothing sticks and cleanup is effortless.
- Mix the dry ingredients:
- Sift the flour, cocoa powder, baking soda, and salt together in a medium bowl, then set it aside while you work on the wet ingredients.
- Cream butter and sugar:
- Beat the softened butter and granulated sugar in a large bowl until the mixture looks pale, light, and fluffy, then add the egg and vanilla extract, beating until everything is combined.
- Bring the dough together:
- Gradually add the sifted dry ingredients to the wet mixture, mixing until a stiff, dark, somewhat stubborn dough forms that holds together when you squeeze it.
- Shape the cookies:
- Roll the dough into 1-inch (2.5 cm) balls and place them 2 inches apart on your prepared sheets, then flatten each ball slightly with the palm of your hand or the bottom of a glass.
- Bake until set:
- Bake for 10 to 12 minutes until the cookies feel set and slightly firm to the touch, let them cool on the sheets for 5 minutes, then transfer to a wire rack to cool completely.
- Whip up the filling:
- Beat the butter, shortening, sifted powdered sugar, vanilla extract, and pinch of salt together until the mixture is smooth, fluffy, and irresistibly spreadable.
- Assemble the sandwiches:
- Pipe or spread about 1 tablespoon of filling onto the flat side of half the cookies, then top with the remaining cookies and press gently so the cream spreads evenly to the edges.
- Let them set:
- Give the assembled cookies 10 to 15 minutes to rest so the filling firms up slightly before you serve or store them.
 Save
Save Packaging these in a little tin and leaving them on a friends porch during a rough week taught me that cookies can say things words cannot.
What If You Want to Play Around With It
Add a teaspoon of espresso powder to the cookie dough for a deeper, more sophisticated chocolate hit that no one will be able to identify but everyone will notice. You can swap the shortening for all butter in the filling if you prefer a richer, more melt-in-your-mouth quality, though the texture will be slightly softer.
Keeping Them Fresh
Store assembled cookies in an airtight container at room temperature and they stay crisp and delicious for up to five days, though they rarely last that long in my house. A cold cookie pulled straight from the fridge the next morning with a cup of coffee is secretly one of lifes small perfect moments.
A Few Last Thoughts Before You Bake
These cookies were made for dunking, so pour yourself a tall glass of cold milk and do not let anyone tell you otherwise. The dough freezes well if you want to roll and freeze the balls for a future emergency cookie craving.
- An electric mixer makes both the dough and filling much easier, but strong arms and a wooden spoon will absolutely get the job done.
- If you do not have a piping bag, a zip-top bag with a corner snipped off works beautifully for the filling.
- Always check your ingredient labels if you are baking for someone with allergies, as cocoa powder and powdered sugar can be processed in facilities that handle nuts.
 Save
Save Once you have made these from scratch, the store bought version will never quite measure up again, and honestly, that is a risk worth taking.
Recipe FAQs
- → How do I get evenly flat cookies?
-
Roll dough into uniform 1-inch balls and gently flatten each with the bottom of a glass or your hand before baking. Chilling the dough 10–15 minutes can help maintain shape and create even edges.
- → Can I substitute shortening in the filling?
-
Yes. Replace shortening with additional unsalted butter for a richer, more buttery filling. Expect a slightly softer texture and more pronounced butter flavor.
- → How can I intensify the chocolate flavor?
-
Stir in 1 teaspoon of espresso powder or use a higher-percentage Dutch-process cocoa to boost chocolate depth without adding sweetness.
- → What’s the best way to store the sandwiches?
-
Layer sandwiches in an airtight container at room temperature for up to 5 days. Separate layers with parchment to prevent sticking and preserve crisp edges.
- → Can I freeze the components?
-
Yes. Freeze baked, cooled cookies in a single layer, then transfer to a sealed bag for up to 3 months. Thaw at room temperature before filling. Alternatively, freeze the filling in a sealed container and whip briefly before spreading.
- → How much filling should I use per sandwich?
-
Pipe or spread about 1 tablespoon of filling onto half the cookies, then top with remaining cookies and press gently to spread the cream to the edges for balanced filling.
