 Save
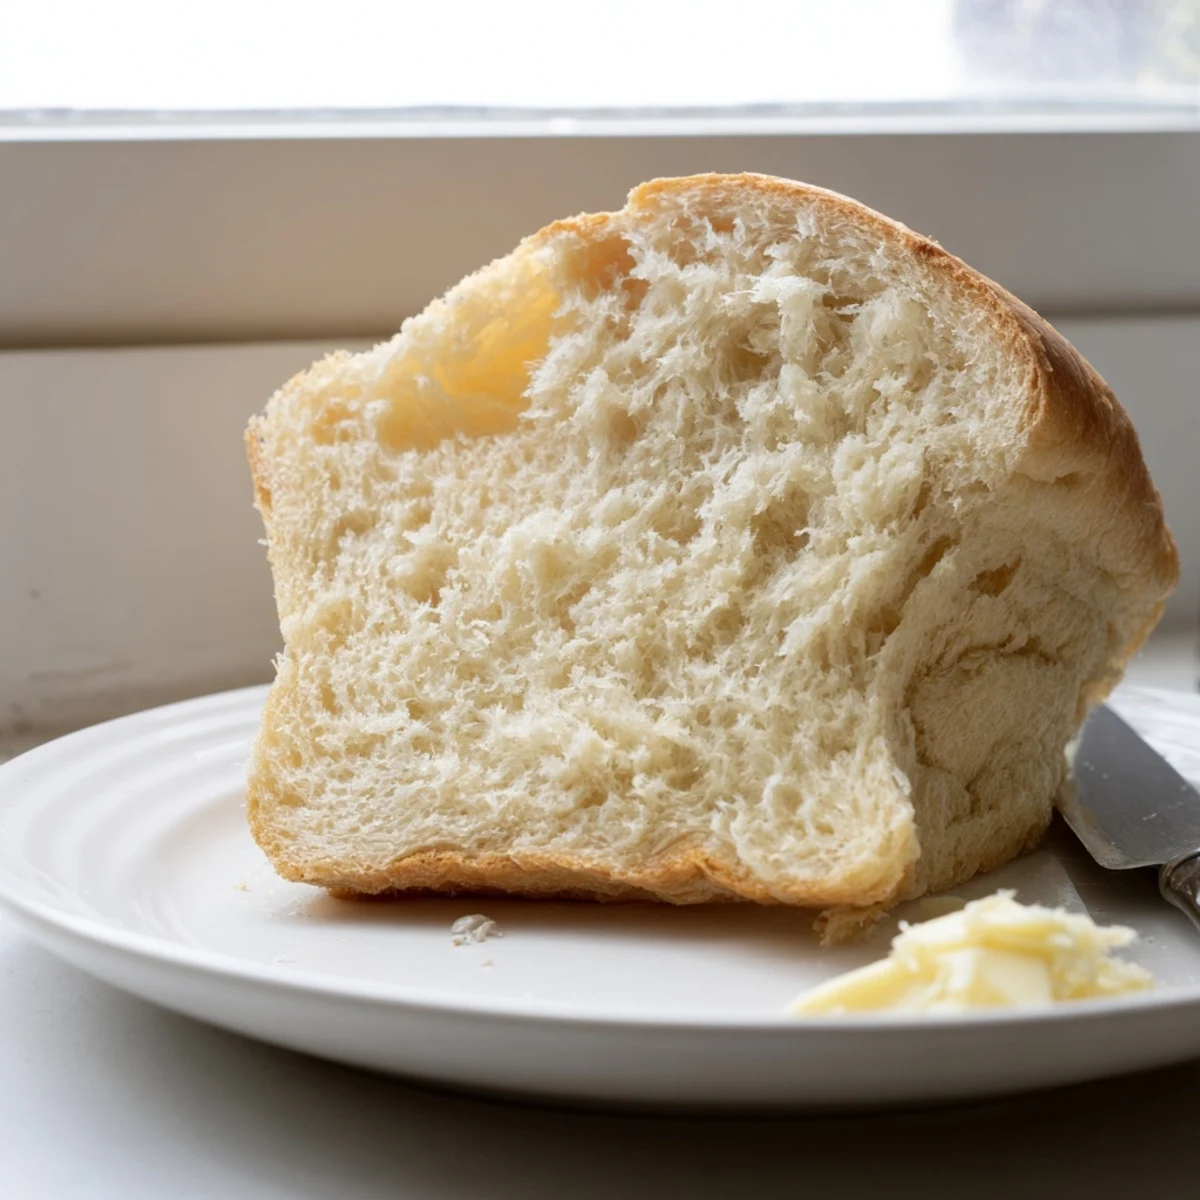
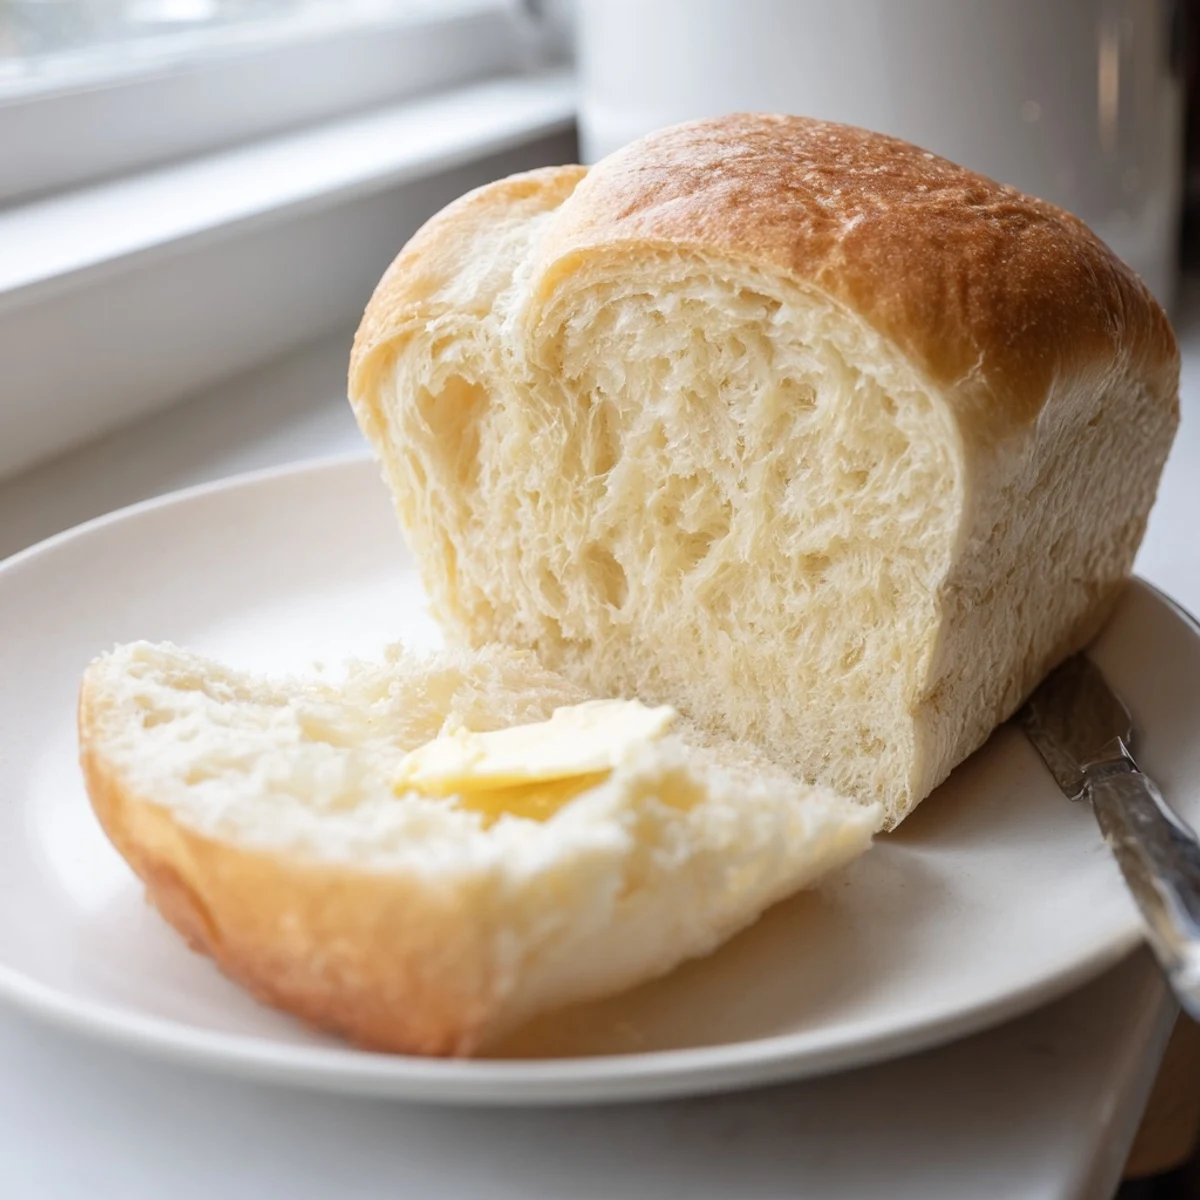
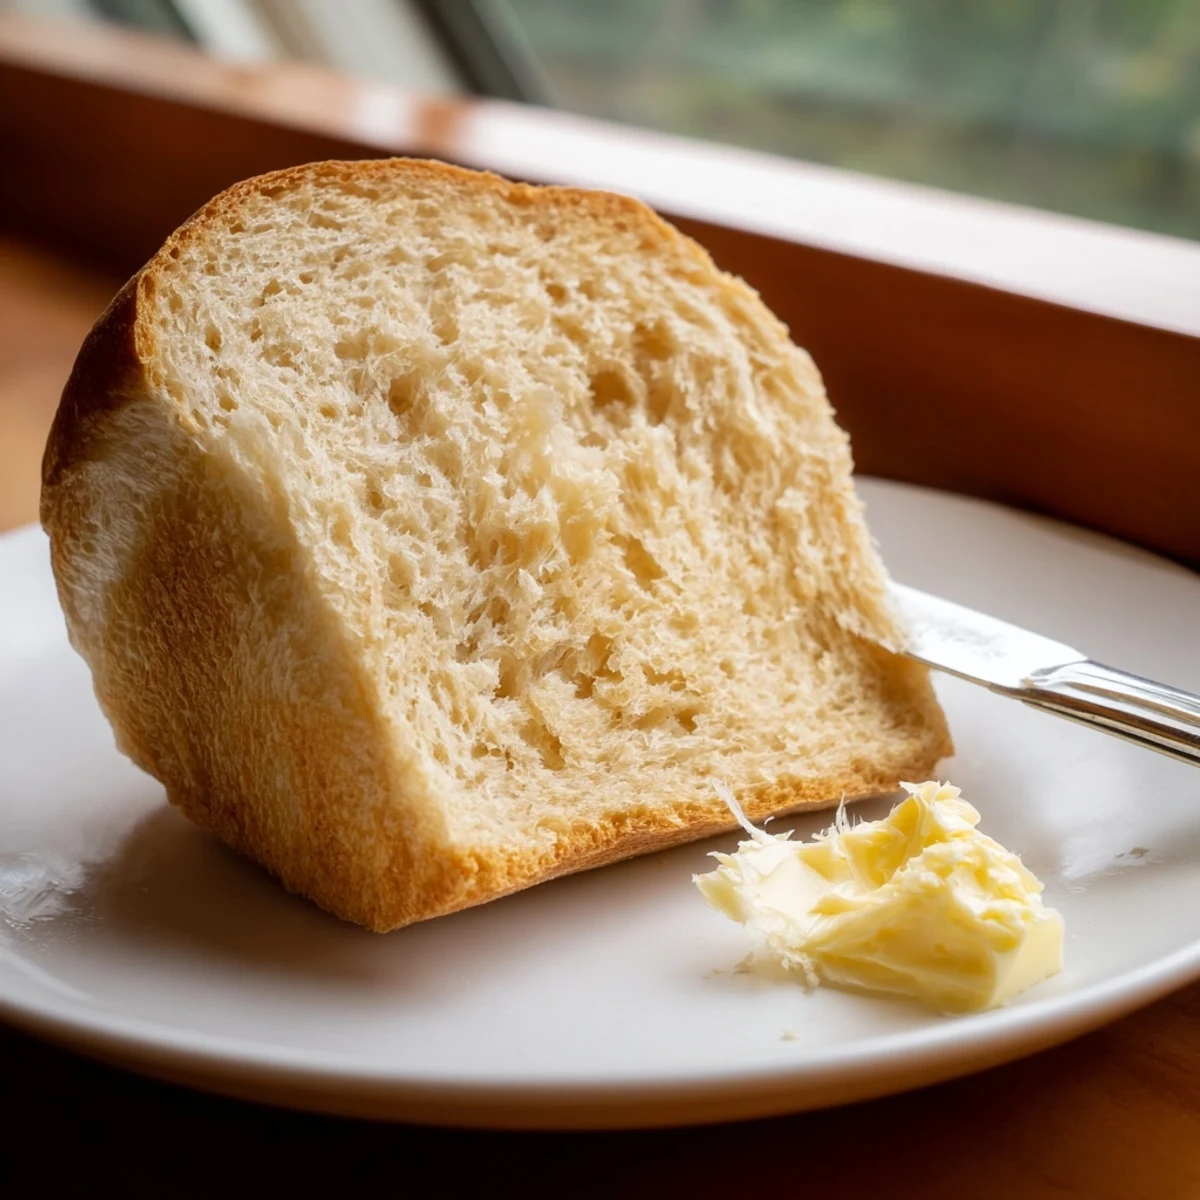
Save Homemade Amish white bread delivers two beautifully soft, fluffy loaves with a subtle sweetness. The simple dough comes together with warm water, sugar, yeast, and basic pantry staples. After rising twice, the loaves bake to golden perfection, creating that perfect crumb ideal for everything from morning toast to classic sandwiches.
The aroma of freshly baked bread has this magical way of pulling everyone into the kitchen. I discovered this Amish white bread recipe during a particularly chilly winter when my oven became my best friend. The first time I made it, my neighbor actually knocked on the door to ask what smelled so incredible. That's when I knew this recipe was something special.
I started making this bread every Sunday morning, and it became this beautiful ritual that marked the start of our week. My kids began waking up earlier just to catch the bread coming out of the oven. There's something so grounding about working with dough—kneading it until it's smooth and elastic feels almost meditative.
Ingredients
- 2 cups warm water: The temperature matters—it should feel like a warm bath, not hot enough to kill the yeast
- 2/3 cup granulated sugar: This feeds the yeast and gives the bread its characteristic gentle sweetness
- 1 1/2 tablespoons active dry yeast: Fresh yeast makes all the difference, check the expiration date
- 1 1/2 teaspoons salt: Essential for flavor balance, don't skip it
- 1/4 cup vegetable oil: Keeps the bread tender and helps it stay fresh longer
- 5 1/2 to 6 cups all-purpose flour: Start with less and add more as needed, humidity affects how much flour you'll need
- 1 tablespoon melted butter for brushing: Creates that gorgeous soft, shiny crust
Instructions
- Wake up the yeast:
- Dissolve the sugar in warm water, then sprinkle yeast on top and let it foam up for 5 to 10 minutes until it looks like a creamy beige layer on top
- Build the dough:
- Stir in the salt and oil, then gradually add flour one cup at a time until the dough pulls away from the bowl sides and feels tacky but not sticky
- Knead it out:
- Work the dough on a floured surface for 6 to 8 minutes until it's smooth, elastic, and bounces back when you poke it
- First rise:
- Place dough in a greased bowl, cover, and let it double in size in a warm spot for about an hour
- Shape the loaves:
- Punch down the dough, divide in half, and shape each piece into a loaf before placing in greased 9x5 inch pans
- Second rise:
- Cover and let rise until the dough creeps about an inch above the pan rim, roughly 30 to 45 minutes
- Bake to golden:
- Bake at 350°F for 25 to 30 minutes until the tops are beautifully browned and the loaves sound hollow when tapped
- The finishing touch:
- Brush with melted butter immediately after baking, then cool on a wire rack before slicing
 Save
Save This bread became my go-to for housewarming gifts and sick neighbors. Something about handing someone a warm loaf of homemade bread feels like giving them a hug. The recipe is so forgiving that even my bread-baking disasters have turned out delicious.
Making It Your Own
Once you've mastered the basic recipe, try swapping half the water for milk to add richness. I've also added a tablespoon of honey with the sugar for this lovely floral sweetness that makes incredible French toast the next day.
Storage Secrets
This bread stays surprisingly fresh for four days when stored in an airtight bag at room temperature. The high sugar content acts as a natural preservative. For longer storage, slice and freeze it—you can toast slices straight from the freezer.
Serving Ideas
While it's perfect straight from the oven with melting butter, this bread truly shines in sandwiches. Its sturdy but soft texture holds up to any filling without getting soggy.
- Try it for grilled cheese—the slight sweetness pairs beautifully with sharp cheddar
- Leftover slices make the best bread pudding you've ever tasted
- It's my secret weapon for French toast that's crisp outside and custardy inside
 Save
Save There's something deeply satisfying about pulling two perfect golden loaves from your own oven. This bread has a way of making any ordinary day feel like a celebration.
Recipe FAQs
- → Why is Amish bread so soft?
-
The combination of sugar, oil, and proper kneading creates a tender crumb. The two-rise process allows gluten to develop fully, resulting in that signature fluffy texture that stays soft even after baking.
- → Can I use all-purpose flour instead of bread flour?
-
Absolutely. All-purpose flour works perfectly and produces excellent results. The dough may feel slightly different when kneading, but the final loaf will still be soft and delicious.
- → How do I know when the dough has risen enough?
-
The dough is ready when it has doubled in size during the first rise. For the second rise in the pans, look for the dough to crest about 1 inch above the rim—this ensures proper oven spring.
- → Why brush the tops with butter after baking?
-
Melted butter creates a softer, more tender crust and adds rich flavor. If you prefer a crispy crust, simply skip this step. The butter also gives the loaves an appealing golden sheen.
- → Can I freeze this bread?
-
Yes, this bread freezes beautifully. Cool completely, wrap tightly in plastic, then place in a freezer bag. It keeps for up to 3 months. Thaw at room temperature or gently warm in the oven.
- → What makes the water temperature important?
-
Water at 43°C/110°F activates the yeast without killing it. Too hot and the yeast dies; too cool and activation slows. The foamy appearance after 5-10 minutes confirms your yeast is alive and working.
