 Save
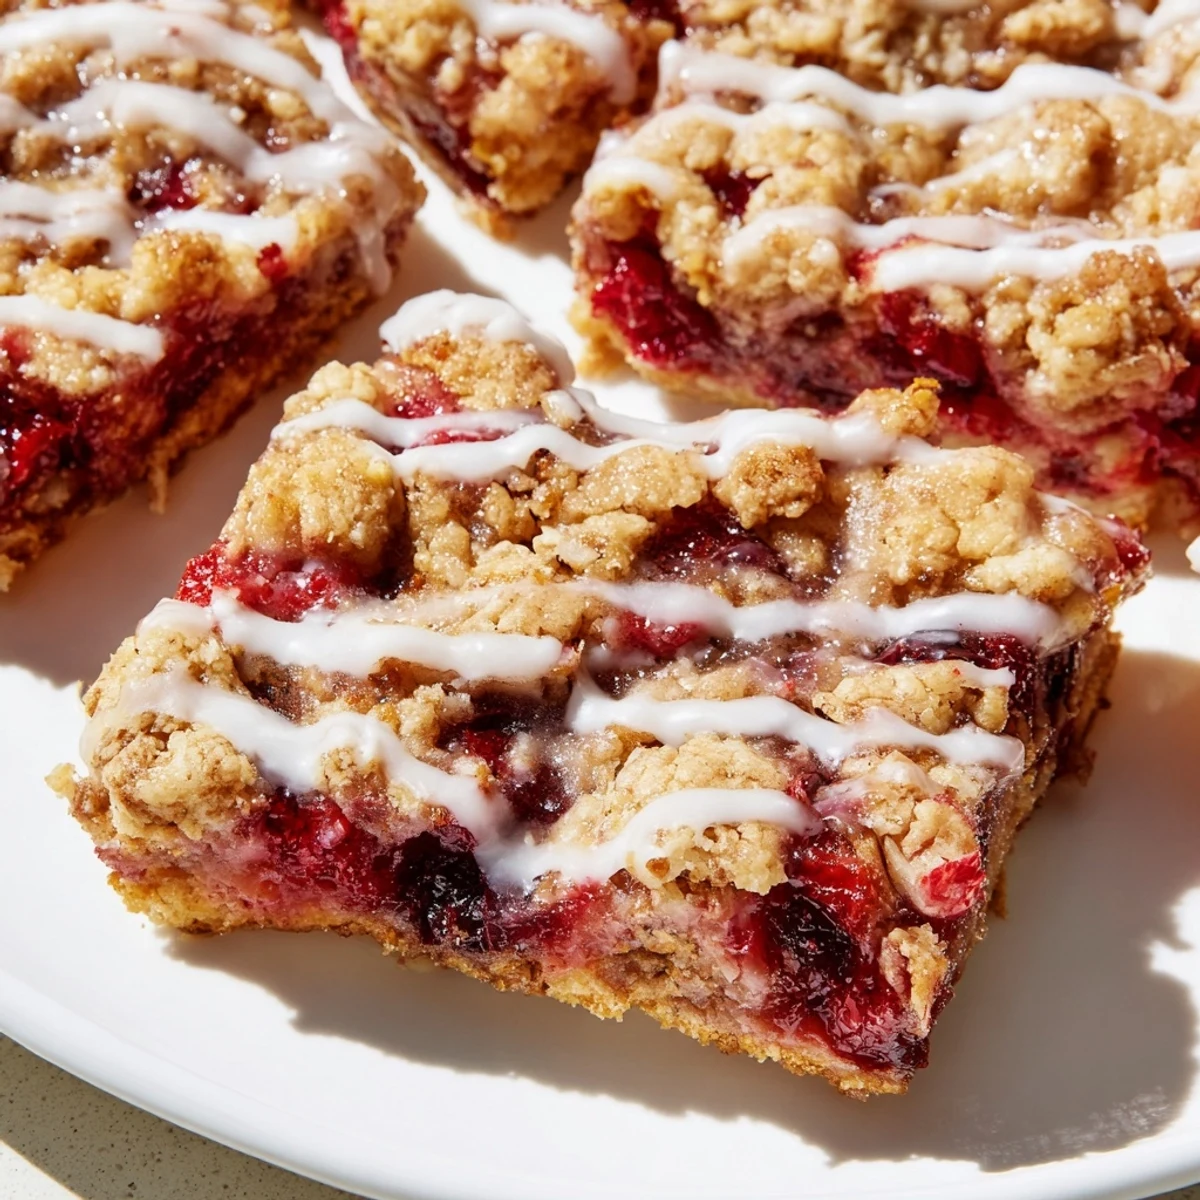
Save These cherry pie bars feature a tender, buttery shortbread-like dough that's partially spread in the pan, topped with sweet cherry pie filling, then dotted with remaining dough for a rustic, golden-baked topping. A simple vanilla glaze adds the perfect finishing touch. The entire process takes just 15 minutes of prep before baking, making this an ideal dessert for busy days or last-minute gatherings.
My youngest daughter came home from a summer camp activity declaring she had discovered the worlds best dessert and immediately demanded we recreate it. The description she gave was so enthusiastic cherry something with butter and a sweet white drizzle that I knew we had to attempt it that very weekend. Those first few attempts were messy affairs with flour dusted countertops and cherry filling escaping every which way, but the moment she took that first bite and declared it even better than camp, I knew this recipe was a keeper for life.
I brought these to our neighborhood block party last summer right after they had cooled completely and drizzled with the glaze. My neighbor Karen actually followed me back into my kitchen to demand the recipe because she could not believe something so beautiful had come from a 9x13 pan instead of a fancy bakery case. Now whenever there is a potluck or school bake sale, this is the first recipe I turn to because it never fails to disappear within minutes.
Ingredients
- 1 cup unsalted butter softened: Room temperature butter is non negotiable here because it needs to cream properly with the sugar to create that tender melt in your mouth texture
- 1 1/2 cups granulated sugar: This amount might seem generous but it balances the tartness of the cherries while helping the dough achieve that perfect golden brown crust
- 4 large eggs: These provide structure and richness that transforms the dough from a simple shortbread into something cakey and substantial
- 1 tsp vanilla extract: Always use pure vanilla here because the flavor really shines through the buttery base
- 1/2 tsp almond extract: This is the secret weapon that makes cherry desserts taste professionally crafted though vanilla alone works if needed
- 3 cups all purpose flour: Spoon and level your flour rather than scooping directly to avoid packing down too much which would make the bars dense
- 1/2 tsp salt: Just enough to enhance all the flavors without making anything taste salty
- 1 can cherry pie filling: The 21 ounce size is perfect here and honestly the canned version works better than fresh cherries would for that classic jammy texture everyone loves
- 1 cup powdered sugar: Sift this first to prevent any lumps in your glaze
- 2 to 3 tbsp milk: Start with 2 tablespoons and add more only if needed to reach that perfect drizzling consistency
Instructions
- Get everything ready:
- Preheat your oven to 350°F and grease a 9x13 inch baking pan with butter or line it with parchment paper leaving some overhang for easy removal later.
- Make the buttery base:
- Cream together the softened butter and sugar in a large bowl until the mixture turns pale and fluffy which usually takes about 3 minutes with a mixer.
- Add the eggs and flavor:
- Beat in the eggs one at a time waiting until each is fully incorporated before adding the next then mix in both extracts.
- Combine the dry ingredients:
- Whisk the flour and salt in a separate bowl then gradually add it to the butter mixture mixing just until the flour streaks disappear.
- Layer the bottom crust:
- Press about two thirds of the dough evenly into your prepared pan using lightly floured hands or an offset spatula to create a smooth foundation.
- Add the cherry filling:
- Spoon the cherry pie filling over the dough base spreading it gently to cover the surface without disturbing the crust underneath.
- Top with remaining dough:
- Drop small spoonfuls of the remaining dough across the cherry filling leaving some spaces visible so the red cherries can peek through beautifully.
- Bake until golden:
- Bake for 30 to 35 minutes until the top is lightly golden and the edges are set while the center still has a slight jiggle.
- Cool completely:
- Let the bars cool in the pan on a wire rack for at least an hour because warm bars will cause the glaze to melt right off.
- Make the vanilla glaze:
- Whisk together the powdered sugar milk and vanilla until completely smooth then drizzle it back and forth over the cooled bars.
- Let the glaze set:
- Wait about 15 minutes for the glaze to firm up slightly before slicing into neat squares and serving.
 Save
Save My grandmother always said that dessert should taste like a hug and these bars somehow capture that exact feeling. The first time I served them at a family gathering my uncle actually closed his eyes after the first bite and said it reminded him of the cherry tarts his mother used to make from scratch when he was a boy. That moment of connection through food is why I keep coming back to this simple recipe again and again.
Making The Dough Ahead
You can prepare the dough up to 24 hours in advance and store it tightly wrapped in the refrigerator. When you are ready to bake let it sit at room temperature for about 20 minutes because cold dough will be too firm to spread evenly across the pan. I have found that making the dough the night before actually improves the texture slightly as the flour has time to fully hydrate.
Filling Variations
While cherry is classic blueberry pie filling works beautifully here and creates a stunning purple color contrast with the golden dough. Apple pie filling gives these bars a cozy autumn feel especially if you add a pinch of cinnamon to the dough mixture. My personal favorite variation uses a cherry berry blend which adds complexity and depth that people cannot quite identify but absolutely love.
Storage And Serving
These bars keep remarkably well in an airtight container at room temperature for up to 3 days though they rarely last that long in my house. For longer storage wrap the unglazed bars tightly and freeze them for up to 2 months then add the glaze after thawing. Serve them slightly warmed with a scoop of vanilla ice cream for an dessert that feels truly special.
- Use a sharp knife wiped clean between cuts for the cleanest slices
- Room temperature bars are easier to cut neatly than cold ones
- The glaze can be made ahead and stored in the refrigerator then brought to room temperature and whisked again before using
 Save
Save There is something deeply satisfying about a dessert that looks impressive but comes together with such minimal effort and stress. I hope these cherry pie bars become a go to recipe in your kitchen just as they have in mine bringing those moments of joy and connection to everyone who tries them.
Recipe FAQs
- → Can I use fresh cherries instead of canned pie filling?
-
Yes, you can use fresh cherries. Cook 4 cups pitted cherries with 1/2 cup sugar and 2 tablespoons cornstarch until thickened, then cool before using as filling.
- → How should I store these bars?
-
Store in an airtight container at room temperature for up to 3 days. For longer storage, refrigerate for up to a week. They can also be frozen for up to 3 months.
- → Can I make these ahead of time?
-
Absolutely. Bake and cool completely, then add the glaze. They actually taste better the next day as flavors meld. You can also freeze the unglazed bars and glaze before serving.
- → What other fruit fillings work well?
-
Blueberry, apple, strawberry, or peach pie filling all work beautifully. The buttery dough complements almost any fruit filling you prefer.
- → Why is my dough too sticky to handle?
-
If the dough feels sticky, refrigerate it for 15-20 minutes before spreading. You can also lightly flour your hands or offset spatula to help spread the dough evenly.
- → Can I omit the glaze?
-
Yes, the glaze is optional. The bars are delicious without it, though the glaze adds sweetness and a lovely finishing touch. You could also dust with powdered sugar instead.
