 Save
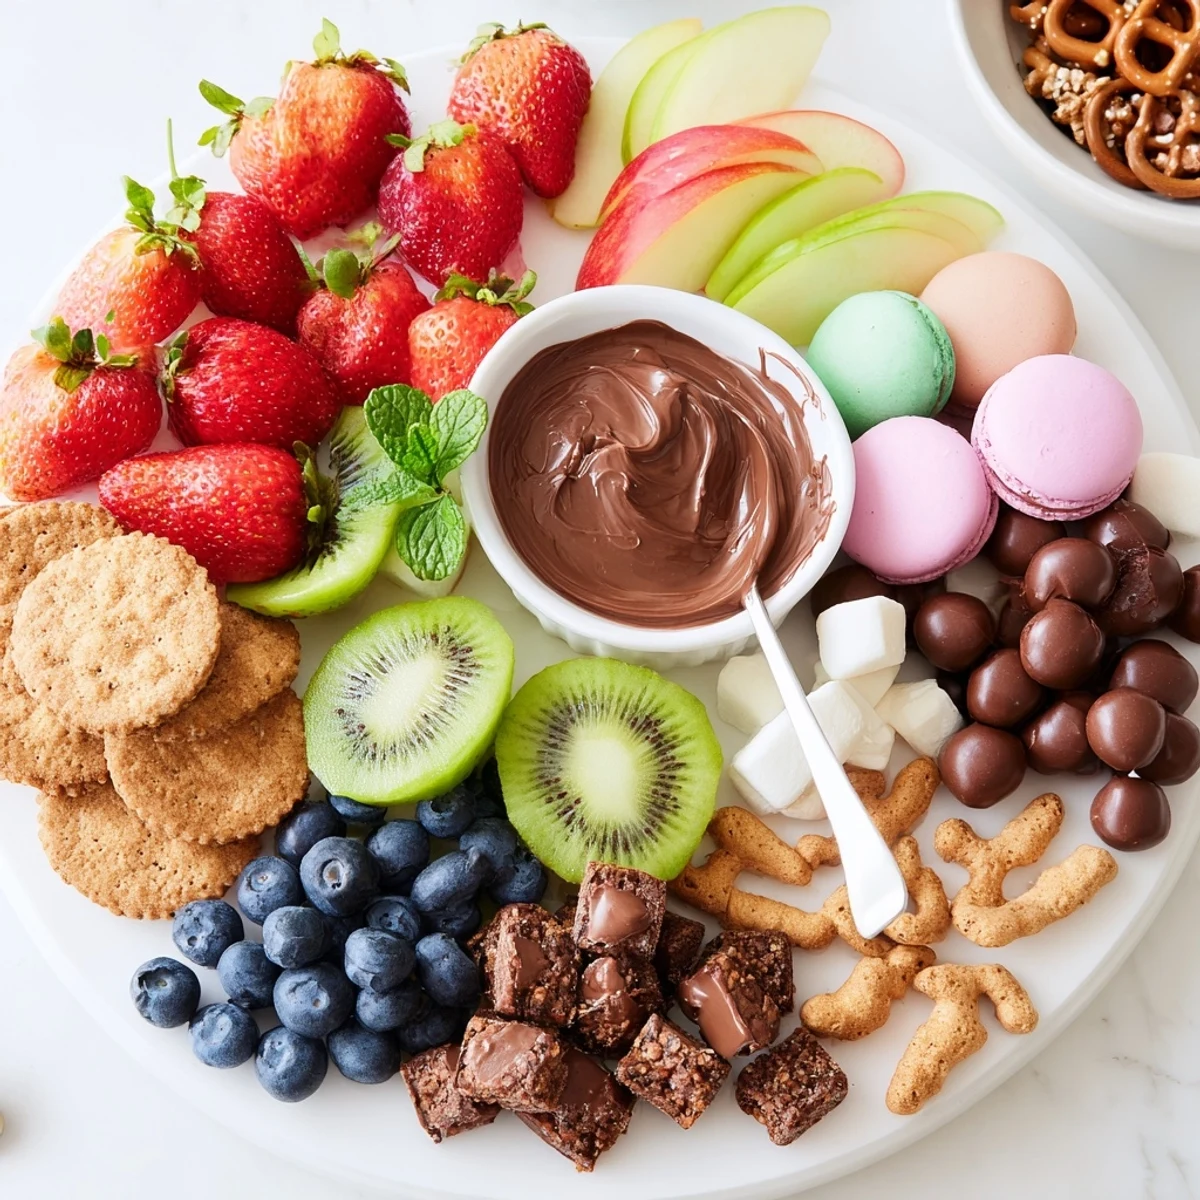
Save This dessert charcuterie board comes together in about 20 minutes. Wash and dry fruit, slice kiwis and apples, and arrange berries, grapes and slices across a large platter. Place dips in small bowls and scatter chocolates, cookies, brownie bites and marshmallows in groups. Fill gaps with candied nuts and mint. Offer tongs and spoons and suggest coffee or dessert wine for pairing; swap gluten-free cookies as needed.
My friend Lauren threw a holiday party last December and texted me in a panic at four in the afternoon because she had nothing for the dessert table, so I showed up at her door with a wooden board loaded with every sweet thing I could pull from my pantry and fridge, and it vanished faster than the fancy cake she had ordered from the bakery down the street.
I have made dessert boards for baby showers, birthday parties, and one memorable Tuesday night when my neighbor stopped by with a bottle of wine and I wanted to feel fancy without actually working hard.
Ingredients
- Fresh fruits (strawberries, grapes, blueberries, kiwis, apple): Always start with fruit because it adds color and freshness, and make sure everything is completely dry after washing or the chocolates get messy.
- Assorted chocolates (dark, milk, white): A mix of types keeps everyone happy, and I like to break larger bars into rough shards for a more organic look.
- Assorted cookies (shortbread, chocolate chip, macarons): Variety in shape and texture matters more than quantity here.
- Mini brownies or brownie bites: These are the first thing people reach for, so tuck them into a few different spots rather than clustering them all together.
- Marshmallows: They look beautiful next to dark chocolate and they are the easiest filler when you have an awkward gap on the board.
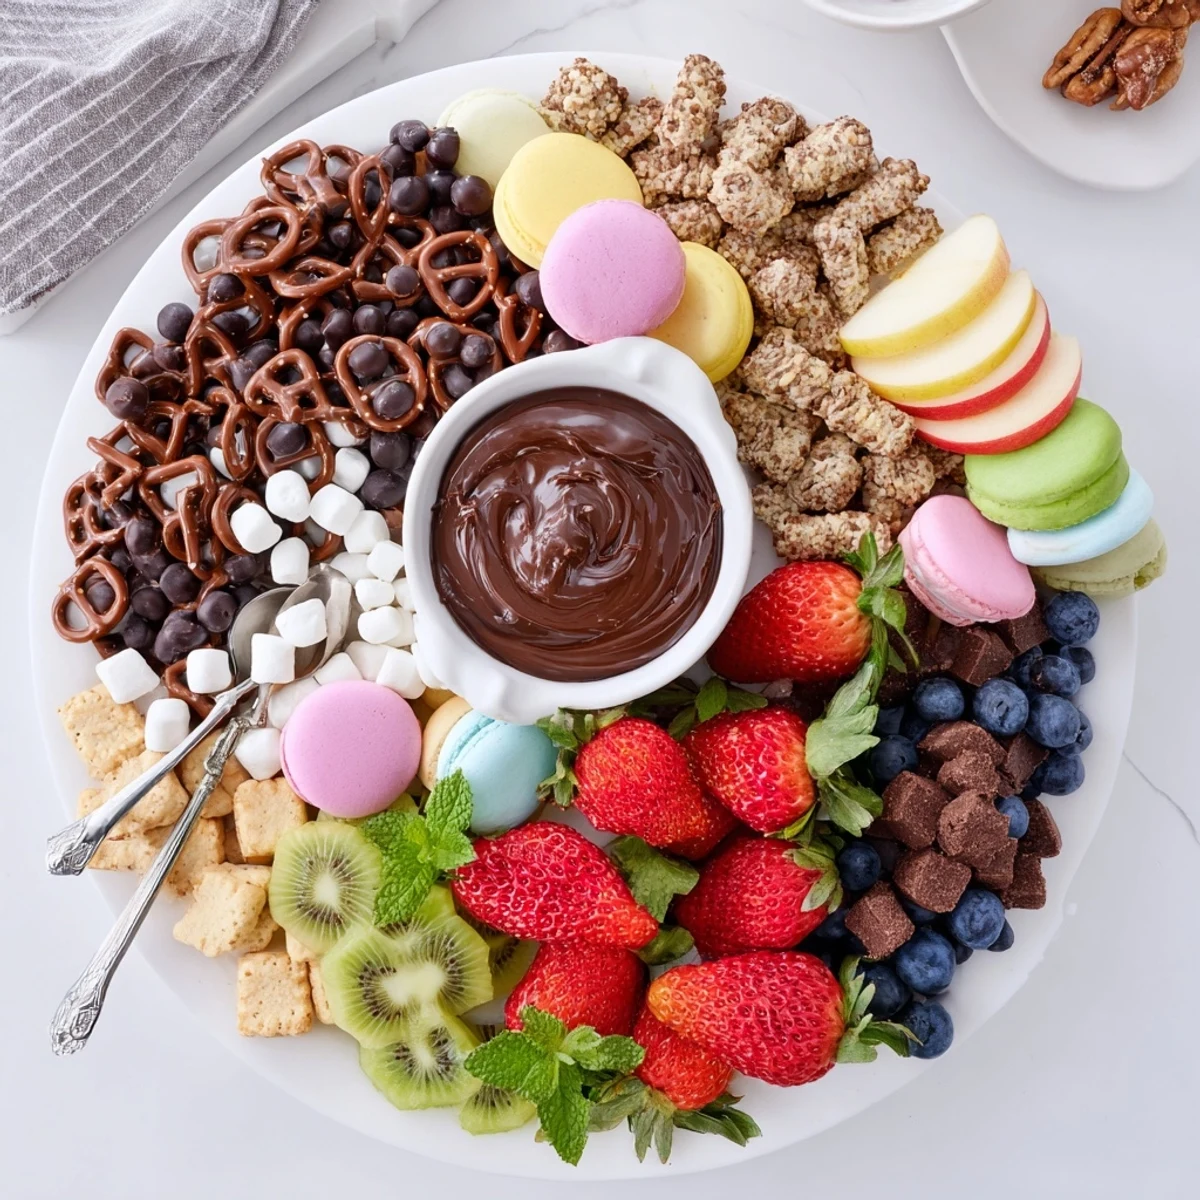
- Chocolate covered pretzels: The salty sweet combo is what makes a dessert board feel complete instead of just a pile of sugar.
- Nutella or chocolate hazelnut spread: Put this in a small bowl and watch it become the most popular item on the table.
- Salted caramel sauce: Warm it slightly so it drizzles beautifully over fruit and cookies alike.
- Whipped cream or vanilla yogurt: This adds a creamy element that balances all the richer sweets.
- Candied nuts: Scatter these into empty corners for crunch and a touch of elegance.
- Fresh mint sprigs: Purely for color but they make the whole board look polished and intentional.
Instructions
- Prep the fruit:
- Wash everything thoroughly and pat it completely dry with a clean towel, then slice the strawberries, peel and cut the kiwis, and toss the apple slices in a little lemon juice so they do not turn brown while sitting out.
- Build your foundation:
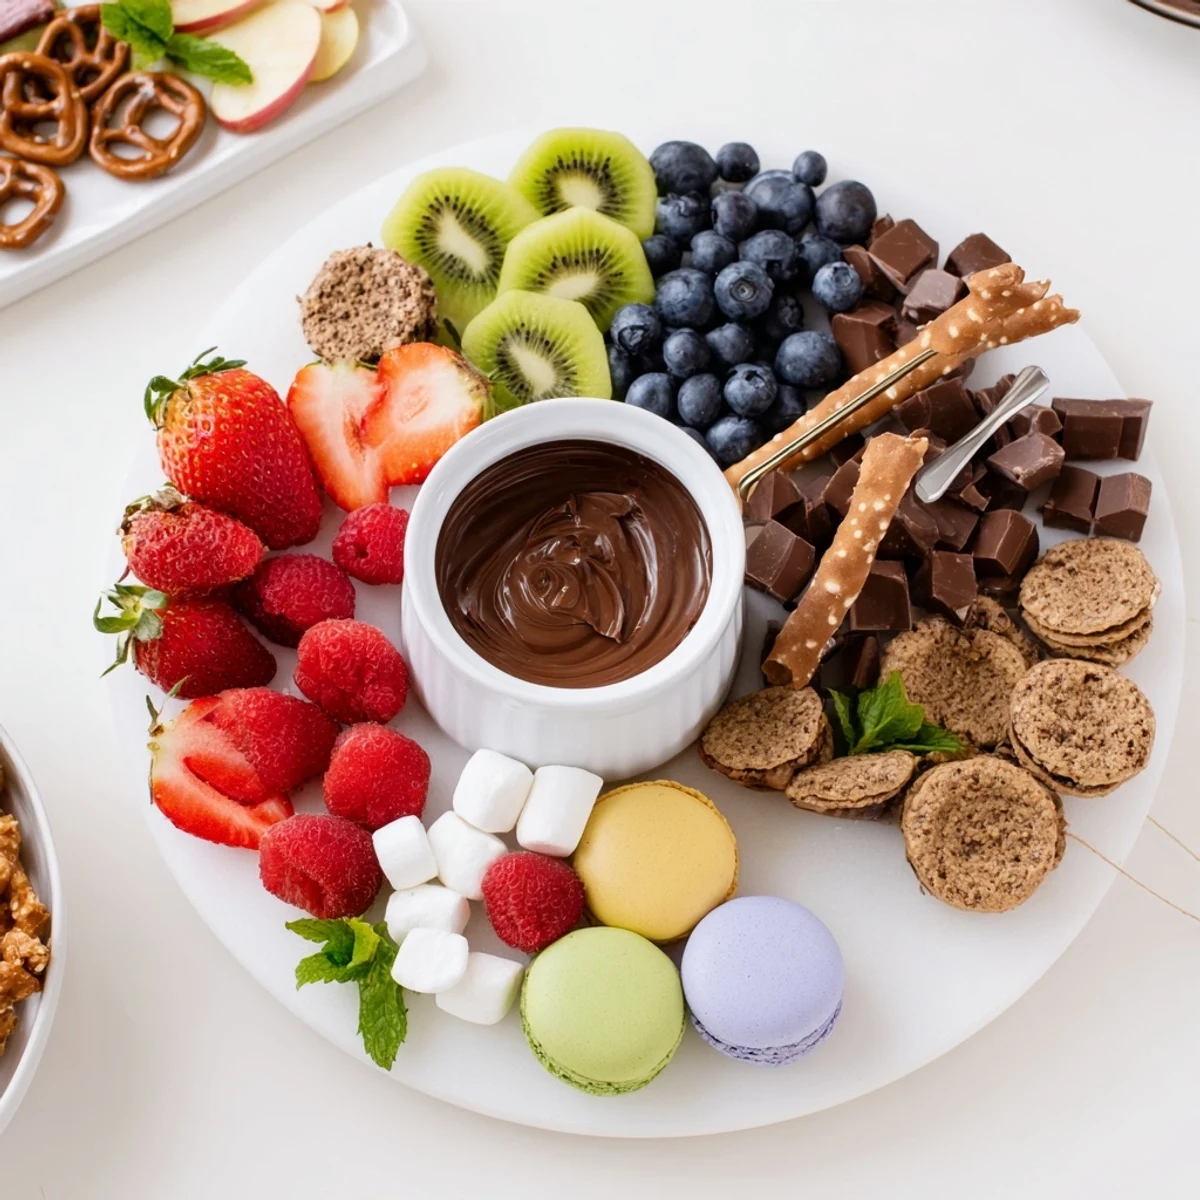
- Arrange the fruits in clusters around a large board or platter, leaving space between groups for the sweets and dips to come later.
- Set out the dips:
- Fill small bowls with Nutella, salted caramel, and whipped cream, then nestle them into different areas of the board so guests can reach something dippable from any angle.
- Add the sweets:
- Group chocolates, cookies, brownies, marshmallows, and pretzels in their own sections, letting similar items stay together without being rigid about it.
- Fill the gaps:
- Tuck candied nuts into empty spaces and scatter mint sprigs where the board looks bare, stepping back once to check the overall balance before serving.
 Save
Save The night Lauren sent that desperate text, I watched a room full of adults crowd around a wooden board piled with fruit and chocolate like kids at a candy counter, and I realized that sometimes the simplest things are the ones people remember most.
Choosing the Right Board
Any large flat surface works, from a wooden cutting board to a marble slab to a big baking sheet lined with parchment paper, and I have even used a clean pizza stone in a pinch.
Making It Your Own
Swap in seasonal fruits like figs in autumn or stone fruit in summer, use holiday themed candies when the occasion calls for it, or go entirely gluten free with the right cookies and brownies.
Serving and Storing Leftovers
Cover any leftovers tightly and refrigerate the fruit, but eat the board fresh if you can because assembled boards do not hold well overnight.
- Set out the board within an hour of assembling for the best presentation.
- Keep extra treats in baggies nearby so you can refill as things disappear.
- Remember that this is meant to be fun, so do not stress about making it look perfect.
 Save
Save A dessert charcuterie board is less of a recipe and more of an invitation to play, and every time I make one it turns out a little different and a little better than the last.
Recipe FAQs
- → How long does assembly take?
-
Plan on roughly 20 minutes for prep: washing and slicing fruit, filling bowls with dips, and arranging sweets and garnishes on the board.
- → How do I prevent fruit from browning?
-
Toss apple slices with a little lemon juice and keep berries chilled until assembly. Arrange fruit last to maintain freshness and color.
- → What’s the best way to arrange items for visual appeal?
-
Group like items together, vary colors and textures, use small bowls for spreads, and tuck in garnishes to fill gaps. Aim for balance and contrast across the board.
- → How can I adapt this for gluten-free or allergy-sensitive guests?
-
Choose gluten-free cookies and brownie bites, omit candied nuts or offer them separately, and use designated utensils to avoid cross-contamination. Label items where needed.
- → Which dips and pairings work best?
-
Chocolate-hazelnut spread, salted caramel and whipped cream or vanilla yogurt are crowd-pleasers. Pair the board with coffee, dessert wine or hot chocolate for a cozy finish.
- → How should leftovers be stored?
-
Store dips and spreads in airtight containers in the fridge. Keep cookies and pretzels separate to avoid sogginess. Consume chilled items within 1–2 days.
