 Save
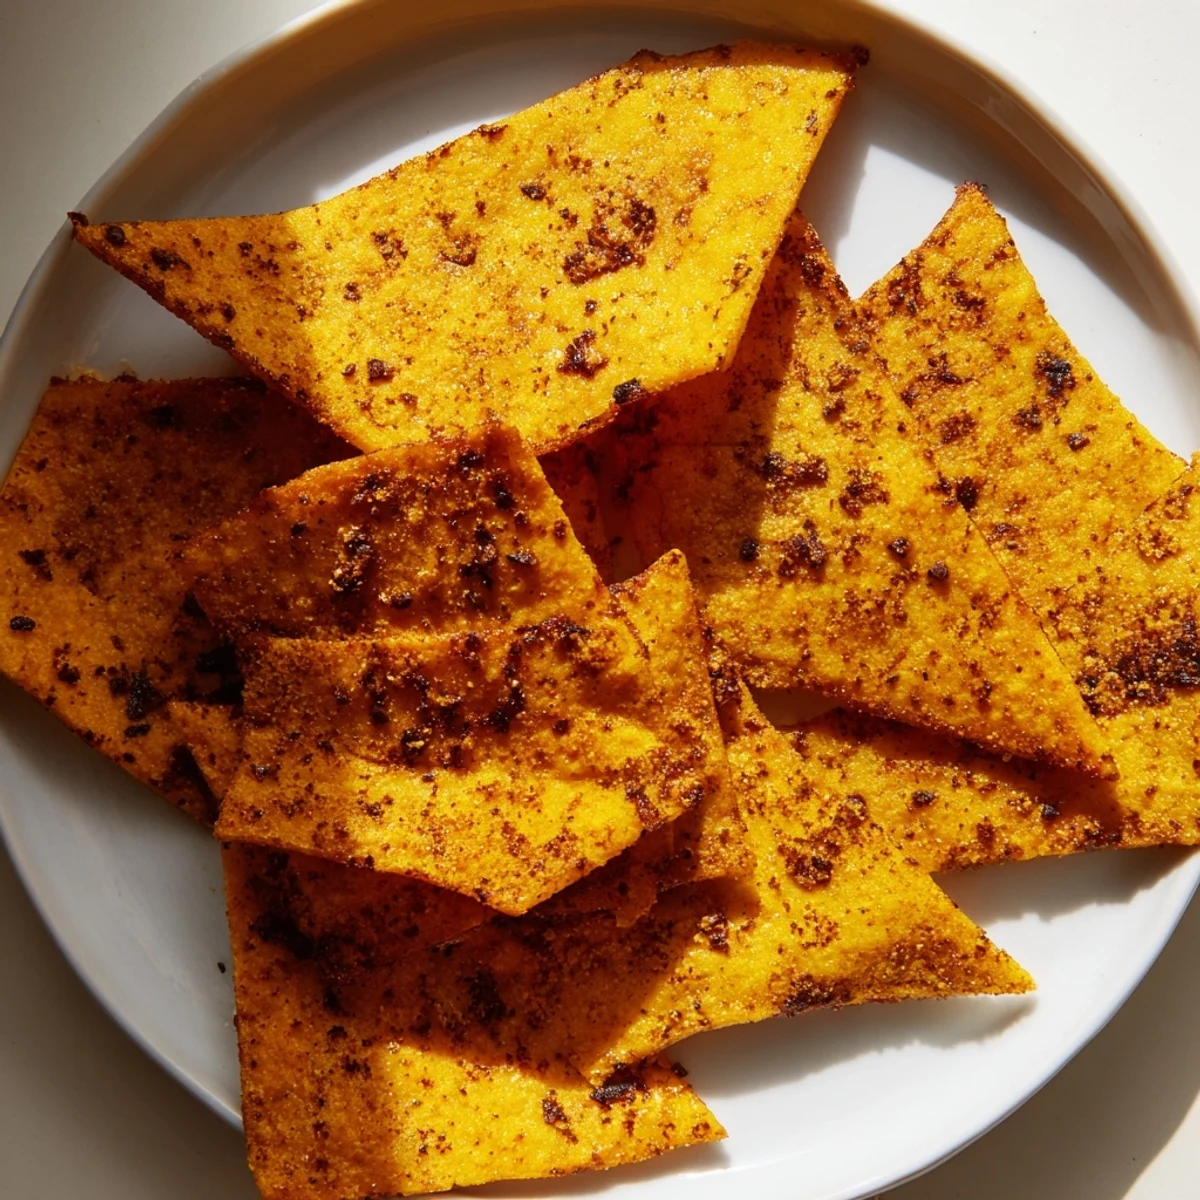
Save Transform simple chickpea flour into irresistibly crispy chips seasoned with smoky paprika, aromatic garlic, and earthy cumin. These oven-baked delights offer the perfect crunch while remaining completely plant-based and gluten-free.
The preparation comes together quickly—just whisk the dry spices, combine with water and olive oil, then spread thinly across a baking sheet. Twenty-five minutes in the oven creates golden edges and a satisfying snap.
Customize with rosemary or thyme, serve alongside hummus or guacamole, and store any leftovers for up to three days. An ideal alternative to store-bought snacks.
The sound of something shattering in the oven usually means disaster, but that particular Tuesday evening it meant I had finally cracked the code on chickpea chips. I had been on a mission to replace my late night potato chip habit with something that would not leave me feeling like a greasy paper bag by morning. The answer was sitting in my pantry the whole time, a humble bag of gram flour I had bought months ago and forgotten about. That first batch came out golden, snappy, and so ridiculously satisfying that I almost burned my tongue eating them straight off the tray.
My neighbor Sarah stopped by unannounced one weekend while I had a fresh batch cooling on the counter. She is the kind of person who always claims she is not hungry, then proceeds to demolish half the plate while standing in the kitchen doorway. We ended up sitting on the floor with a tub of hummus between us, and she texted me the next day asking for the recipe in all caps.
Ingredients
- 1 cup chickpea flour (gram flour): This is the star of the show, so grab a fresh bag because older flour can taste stale and flat.
- 1/2 tsp salt: Do not skimp here, salt wakes up every spice and makes the whole batch sing.
- 1/2 tsp smoked paprika: This is what transforms simple chickpea chips into something people will ask about.
- 1/4 tsp garlic powder: A quiet background note that makes everything taste more complete.
- 1/4 tsp ground cumin: Adds an earthy warmth that pairs beautifully with the smokiness.
- 1/4 tsp black pepper: Just enough to give a gentle kick at the finish.
- 1/2 cup water: Use room temperature water so the batter comes together smoothly without lumps.
- 2 tbsp olive oil plus extra for brushing: The oil in the batter keeps them tender inside, while the brushed oil creates that gorgeous golden crust.
Instructions
- Get your oven ready:
- Preheat to 180 degrees C (350 degrees F) and line a baking sheet with parchment paper so nothing sticks.
- Mix your dry team:
- Whisk the chickpea flour, salt, smoked paprika, garlic powder, cumin, and pepper together in a bowl until evenly blended and fragrant.
- Bring in the wet ingredients:
- Pour in the water and olive oil, then stir vigorously until you have a smooth, thick batter with no dry pockets hiding in the corners.
- Spread it thin:
- Pour the batter onto your prepared sheet and use a spatula to spread it into an even layer about 2 to 3 mm thick, working from the center outward.
- Give it a gloss:
- Brush the top lightly with a little extra olive oil, which helps those edges crisp up beautifully.
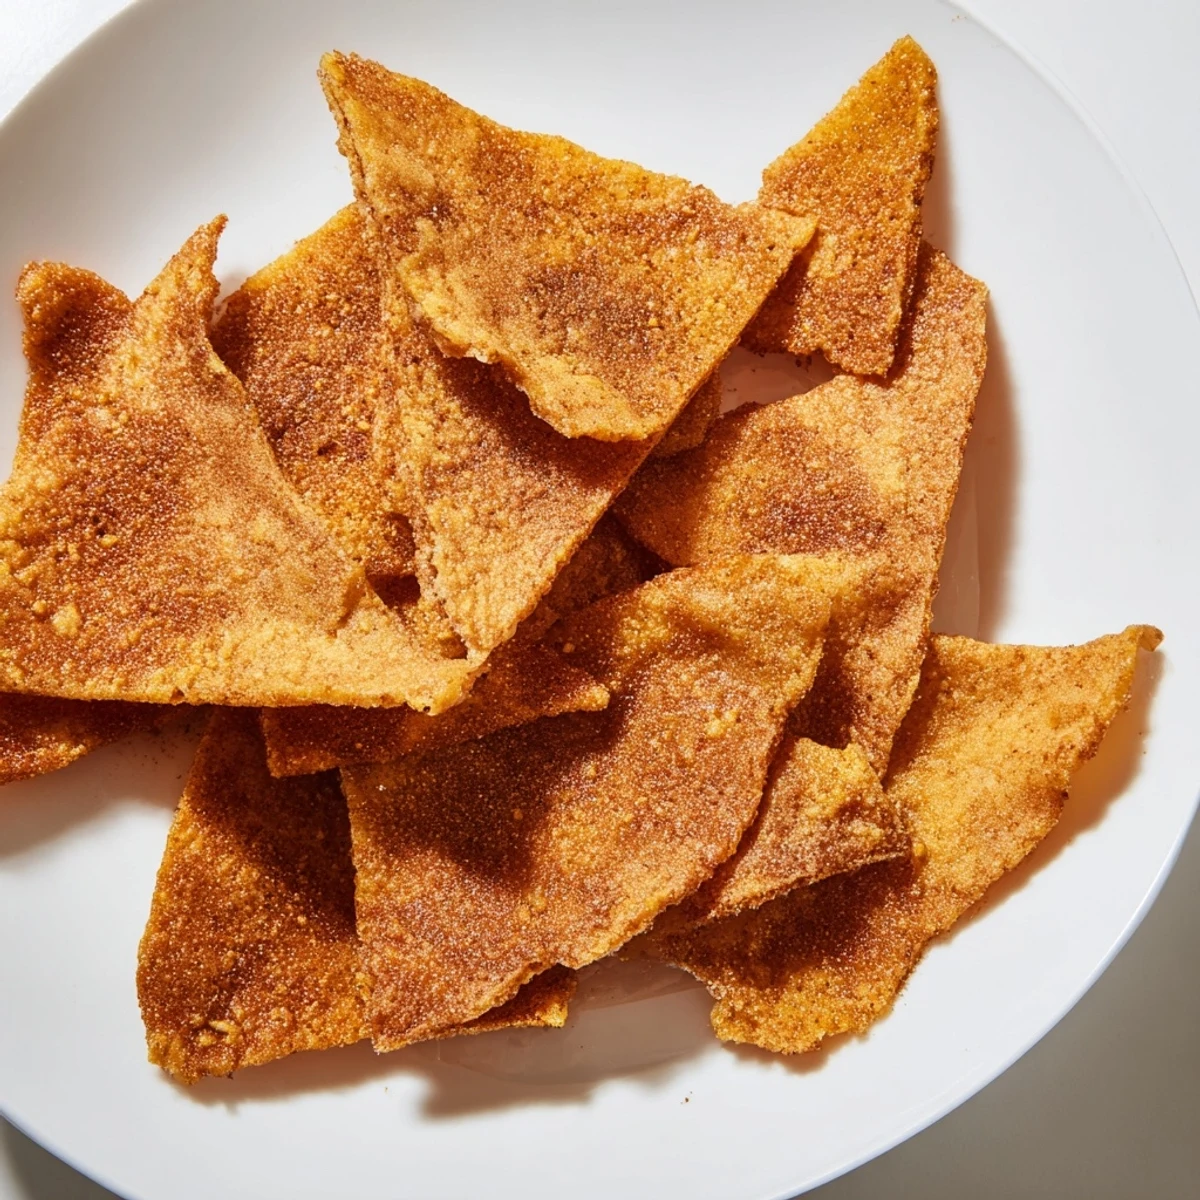
- Bake until golden:
- Slide the tray into the oven for 20 to 25 minutes, watching for deep golden edges and a firm center that springs back when touched.
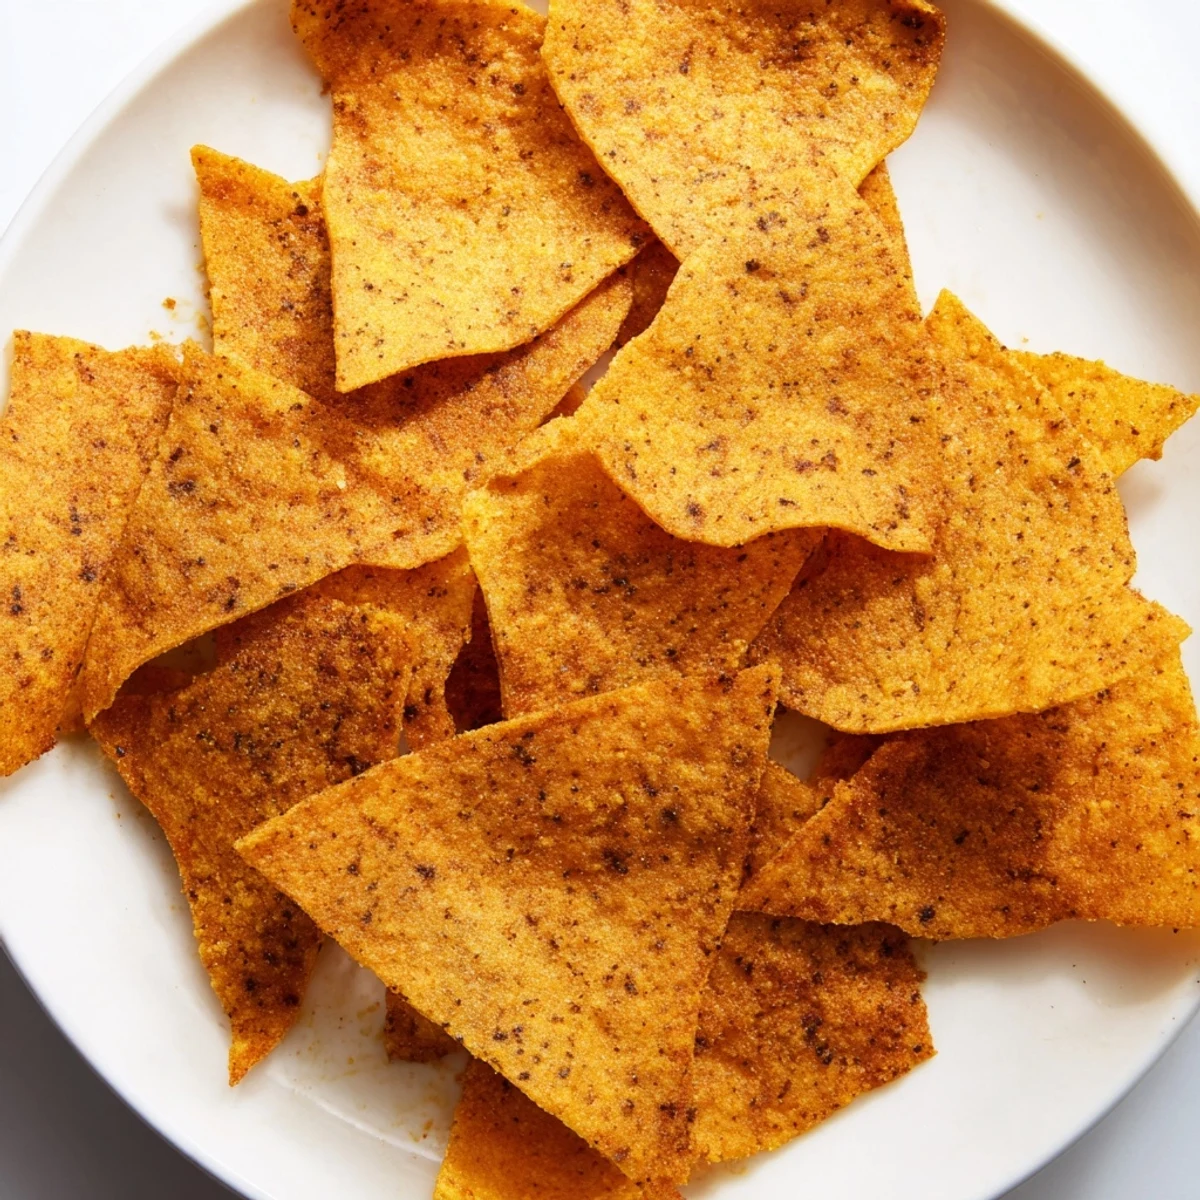
- Cool and break apart:
- Let it sit for a few minutes on the tray, then snap or cut into chip sized pieces while still slightly warm.
- Serve and enjoy:
- Pile them into a bowl and serve with whatever dip makes you happy, though hummus is a natural soulmate.
 Save
Save There is something deeply satisfying about making your own snacks from scratch, especially when the ingredient list is short enough to count on one hand. These chips turned a random weeknight into a mini celebration of simple, honest cooking.
What to Serve With Them
Hummus is the obvious choice and honestly hard to beat, but I have also served these alongside a bright lemony guacamole that made the whole platter disappear in fifteen minutes flat. A simple salsa verde or even a quick yogurt dip with herbs works wonders too. Think of these chips as a blank canvas that welcomes almost any dip you throw at them.
Storing Leftovers
If you somehow have chips left over, let them cool completely before transferring to an airtight container. They will stay reasonably crisp for up to three days on the counter, though in my house they never last that long. A brief revisit to a hot oven for two minutes brings back the crunch beautifully.
Getting Creative With Flavors
The basic batter is endlessly forgiving and welcomes experimentation once you feel confident with the technique.
- Try stirring in a teaspoon of dried rosemary or thyme for an herby twist that feels fancy with zero effort.
- A pinch of cayenne or chili flakes turns up the heat for those who like a fiery snack.
- Always taste your batter before spreading it out, because this is your one chance to adjust seasoning.
 Save
Save Keep a batch of chickpea flour in your pantry and you are never more than forty minutes away from a warm, crispy snack that actually makes you feel good. Your future self will thank you when the craving hits at nine pm on a Wednesday.
Recipe FAQs
- → What makes chickpea flour suitable for chips?
-
Chickpea flour naturally binds together when mixed with liquid and oil, creating a flexible dough that bakes into crispy, chip-like pieces. Its mild flavor pairs perfectly with savory spices.
- → Can I fry these instead of baking?
-
Yes, though baking produces evenly crisped results with less oil. If frying, cut the baked sheet into pieces first, then shallow-fry in hot oil until golden on both sides.
- → How thin should I spread the batter?
-
Aim for 2-3mm thickness—about the width of two stacked coins. Thinner layers crisp faster but may burn quickly; thicker ones stay chewy in the center.
- → What dips pair well with these chips?
-
Classic hummus complements the chickpea base, while guacamole adds creaminess. Salsa provides brightness, or try tahini drizzle, baba ganoush, or spiced yogurt for variety.
- → Why did my chips turn out soft?
-
Insufficient baking time or too-thick spreading prevents proper crisping. Ensure the oven reaches 180°C (350°F) before baking, and extend time by 5-minute increments if needed. Cool completely before storing.
- → Can I make these oil-free?
-
The oil helps achieve crispiness and flavor. For oil-free versions, substitute with aquafaba or additional water, though texture will be denser and less crunchy.
