 Save
Save Making homemade yogurt is surprisingly simple and requires only two ingredients: whole milk and plain yogurt with active cultures. The process involves gently heating milk to 85°C, cooling it to around 43–45°C, mixing in the starter, and then letting it incubate undisturbed for 8 to 12 hours in a warm spot.
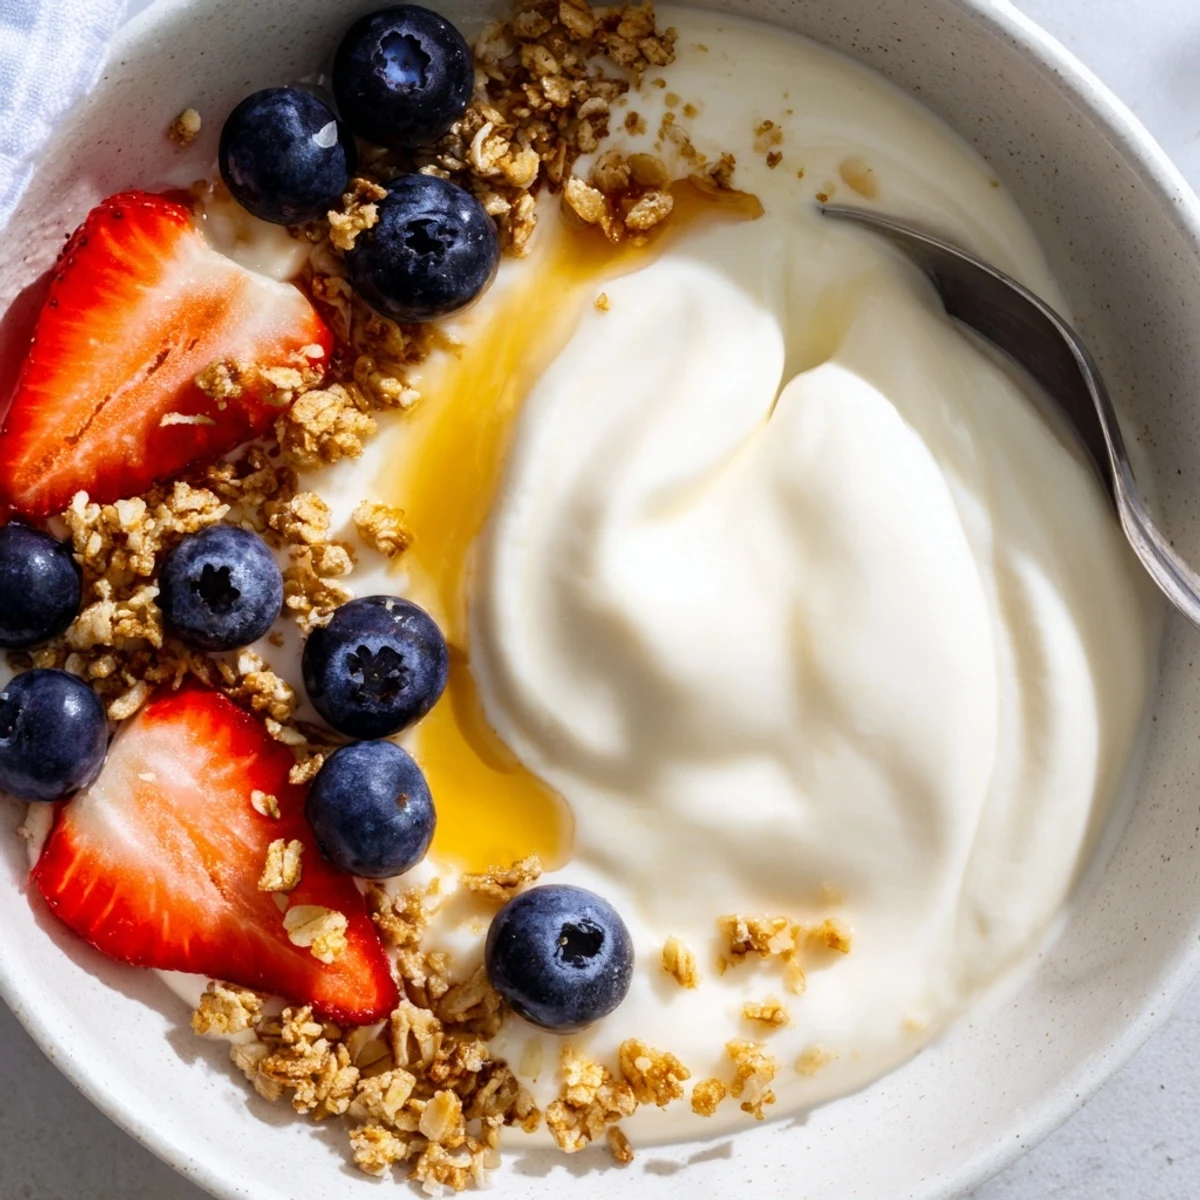
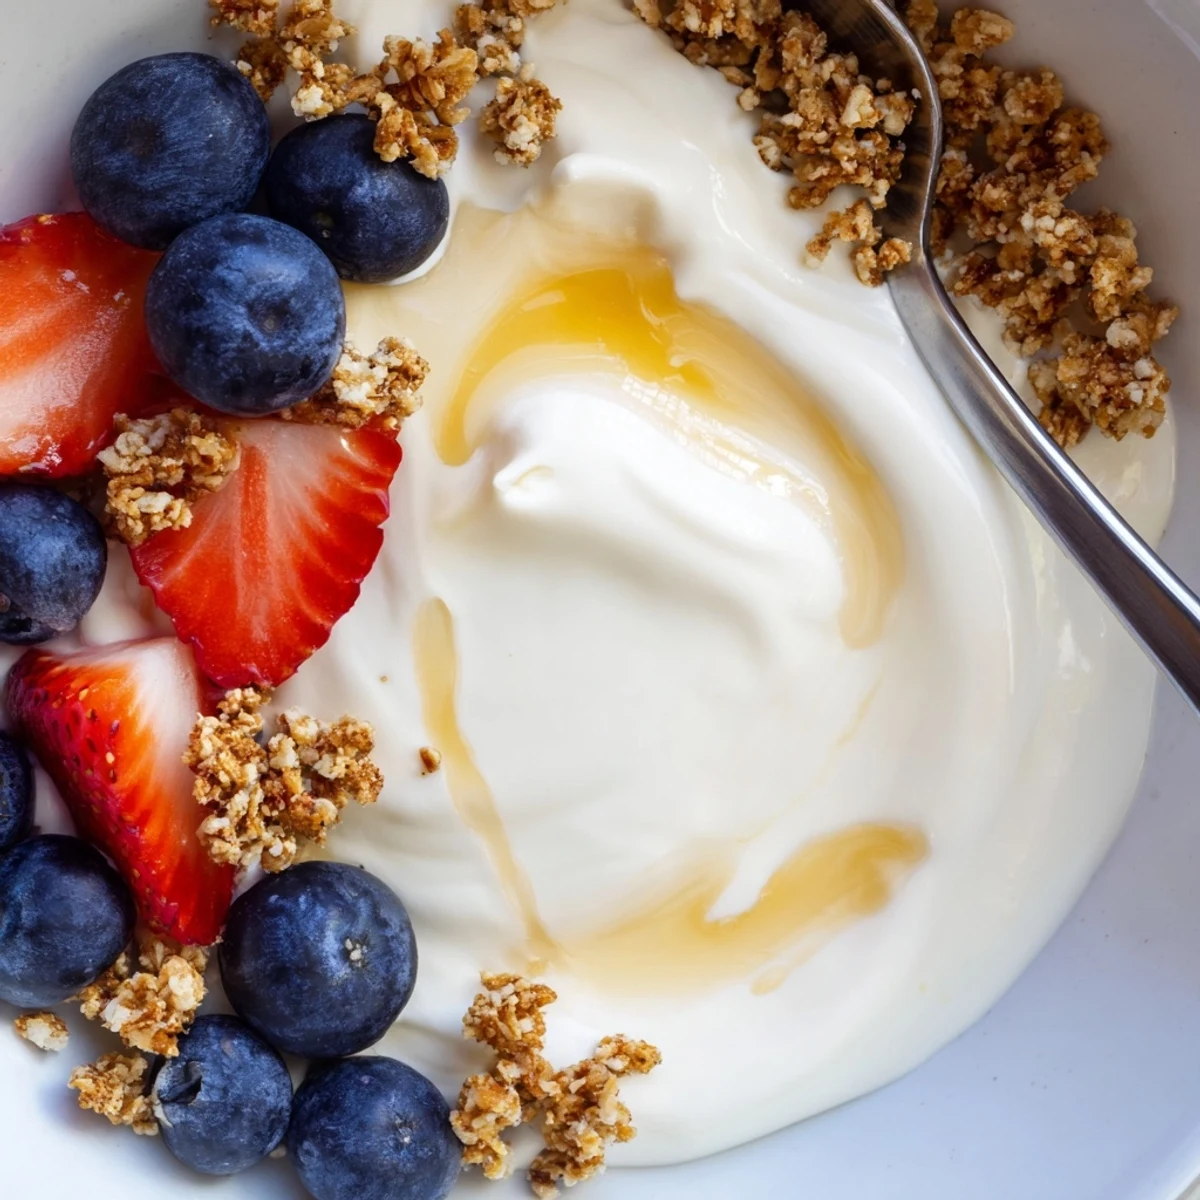
The result is a creamy, tangy yogurt that can be enjoyed on its own, topped with fresh fruit and honey, or used as a versatile base for dips, sauces, and marinades. Once chilled, it keeps refrigerated for up to one week, and you can reserve a portion to culture your next batch.
There is something almost magical about watching milk transform into thick, velvety yogurt overnight on your kitchen counter. My grandmother never measured anything, she just touched the side of the pot and knew the temperature was right, and her yogurt always turned out perfect. I burned through three batches before I finally accepted that a kitchen thermometer was not cheating, it was survival. That little investment changed everything.
My daughter walked into the kitchen one Saturday morning, peaked into the oven where my jars were quietly incubating, and whispered to the jars grow little yogurts grow. I still think about that every single time I make a batch.
Ingredients
- Whole milk (1 liter): Whole milk gives you that luxuriously rich texture, though low fat works if you prefer a lighter result.
- Plain yogurt with active cultures (2 tablespoons): This is your starter, so check the label to confirm it contains live cultures, without them nothing happens.
Instructions
- Warm the milk gently:
- Pour the milk into a saucepan and heat it over medium, stirring now and then, until your thermometer reads 85 degrees Celsius. Watch it carefully because scorched milk is a smell that lingers for days.
- Let it cool down:
- Remove the pot from heat and wait until the temperature drops to between 43 and 45 degrees Celsius. This patience is the hardest part but rushing it will kill your cultures.
- Bloom the starter:
- Scoop a few tablespoons of the cooled milk into a small bowl and whisk in the yogurt starter until perfectly smooth. Those stubborn little lumps are the enemy of even fermentation.
- Marry them together:
- Pour the starter mixture back into the saucepan and stir gently but thoroughly so the cultures distribute evenly throughout every drop of milk.
- Set up for incubation:
- Transfer the mixture into clean jars or a single container, cover loosely, and place them in a warm draft free spot. Your oven with just the light switched on works beautifully.
- Wait and wonder:
- Let the yogurt incubate undisturbed for 8 to 12 hours, checking at the 8 hour mark to see if it has reached your preferred level of firmness and tang.
- Chill before serving:
- Move the jars to the refrigerator for at least 2 hours so the yogurt can fully set and develop its creamy texture. Cold yogurt straight from the fridge the next morning is pure satisfaction.
 Save
Save The morning I opened my oven to find perfectly set yogurt waiting for me, I felt like I had unlocked some ancient kitchen secret passed down through generations.
Choosing Your Milk Matters
Different milks produce dramatically different results, and experimentation is half the fun of homemade yogurt. Grass fed whole milk yields a golden hue and richer flavor, while conventional milk produces a cleaner, milder taste. Farm fresh milk is wonderful but may require adjusting your technique slightly due to varying fat content.
Getting Creative With Flavors
Plain homemade yogurt is a blank canvas begging for whatever you are craving. A drizzle of honey and a handful of toasted walnuts turns breakfast into something special, while a swirl of garlic and herbs transforms it into a savory dip on the spot.
Keeping Your Yogurt Culture Alive
Think of your yogurt as a living tradition you keep renewing with each batch. Always reserve a few tablespoons before the jar is empty to use as your next starter, and try to make a new batch within a week for the strongest cultures.
- Label your jar with the date you made it so you know when freshness starts to fade.
- Freeze small portions of yogurt in ice cube trays as backup starters for busy weeks.
- Remember that every batch you make carries forward the same living cultures from your very first one.
 Save
Save Making yogurt at home connects you to a tradition that has nourished families for thousands of years, and now that tradition lives in your kitchen too. Share a jar with someone you love and watch their eyes light up.
Recipe FAQs
- → What type of milk works best for homemade yogurt?
-
Whole milk produces the thickest, creamiest yogurt, but low-fat milk also works well. Avoid ultra-pasteurized milk if possible, as the high-heat processing can affect culturing. For dairy-free alternatives, use a plant-based milk paired with a compatible vegan starter.
- → Why does the milk need to be heated to 85°C first?
-
Heating the milk to 85°C (185°F) denatures the proteins, which helps the yogurt set properly and achieve a smoother, thicker texture. It also kills any competing bacteria that could interfere with the culturing process.
- → How do I maintain a warm environment for incubation?
-
A turned-off oven with the interior light on provides gentle warmth ideal for incubation. Alternatively, a yogurt maker, a warm spot near a heater, or wrapping the container in towels and placing it in a cooler all work effectively. The goal is to keep the mixture around 40–45°C.
- → How can I make my yogurt thicker?
-
Strain the finished yogurt through a cheesecloth or fine mesh strainer for several hours to remove excess whey. This produces a Greek-style consistency. You can also use whole milk instead of low-fat, or extend the heating time slightly to evaporate more water from the milk before culturing.
- → Can I reuse my homemade yogurt as a starter for the next batch?
-
Yes, reserve a few tablespoons of your homemade yogurt to culture the next batch. For best results, use the starter within a few days. After several generations, the cultures may weaken, so it's a good idea to refresh with a fresh store-bought starter periodically.
