 Save
Save Create an artisan loaf with exceptional depth through the ancient technique of wild yeast fermentation. This traditional method produces a tangy, complex flavor profile that commercial yeast cannot replicate, while the long fermentation develops a crackling crust and tender, airy interior.
The smell of baking sourdough has this way of taking over an entire house, settling into every corner like a living thing. My first attempt at wild yeast bread was an act of desperation really. I had discarded starter three times before someone told me the brown liquid on top was normal. That first loaf was dense and squat, but the crust sang when I cut into it, and I was completely hooked.
There was a Tuesday last winter when my kitchen was freezing cold and I was convinced the dough would never rise. I kept checking it every hour, hovering like an anxious parent. When I finally baked it that evening, the slower fermentation had given it this incredible depth. My roommate wandered in, drawn by the smell, and we stood at the counter eating warm slices with just butter, not saying much.
Ingredients
- 500 g bread flour: High protein flour creates the structure needed for that perfect oven spring and chewy crumb.
- 350 g water: Room temperature water helps the fermentation activate properly without shocking your starter.
- 100 g active sourdough starter: This is your wild yeast culture. Make sure it is bubbly and doubles in size within 4-8 hours of feeding.
- 10 g fine sea salt: Salt tightens the gluten structure and keeps fermentation in check while enhancing flavor.
- Rice flour for dusting: Rice flour does not absorb moisture like wheat flour, making it ideal for proofing baskets.
Instructions
- Mix the autolyse:
- Combine flour and water in a large bowl until no dry flour remains. Cover and let rest for 1 hour to hydrate before adding starter and salt.
- Incorporate starter and salt:
- Add active starter and sea salt to the dough. Mix thoroughly by hand until the dough is cohesive and begins to show some tension.
- Stretch and fold:
- Perform 4 sets of stretch and folds every 30 minutes for 2 hours. Grab one edge of the dough, stretch it up, and fold it over the center, rotating the bowl each time.
- Bulk fermentation:
- Cover the bowl and let the dough rise at room temperature for 4 to 6 hours. The dough should increase by roughly half its size and show bubbles on the surface.
- Shape the loaf:
- Turn the dough onto a lightly floured surface. Shape into a tight round or oval, creating surface tension by folding the edges toward the center.
- Cold proof:
- Transfer the dough to a floured proofing basket with the seam side up. Cover and refrigerate for 8 to 12 hours to develop flavor.
- Preheat with Dutch oven:
- Preheat your oven to 230°C (450°F) with a Dutch oven inside for at least 30 minutes. This traps steam for exceptional crust development.
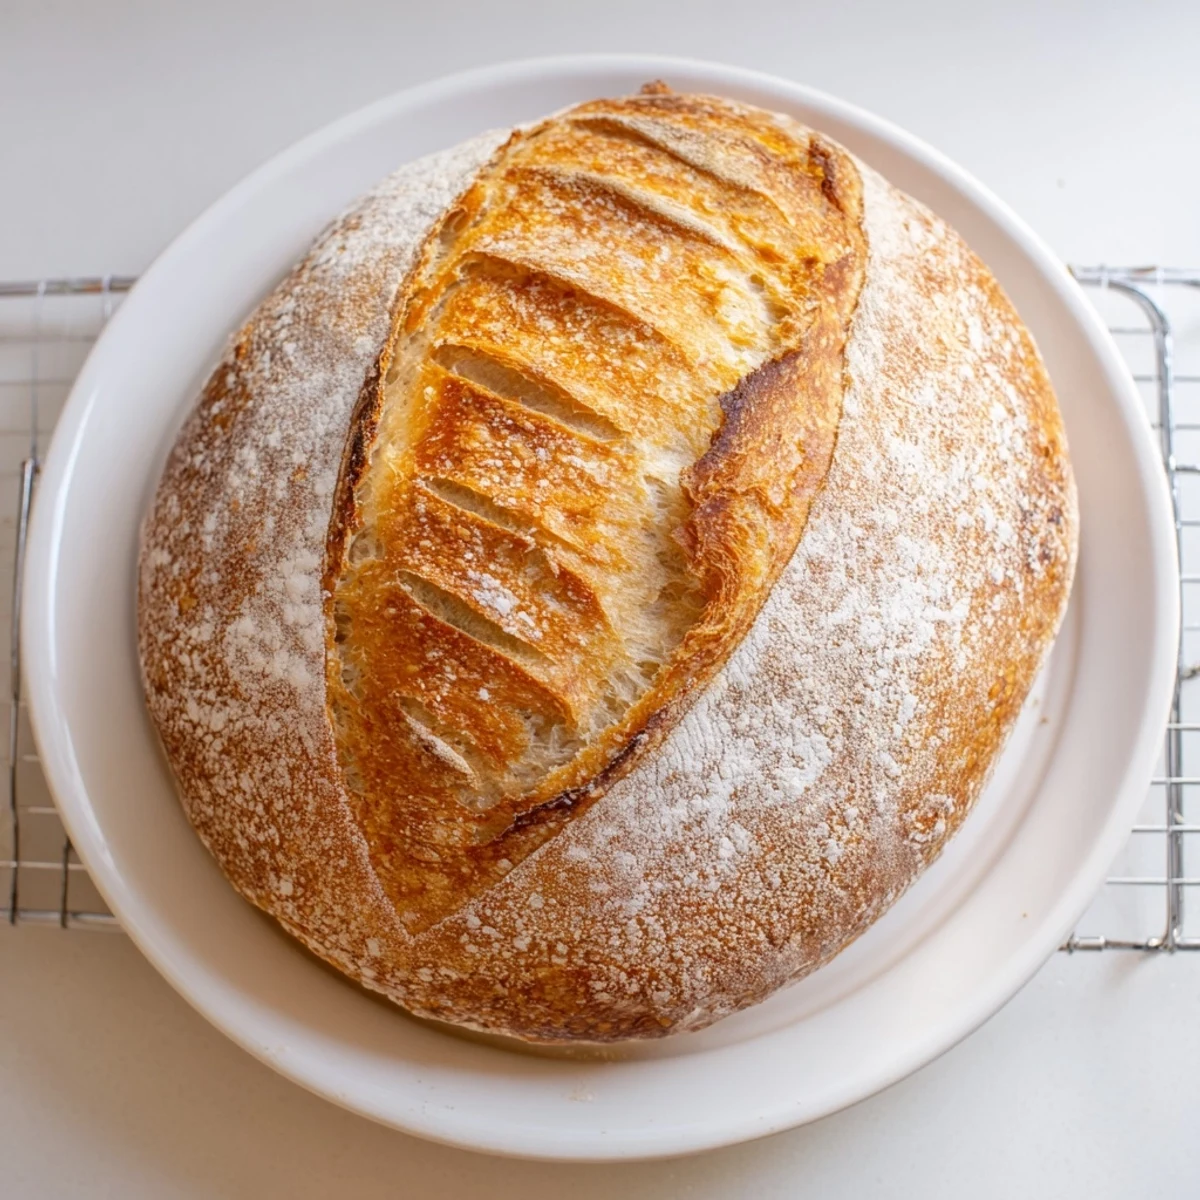
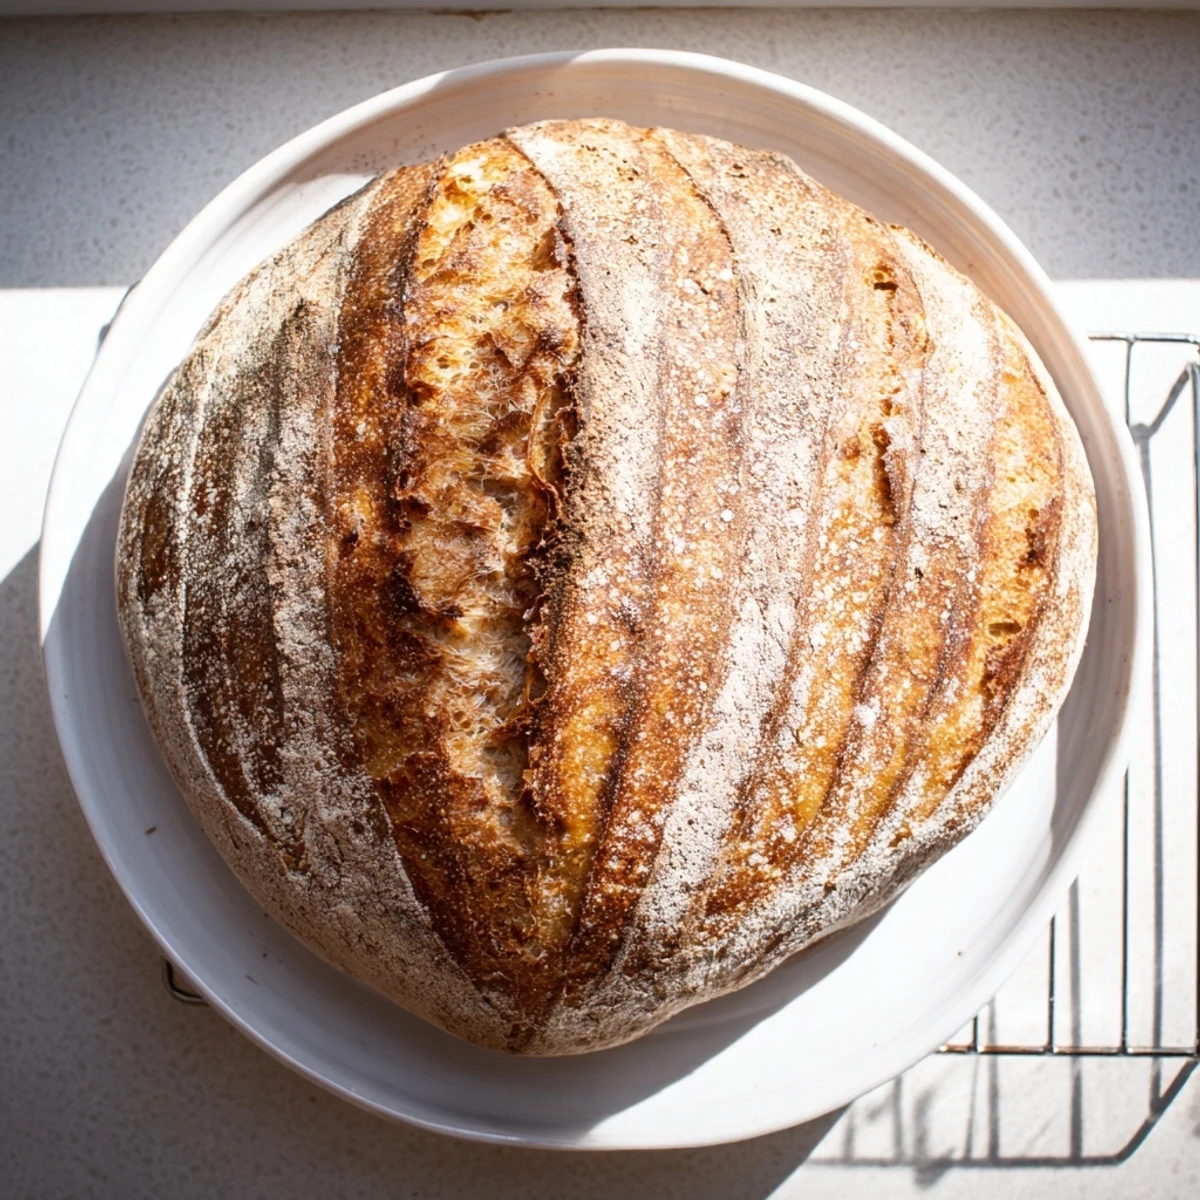
- Score and bake:
- Invert the dough onto parchment paper and score the top with a sharp blade. Bake covered for 20 minutes, then uncover for another 20 minutes until deep golden brown.
- Cool completely:
- Transfer the loaf to a wire rack and cool for at least 1 hour. Cutting too early will make the crumb gummy and dense.
 Save
Save Sourdough has this way of teaching you humility. Some days it rises beautifully and your scores bloom into gorgeous ears. Other days you forget to preheat the Dutch oven or use starter that is not quite active enough. But even the ugly loaves taste incredible, toasted with salted butter and shared with someone who does not care about appearance.
Understanding Your Starter
Creating and maintaining a sourdough starter is like having a very low maintenance pet. Feed it equal parts flour and water by weight, keep it at room temperature for regular baking, or move it to the fridge if you bake less often. A healthy starter should bubble within hours of feeding and smell pleasantly sour, not off-puttingly sharp.
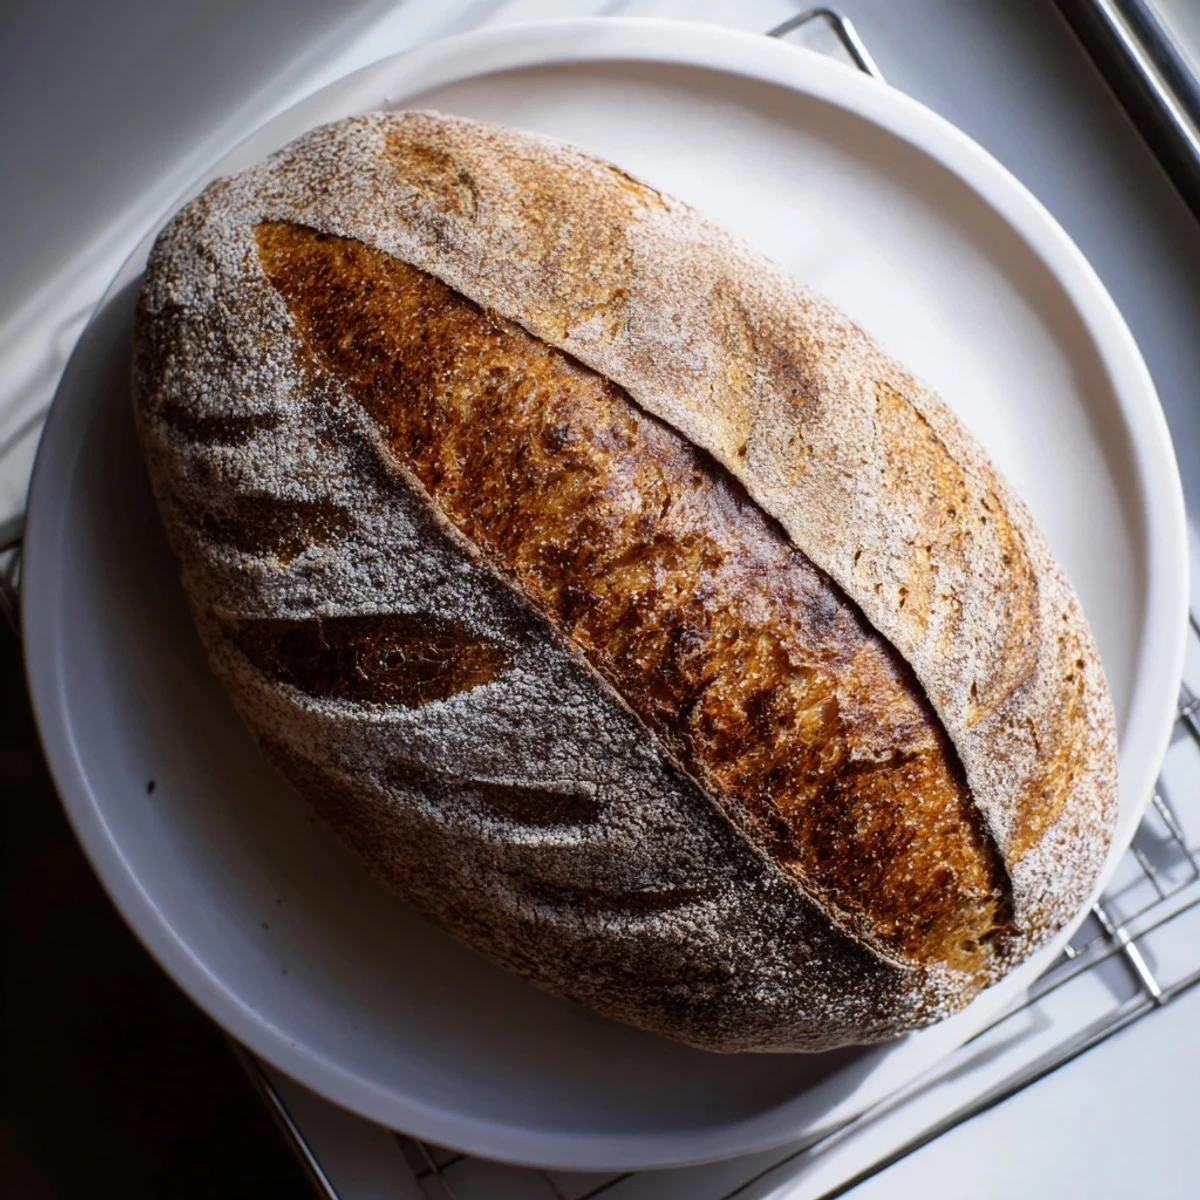
The Art of Scoring
Your scoring pattern is not just decorative. It directs where the bread expands during oven spring. A simple slash down the center creates an ear. A cross pattern opens into four distinct sections. Hold your lame at a 45 degree angle and cut with confidence, hesitation will create jagged edges.
Storage and Refreshing
A freshly baked sourdough loaf keeps differently than commercial bread. Store it cut side down on a cutting board for up to two days. After that, slice and freeze what you will not eat within 24 hours. Toasting revives the crust and makes even three day old bread taste freshly baked.
- Revive a slightly stale loaf by sprinkling it with water and reheating at 180°C (350°F) for 10 minutes.
- Sourdough cubes make excellent croutons or the base for bread pudding when you have leftovers.
- The crust will soften in a sealed bag, so keep it exposed if you prefer that characteristic crunch.
 Save
Save There is something profoundly satisfying about making bread that requires nothing but flour, water, salt, and time. Each loaf tells the story of your kitchen, your patience, and the particular character of your wild yeast culture.
Recipe FAQs
- → What makes sourdough different from regular bread?
-
Sourdough relies on wild yeast and beneficial bacteria naturally present in flour, creating distinct tangy flavors and improved digestibility through long fermentation compared to commercial yeast.
- → Why does the dough need to rest for so long?
-
Extended fermentation develops flavor, breaks down gluten for better digestion, and creates the characteristic open crumb structure with irregular air pockets that artisan loaves are known for.
- → Can I bake without a Dutch oven?
-
While a Dutch oven creates ideal steam for crust development, you can use a baking stone with a tray of ice cubes below, or invert a metal bowl over the loaf during the first baking stage.
- → How do I know when my starter is active enough?
-
A healthy starter doubles in size 4-8 hours after feeding, displays abundant bubbles throughout, floats when dropped in water, and has a pleasant yeasty aroma.
- → Why must I wait before slicing?
-
The internal structure continues cooking and setting while cooling. Cutting too early releases steam trapped inside, resulting in a gummy texture and dense crumb.
