 Save
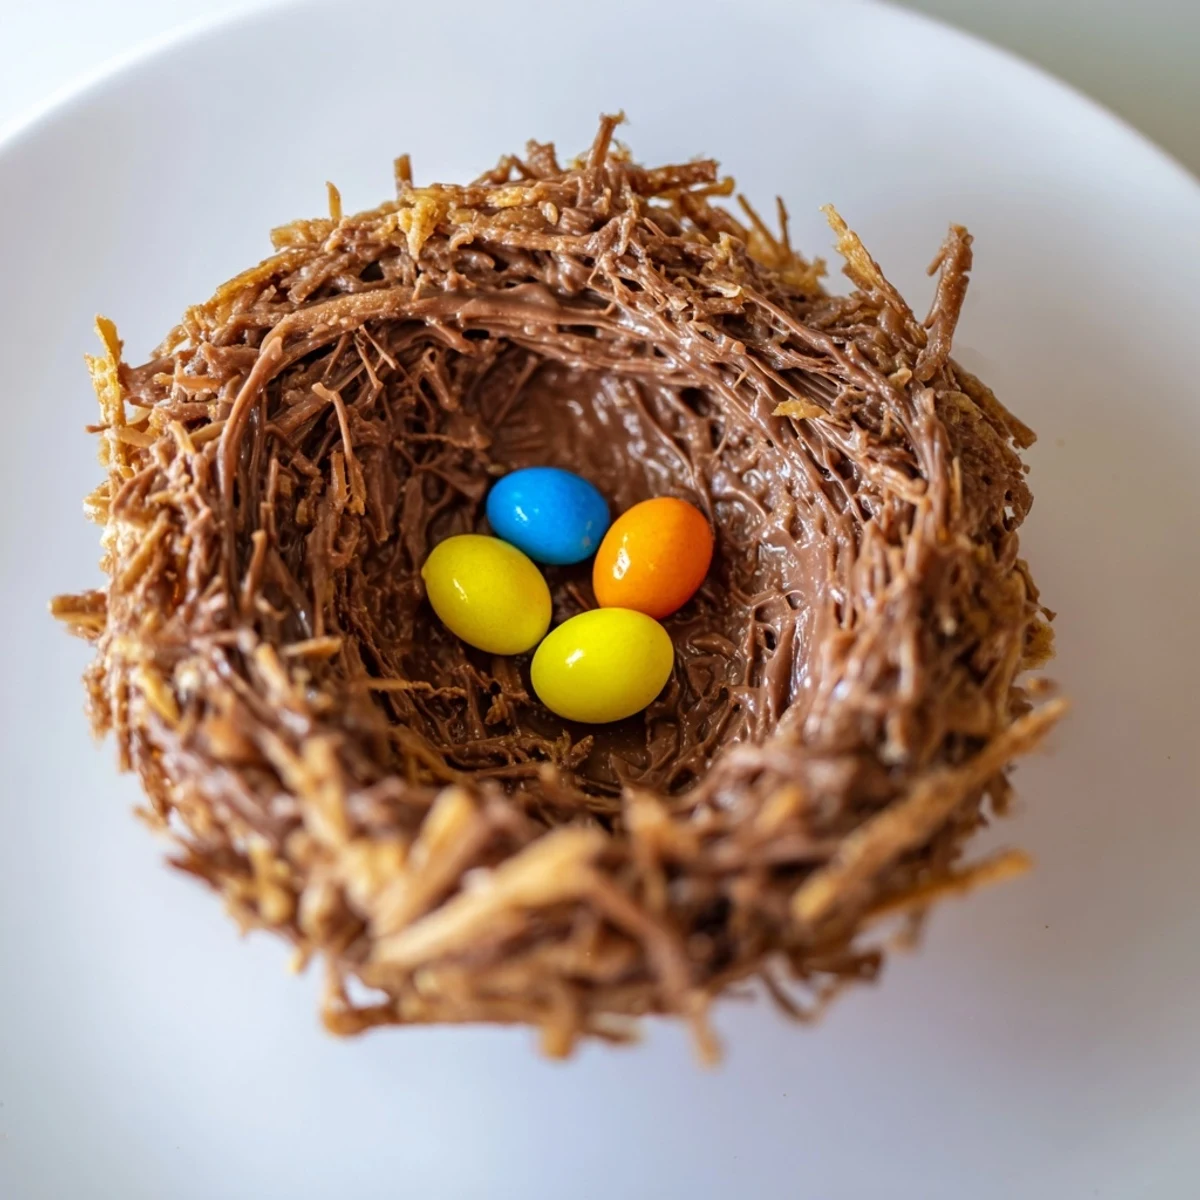
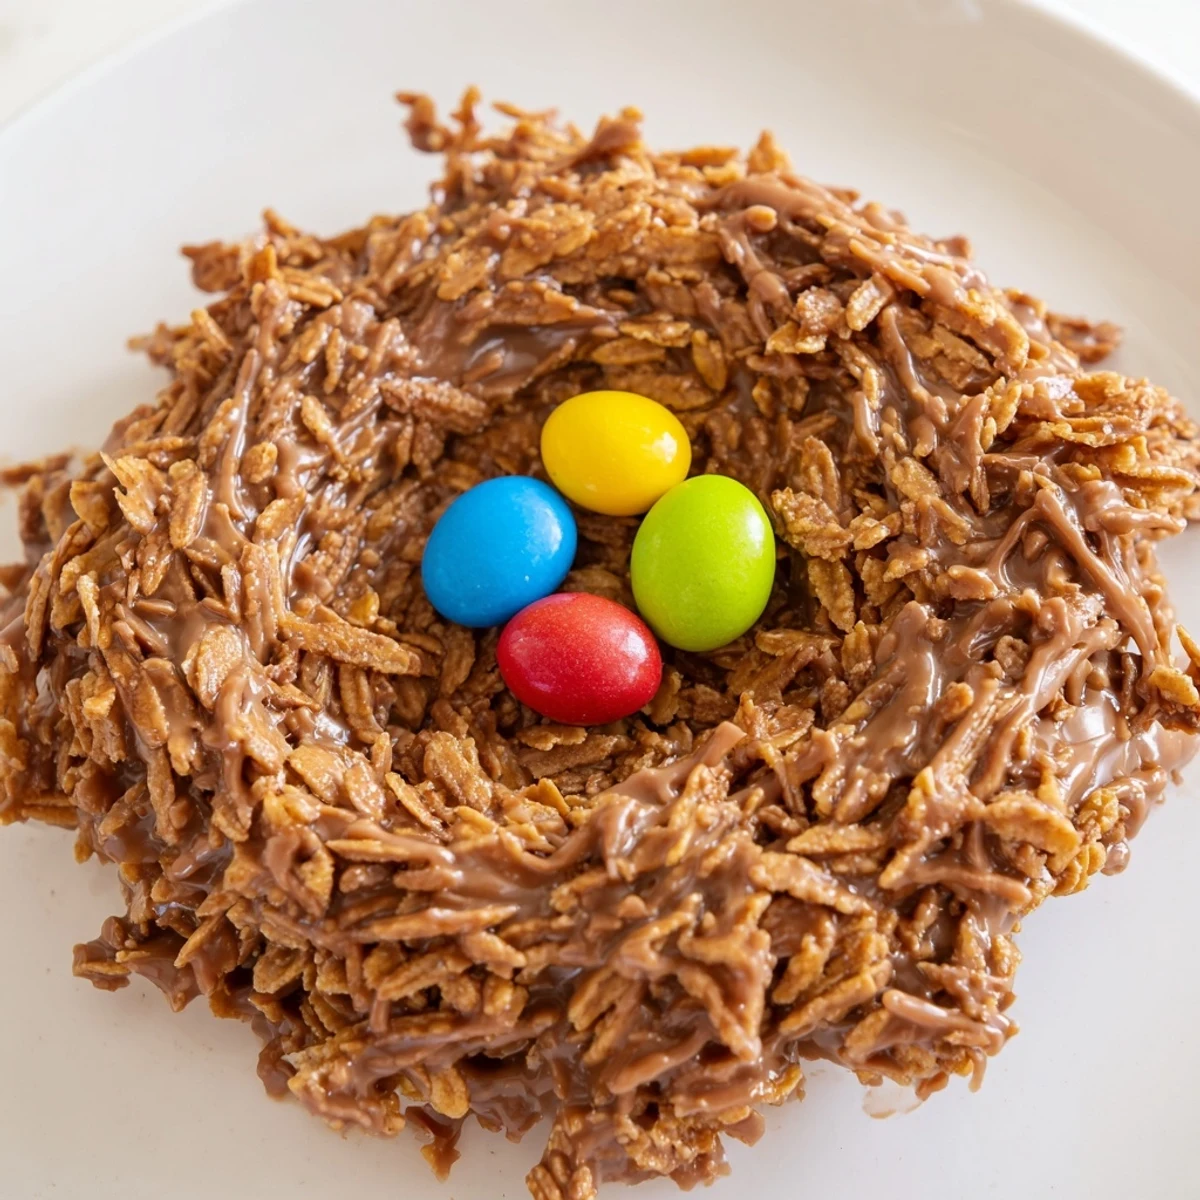
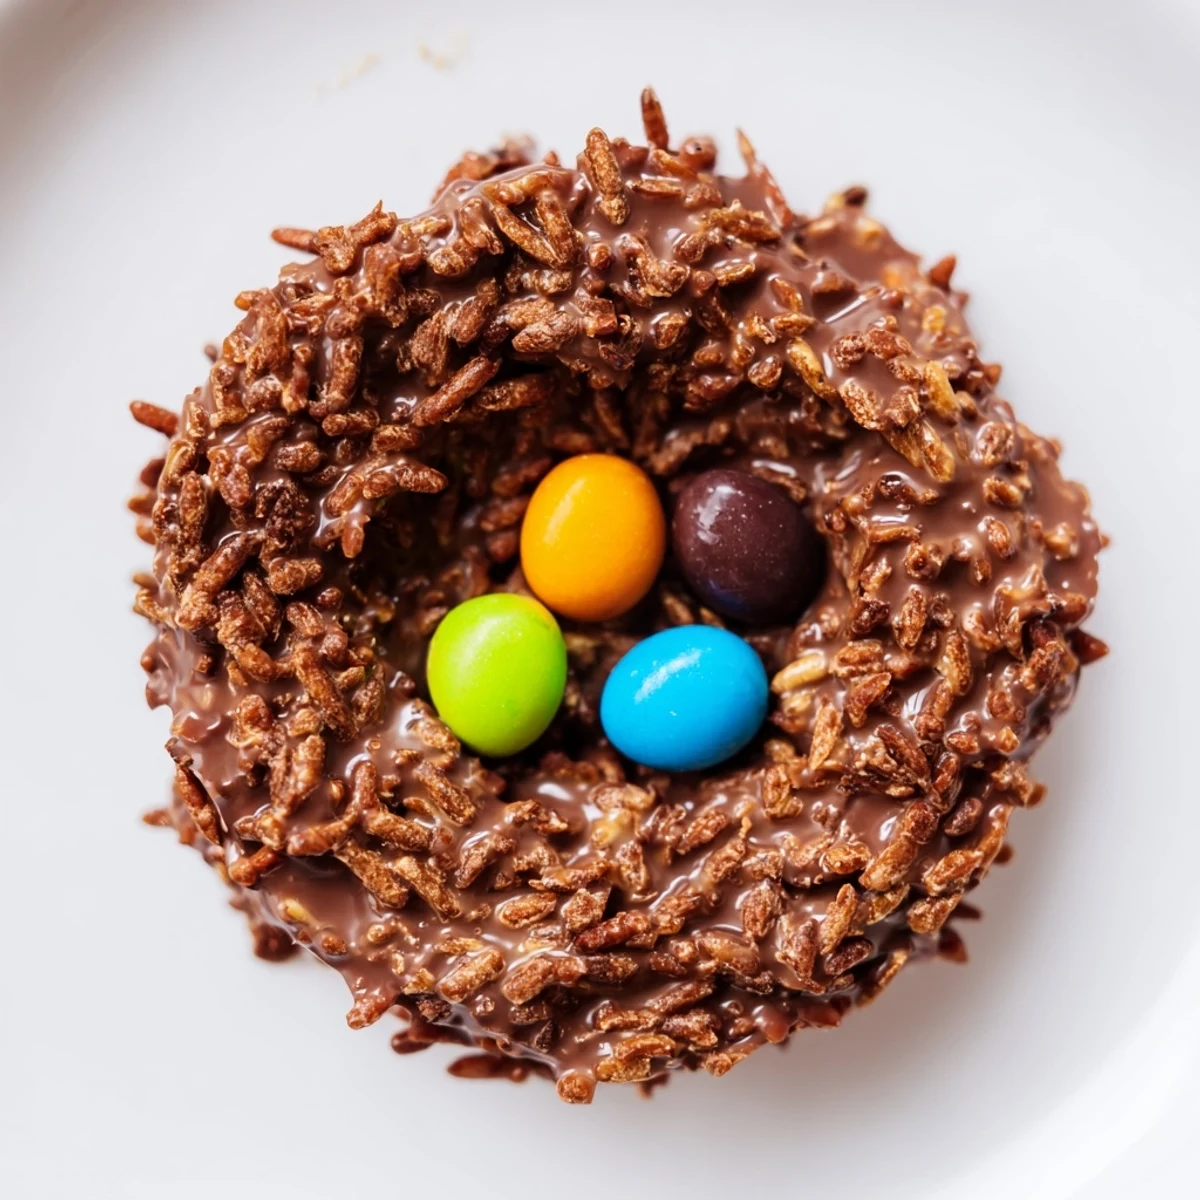
Save These chocolate Easter egg nests combine melted milk chocolate with golden syrup and crushed shredded wheat or cornflakes to create a crispy base. The mixture is molded into nest shapes, each holding three mini candy-coated chocolate eggs. Chilling sets the nests for easy serving. Variations include using dark or white chocolate and adding nuts for extra texture. Perfect for festive occasions, they require minimal preparation and no baking.
The kitchen smelled like a chocolate factory had collided with a hay barn, and my niece had chocolate smeared across her cheek like war paint. She was five, convinced that if we built the nests convincing enough, real birds might try to move in. I did not have the heart to tell her that robins prefer worms to Cadbury eggs.
Last spring I brought these to my neighbor's porch after her surgery, tucked into a shoebox lined with parchment. She texted later that her husband ate three before she got to the refrigerator, and somehow that felt like the highest compliment.
Ingredients
- 200 g milk chocolate, chopped: The chopping matters more than you think, smaller pieces melt obediently without seizing up and ruining your afternoon
- 50 g unsalted butter: This keeps the finish soft enough to bite through without cracking your dental work
- 2 tbsp golden syrup: The viscosity here is everything, it binds without turning the mixture into taffy
- 100 g shredded wheat or cornflakes, lightly crushed: Shredded wheat gives you those authentic twiggy strands, cornflakes offer superior crunch
- 36 mini candy-coated chocolate eggs: Buy extra because quality control disappears when no one is watching
Instructions
- Line your tin:
- Twelve paper liners in a muffin tin, no skipping this step or you will be chiseling chocolate off metal later
- Melt the good stuff:
- Bowl over simmering water, not boiling, patience here prevents the grainy disaster of scorched chocolate
- Fold in the crunch:
- Crushed cereal meets chocolate, stir until every strand wears a brown coat
- Shape the nests:
- Divide among cups, press with spoon back, create that central hollow where eggs will rest
- Nestle the eggs:
- Three per nest, nudged in while chocolate still yields
- Chill until set:
- Thirty minutes minimum, longer if your refrigerator runs warm
- Free and serve:
- Peel away paper, watch faces change
 Save
Save My mother called them birds nests until the day she died, though she never once saw a bird build anything resembling a chocolate crater filled with candy. Some names stick because they make children laugh, and that is reason enough.
The Cereal Question
Shredded wheat looks right but cornflakes taste better, this is the eternal tension of the recipe. I have made batches with both and watched adults fight over the cornflake version while children preferred the twig aesthetic.
Timing and Temperature
These soften quickly in warm hands or kitchens, serve them straight from the refrigerator and they hold their architecture. I learned this at an outdoor Easter gathering where nests became puddles and children became inconsolable.
Storing and Gifting
Stacked in layers with parchment between, they travel well in rigid containers. I have mailed them across state lines with success, though the recipient must understand immediate refrigeration is non-negotiable.
- Wax paper works better than plastic wrap for preventing stick
- Label the container clearly or someone will refrigerate and forget
- Five days maximum, though they have never lasted that long in my experience
 Save
Save However you make them and whoever you make them for, the mess is part of the memory. The best ones look slightly homemade, slightly imperfect, unmistakably made by human hands.
Recipe FAQs
- → Can I use dark or white chocolate instead?
-
Yes, dark or white chocolate can be substituted to vary flavor and sweetness while maintaining the nest's structure.
- → What can replace shredded wheat for the crispy element?
-
Cornflakes, rice cereal, or puffed rice work well as alternatives to shredded wheat for added crunch.
- → How long should the nests chill before serving?
-
Chill the nests for at least 30 minutes to ensure they set firmly for easy removal and serving.
- → Can nuts be added to the nests?
-
Yes, adding chopped hazelnuts or almonds to the chocolate mixture adds a pleasant nutty texture and flavor.
- → How should the nests be stored?
-
Store in an airtight container in the refrigerator to keep them fresh for up to five days.
