 Save
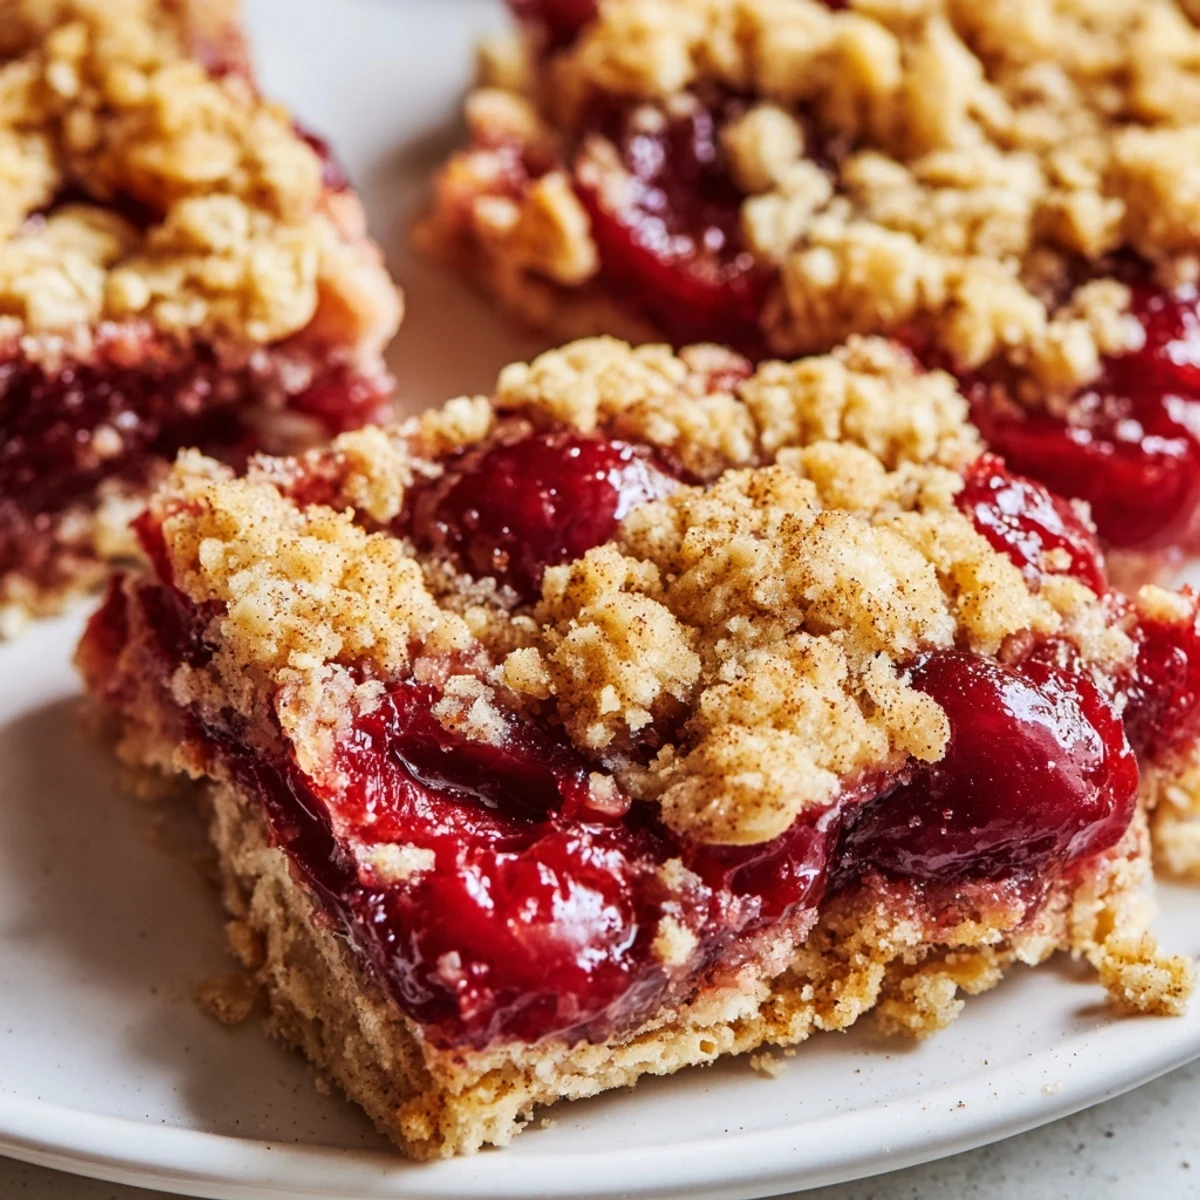
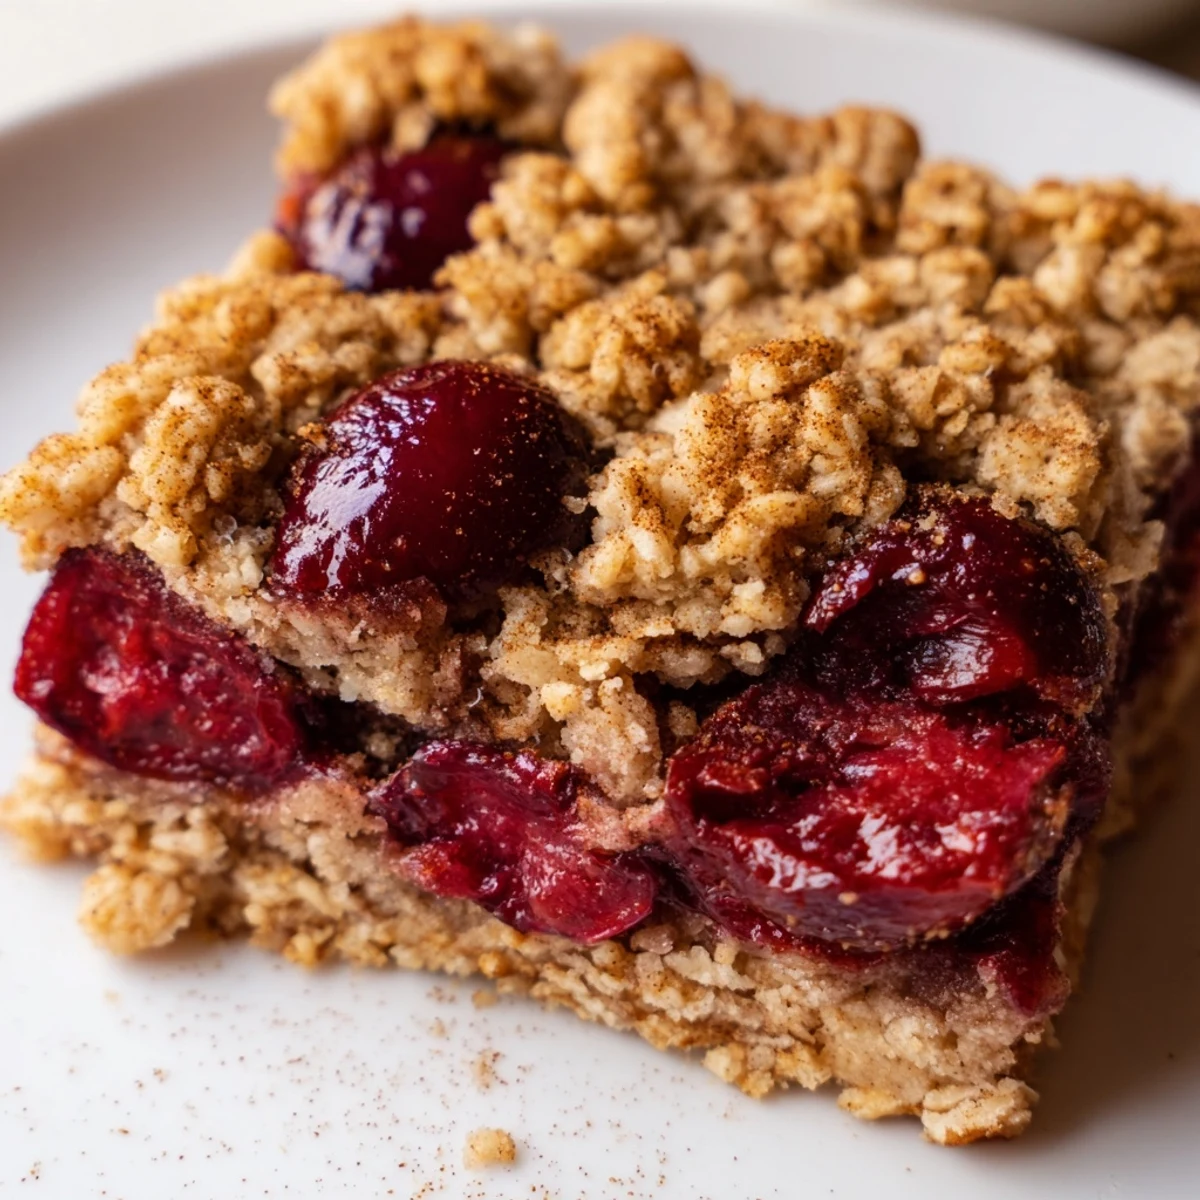
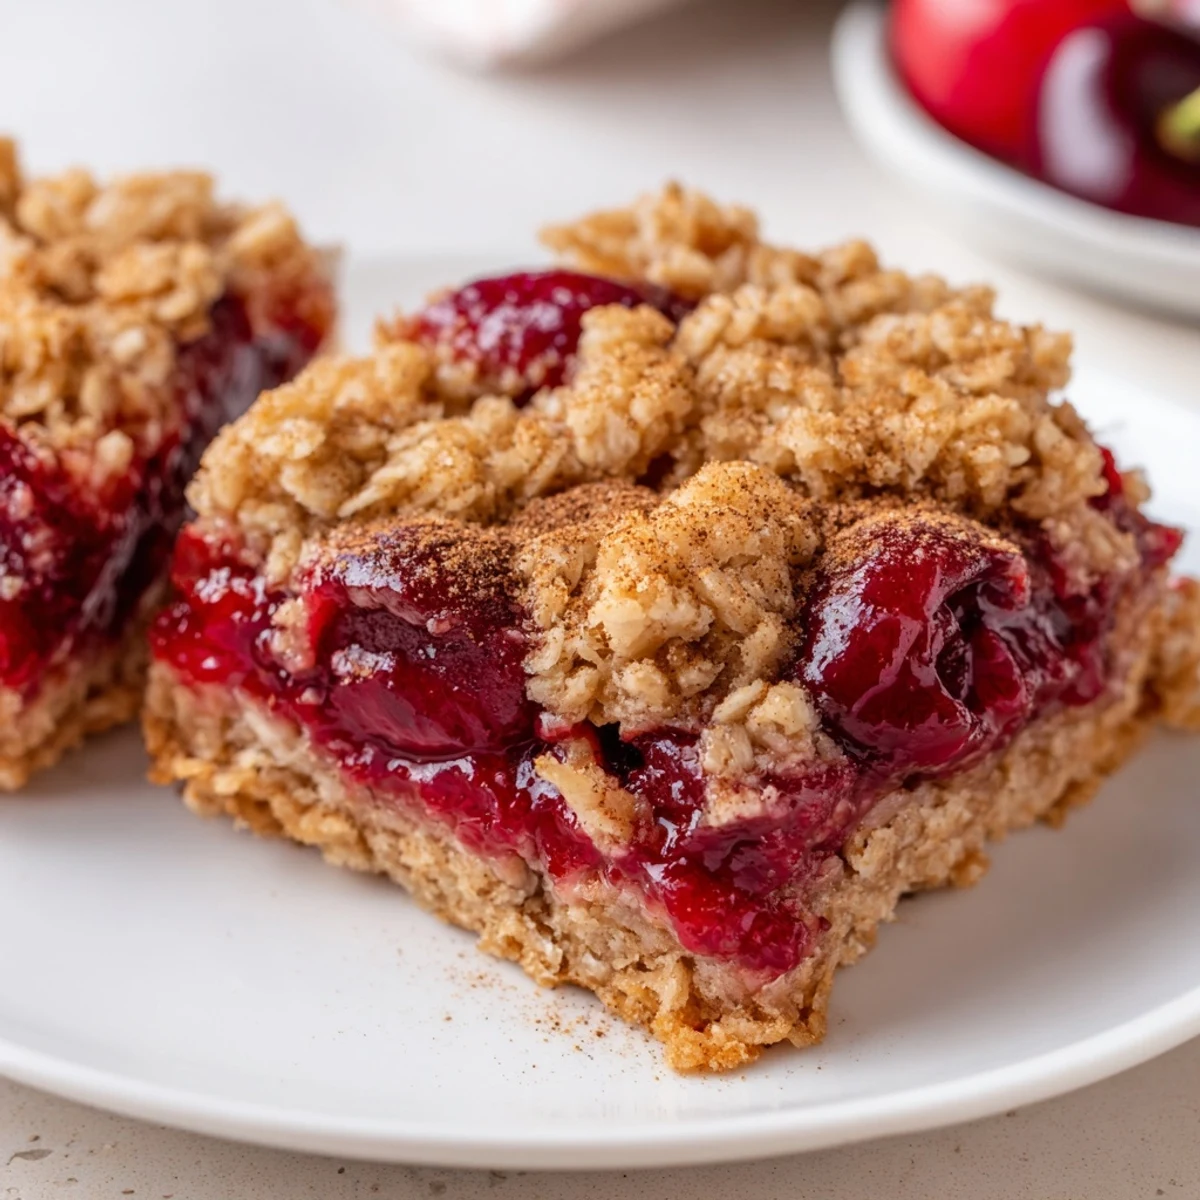
Save These cherry crumble bars feature a buttery, cinnamon-spiced crust pressed into a pan, topped with a sweet-tart cherry filling made from fresh or frozen cherries. The remaining crumble mixture is sprinkled over the fruit layer, creating a textured, golden topping after baking. Cool completely before slicing into 16 bars for clean edges.
Last summer, my kitchen smelled like heaven while these bars baked. I'd stumbled upon a sale of fresh cherries at the market and couldn't resist buying way too many. Standing at the counter, pitting cherry after cherry, my fingers turning stained and sweet, I decided crumble bars would be better than another pie. That afternoon, with the windows open and a warm breeze drifting through, these became an instant favorite.
I brought these to a friend's potluck last month and watched them disappear in record time. Someone asked for the recipe before they'd even finished their first bite, licking buttery crumbs off their thumb. Later that evening, I got a text saying they'd eaten three bars for breakfast the next morning. That's when you know a recipe is worth keeping.
Ingredients
- 2 cups all-purpose flour: The structure of your crumble, giving it that perfect tender bite that holds together but melts in your mouth
- 1 cup granulated sugar: Sweetens just enough without overshadowing the natural tartness of fresh cherries
- 1/2 teaspoon baking powder: Helps the base puff slightly so it's not too dense, creating that ideal bar texture
- 1/4 teaspoon salt: A tiny pinch that wakes up all the other flavors and balances the sweetness
- 1/2 teaspoon ground cinnamon: Warm spice that makes these taste like comfort, even in the middle of July
- 1 cup cold unsalted butter, diced: Cold butter is non-negotiable here, creating those irresistible flaky pockets in the crumble
- 1 large egg: Binds everything together so your bars have structure instead of falling apart when you cut them
- 3 cups pitted cherries: Fresh is sublime but frozen works beautifully, just don't thaw them first or they'll release too much liquid
- 1/2 cup granulated sugar: Coats the cherries and helps create that thick, luscious filling as they bake
- 2 tablespoons cornstarch: The secret to a filling that sets up perfectly without being gloppy or runny
- 1 tablespoon lemon juice: Brightens the cherry flavor and prevents the filling from becoming cloyingly sweet
- 1/2 teaspoon vanilla extract: Rounds out the fruit flavors and adds that cozy, homemade taste
Instructions
- Get your oven ready:
- Preheat to 350°F and line your 9x9 pan with parchment, letting the paper hang over the sides like little handles.
- Whisk the dry ingredients:
- Combine flour, sugar, baking powder, salt, and cinnamon in a large bowl until everything is evenly distributed.
- Work in the butter:
- Add cold diced butter and the egg, using your fingers or pastry cutter until the mixture looks like coarse crumbs with some pea-sized pieces remaining.
- Build the foundation:
- Press about two-thirds of the crumble mixture firmly into the bottom of your pan, creating an even layer that will hold everything together.
- Prepare the cherries:
- In a separate bowl, toss cherries with sugar, cornstarch, lemon juice, and vanilla until every piece is coated and the mixture looks glossy.
- Layer the filling:
- Spread those beautiful cherries evenly over the crust, getting them into all the corners.
- Add the topping:
- Sprinkle the remaining crumble over the cherries, leaving some nooks and crannies for the fruit to bubble through.
- Bake until golden:
- Bake 38 to 42 minutes until the top is golden brown and you can see the cherry filling bubbling up through the crumble.
- Patience pays off:
- Cool completely in the pan before lifting out using the parchment handles and cutting into squares.
 Save
Save My daughter started requesting these for school snacks after I made them once for a summer picnic. Now they're a regular in our rotation, perfect for lunchboxes or after-dinner treats. Something about that combination of sweet cherries and buttery crumble makes everyone feel like they're getting something special.
Choosing Your Cherries
I've used Bing, Rainier, and even sour cherries in this recipe, each bringing something different to the table. Sweet cherries need less sugar, while sour varieties might appreciate an extra tablespoon. Trust your taste buds and adjust accordingly.
Making Them Your Own
Sometimes I add a handful of old-fashioned oats to the crumble mixture for extra texture and a nutty flavor. A pinch of nutmeg or almond extract in the filling creates a completely different personality. These bars are forgiving and welcome experimentation.
Storage and Serving
Store these at room temperature for up to three days, though they rarely last that long in my house. For longer storage, wrap individual bars and freeze them up to two months.
- Serve slightly warmed with a scoop of vanilla ice cream for an elegant dessert
- Pack them in picnic baskets or lunch boxes, they hold up beautifully
- Dust with powdered sugar right before serving for a bakery-style finish
 Save
Save There's something deeply satisfying about pulling a golden pan of these from the oven. Hope they become as beloved in your kitchen as they are in mine.
Recipe FAQs
- → Can I use frozen cherries instead of fresh?
-
Yes, frozen cherries work perfectly in these bars. No need to thaw them first—just toss them directly with the sugar and cornstarch mixture. The baking time remains the same.
- → How should I store these cherry crumble bars?
-
Store in an airtight container at room temperature for up to 3 days. For longer storage, refrigerate for up to a week. They can also be frozen for up to 3 months, wrapped individually in plastic.
- → Can I make these gluten-free?
-
Simply substitute the all-purpose flour with a 1:1 gluten-free flour blend. The texture and taste remain remarkably similar, making these accessible for those avoiding gluten.
- → Why must I cool the bars completely before cutting?
-
The cherry filling needs time to set as it cools. Cutting while warm will cause the filling to ooze out and the bars to lose their shape. Patience ensures clean, neat slices with distinct layers.
- → What other fruits can I use?
-
Blueberries, raspberries, blackberries, sliced peaches, or a mixed berry blend all work beautifully. Adjust the sugar slightly based on the fruit's natural sweetness.
- → Can I double this recipe?
-
Yes, double all ingredients and bake in a 9x13-inch pan. The baking time may increase slightly to 45-50 minutes. Check for golden topping and bubbling filling.
